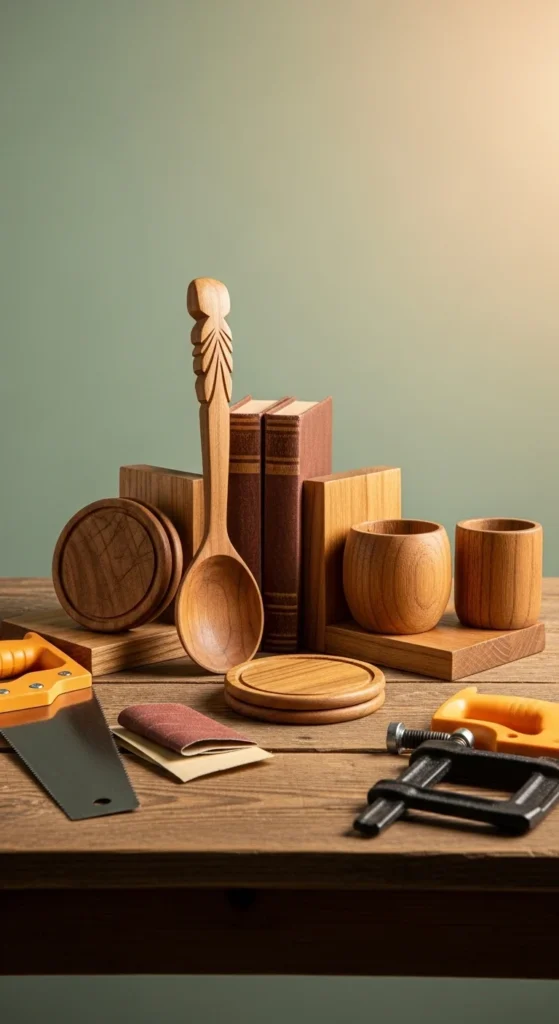
Starting woodworking can feel intimidating, especially when you think you need expensive machines and a full workshop. But the truth is, you can create beautiful and practical wooden crafts using only basic hand tools.
With a simple toolkit and scrap wood, beginners can build coasters, bookends, trays, shelves, and even sellable products all without power tools.
Let’s break it down step by step.
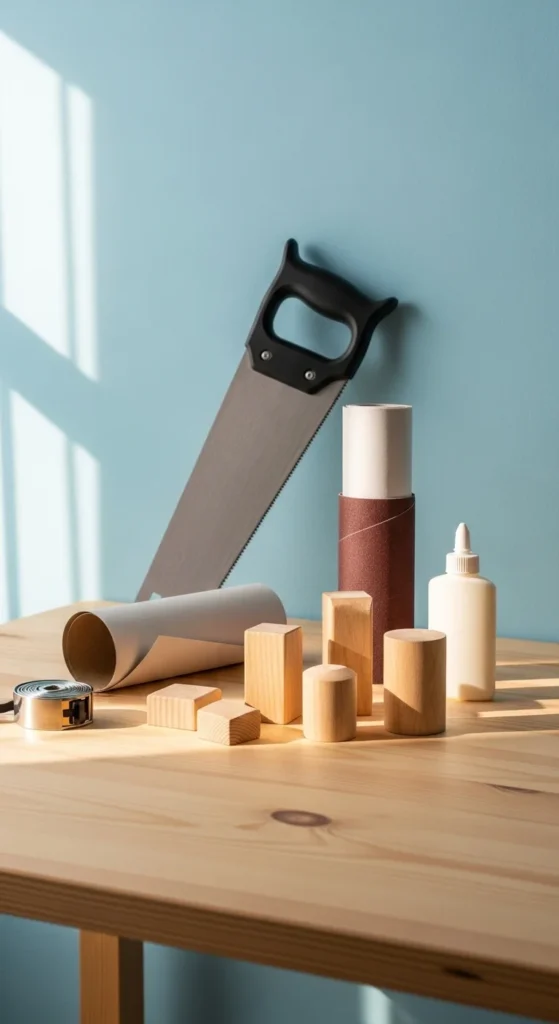
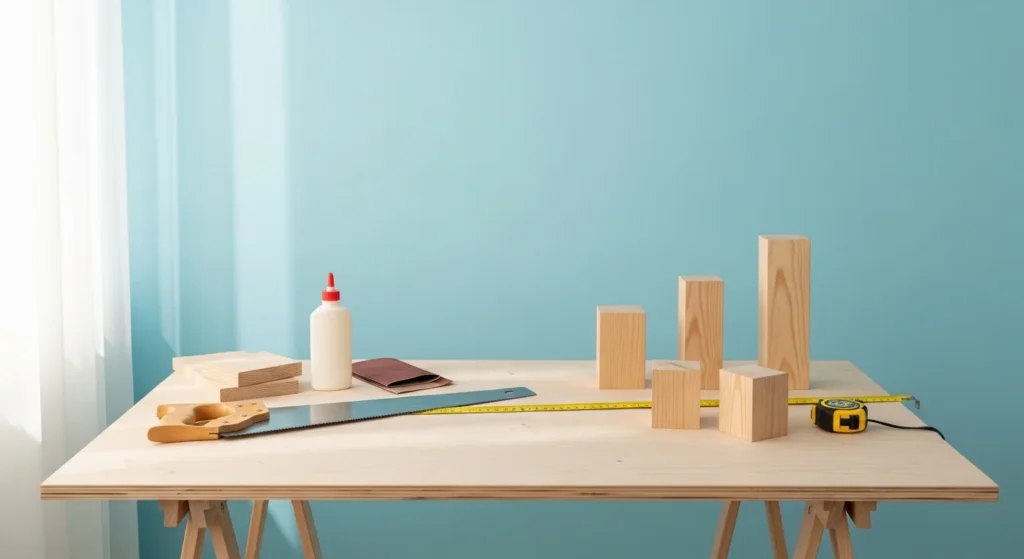
Step 1: Gather Your Basic Starter Toolkit
You don’t need 20 tools. Most beginner guides recommend only 5–7 essentials.
Essential Tools:
- Hand saw
- Hammer
- Measuring tape
- Sandpaper (medium + fine grit)
- Wood glue
- Drill (optional but helpful for pilot holes)
- Clamps
Keeping your toolkit minimal removes overwhelm and helps you focus on skill building.
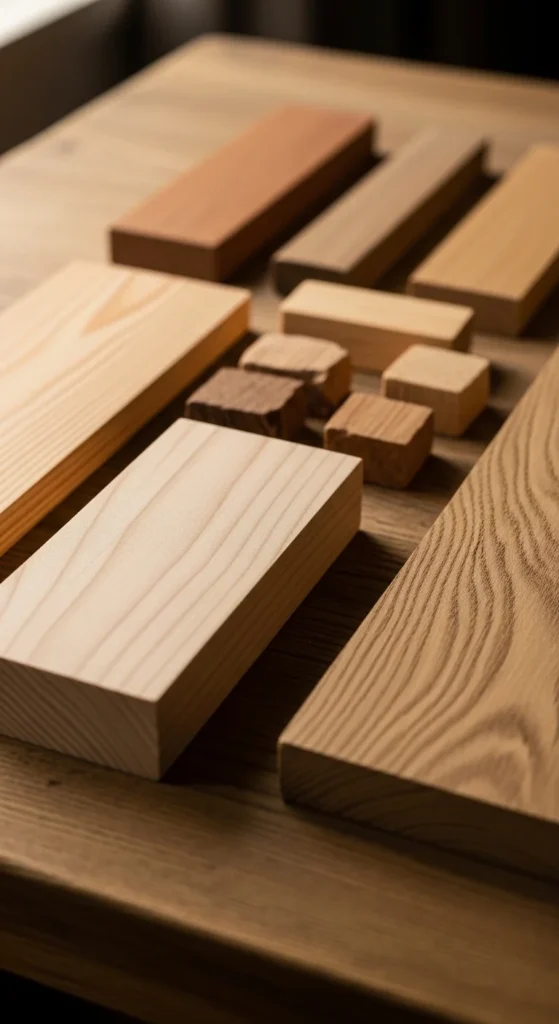
Step 2: Choose the Right Wood (Avoid Beginner Mistakes)
Wood choice matters more than people think.
Best Options for Beginners:
- Basswood – Soft and easy for carving or whittling
- Oak or Maple – Strong and durable for shelves and boards
- Scrap wood – Budget-friendly and perfect for practice
Always check the grain direction before cutting. Cutting against the grain can cause splintering.
Step 3: Start With 10-Minute Starter Crafts
If you’re nervous, begin with quick wins.
1. Wooden Coasters
- Cut small square or round pieces
- Sand edges smooth
- Apply stain or natural oil
This project appears in over 50% of beginner woodworking lists for a reason it’s simple and confidence-building.
2. Kitchen Trivets
Glue small strips together, clamp, and sand smooth. Add food-safe oil for finishing.
3. Mini Serving Tray
Attach handles to a flat board. Sand thoroughly for a polished look.
Quick projects keep motivation high.

Step 4: Build Beginner-Friendly Gifts (Under 1 Hour)
Once comfortable, move to slightly bigger builds.
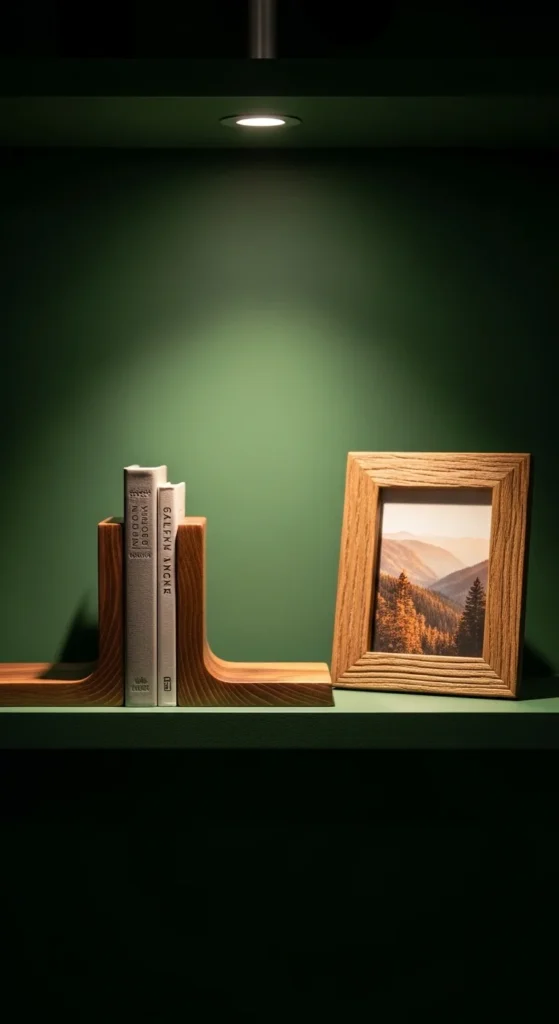
Bookends
Create simple L-shaped pieces.
Pro Tip: Always drill pilot holes before inserting screws to prevent wood splitting.
Picture Frames
Use a miter box for clean 45-degree angle cuts. Sand edges for a polished finish.
Rustic Wall Signs
Paint or stencil minimalist quotes onto sanded wood boards.
These projects are perfect for batch-making during holidays.
Step 5: Try Garden or Outdoor Projects
Outdoor builds are trending and highly practical.
Simple Planter Box
Use basic butt joints secured with glue and screws.
Bird Feeder
Small box design with slanted roof. Easy and functional.
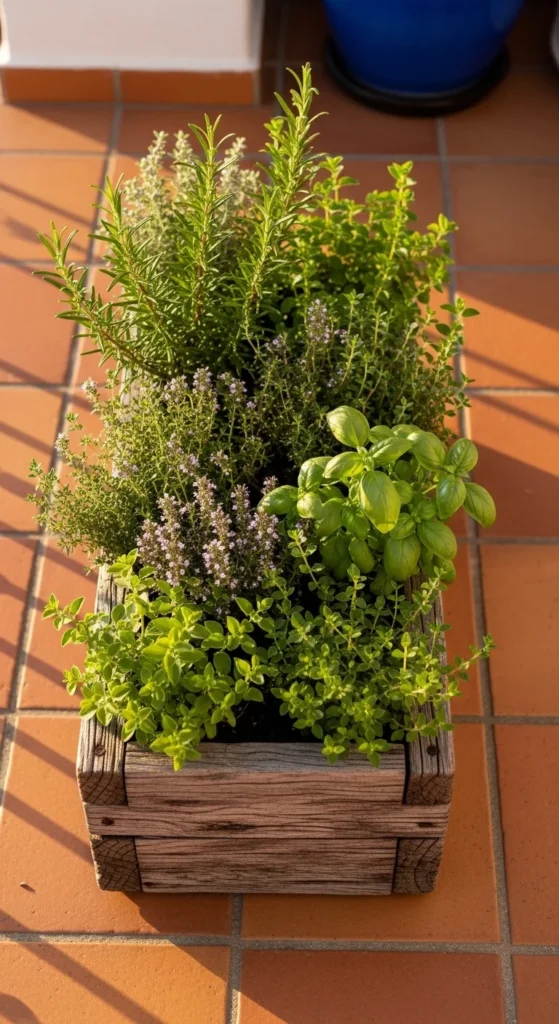
Herb Wall Shelf
Mounted shelf for small potted plants perfect for balconies.
Outdoor projects add both beauty and usefulness.
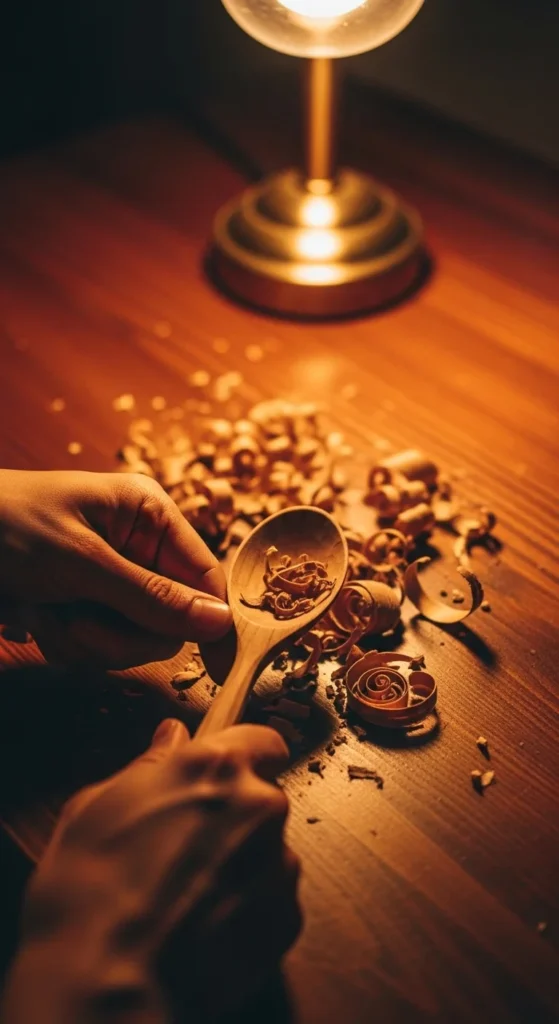
Step 6: Explore Whittling
If you prefer something smaller and relaxing, try carving.
Using basswood and a whittling knife, you can carve:
- Wooden spoons
- Decorative mushrooms
- Small figurines
Whittling requires minimal space and tools, making it ideal for beginners.
Step 7: Finish Like a Pro (Rustic vs Polished)
Finishing transforms your project.
Rustic Look
- Light sanding
- Visible grain
- Dark stain
- Natural imperfections
Polished Look
- Fine sanding
- Smooth clear finish
- Neutral light stain
Even basic projects look high-end with proper finishing.
Bonus: Turn Your Hobby Into a Side Income
Wooden crafts like:
- Coasters
- Bookends
- Trays
- Small shelves
Can be produced in batches and sold locally or online.
Because the tool investment is low, profit margins stay strong. Many beginner creators start this way.
Common Beginner Mistakes to Avoid
- Not measuring twice
- Skipping pilot holes
- Forgetting to clamp glued joints
- Ignoring grain direction
- Rushing sanding
Take your time woodworking rewards patience.
Final Thoughts
DIY wooden crafts with basic tools prove that you don’t need expensive machines to create something meaningful. With just a few essential tools, the right wood, and step-by-step focus, you can build practical home décor, thoughtful gifts, and even profitable products.
Start small. Build confidence. Embrace the learning process.
Your first project is the beginning of a skill that lasts a lifetime.