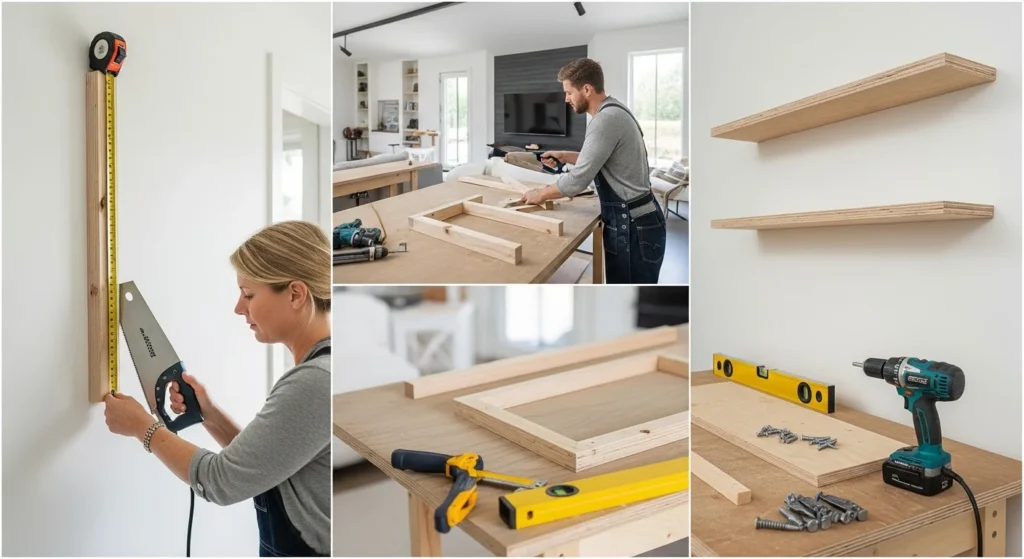
Building DIY wall shelves is a simple and rewarding project that adds both storage and style to your home. By planning carefully, using the right tools, and following a structured process, even beginners can create strong, professional-looking shelves. The key steps include measuring your wall space, locating studs for secure mounting, building a sturdy support frame, and finishing the shelves with sanding and paint or stain. Taking your time with leveling and alignment ensures the shelves look clean and polished once installed. With basic materials like plywood and 2x4s, you can customize the shelves to match any room décor. This step-by-step approach helps you avoid common mistakes while ensuring long-lasting, safe results.
Step 1: Plan Your Shelf Design
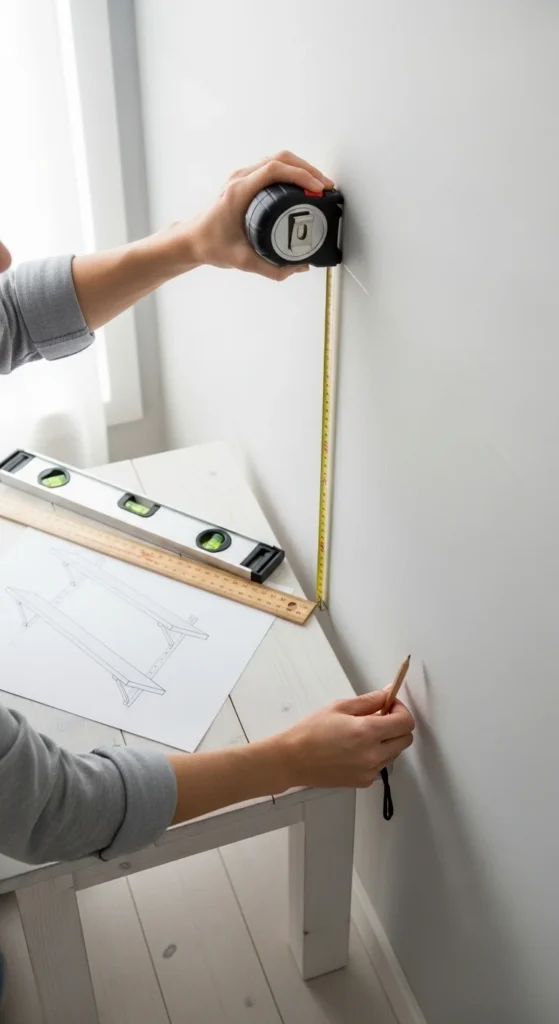
Before cutting anything:
- Measure your wall space
- Decide shelf length (common: 3–6 ft)
- Keep 16–18 inches spacing between shelves
- Choose your style:
- Floating shelves (modern)
- Bracket shelves (beginner-friendly)
- Corner shelves (space-saving)
Pro Tip: Always measure twice, level once to avoid uneven installs.
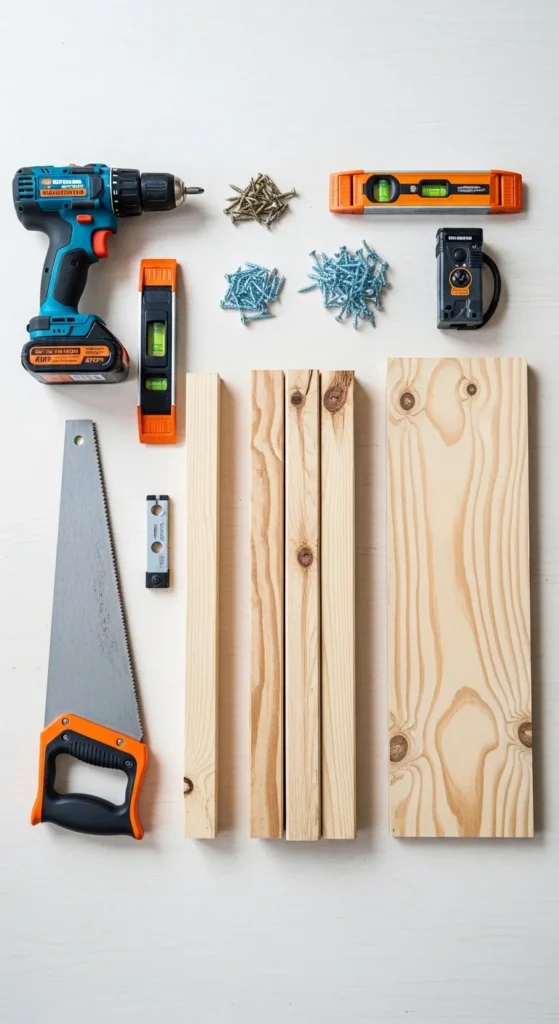
Step 2: Gather Materials & Tools
Materials
- 2×4 wood (for frame support)
- Plywood (top/bottom cover)
- Wood screws
- Wood glue
- Sandpaper
- Paint or stain (walnut is trending)
Tools
- Drill
- Level (or laser level)
- Stud finder
- Saw (miter or circular)
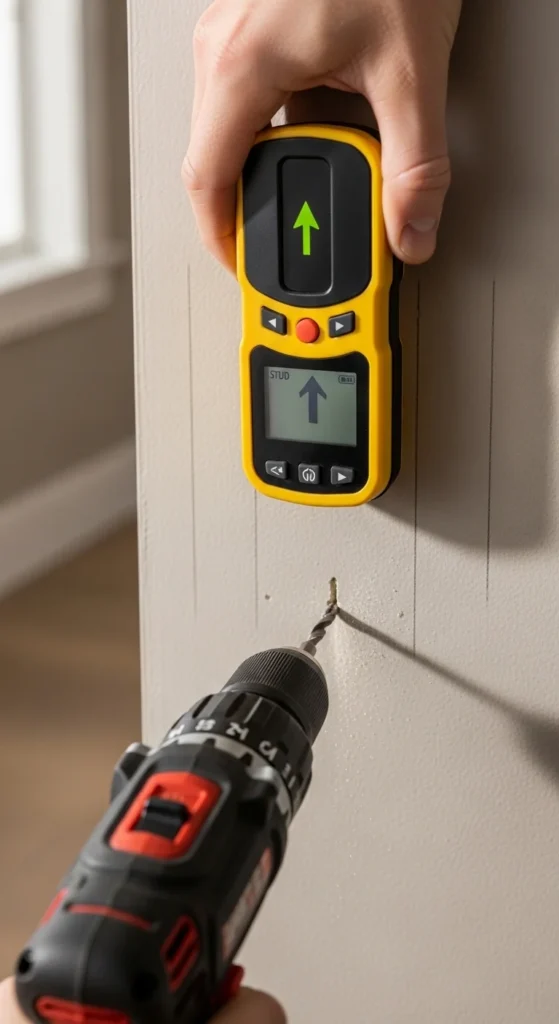
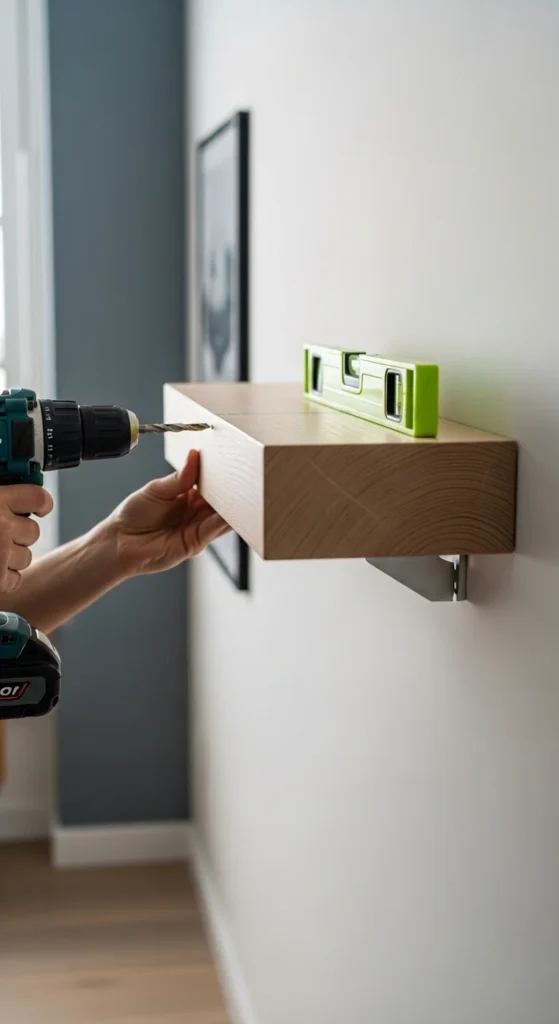
Step 3: Locate Wall Studs (Critical Step)
Use a stud finder to locate secure mounting points.
- Mark stud positions on the wall
- Drill pilot holes to prevent wood splitting
- If no studs:
- Use drywall anchors or toggle bolts
This step prevents shelf sagging and collaps
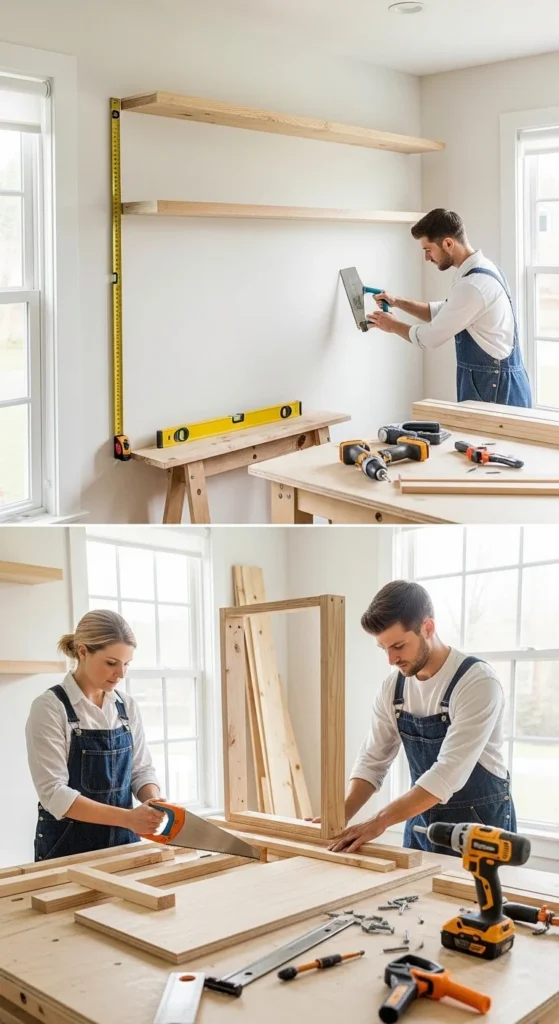
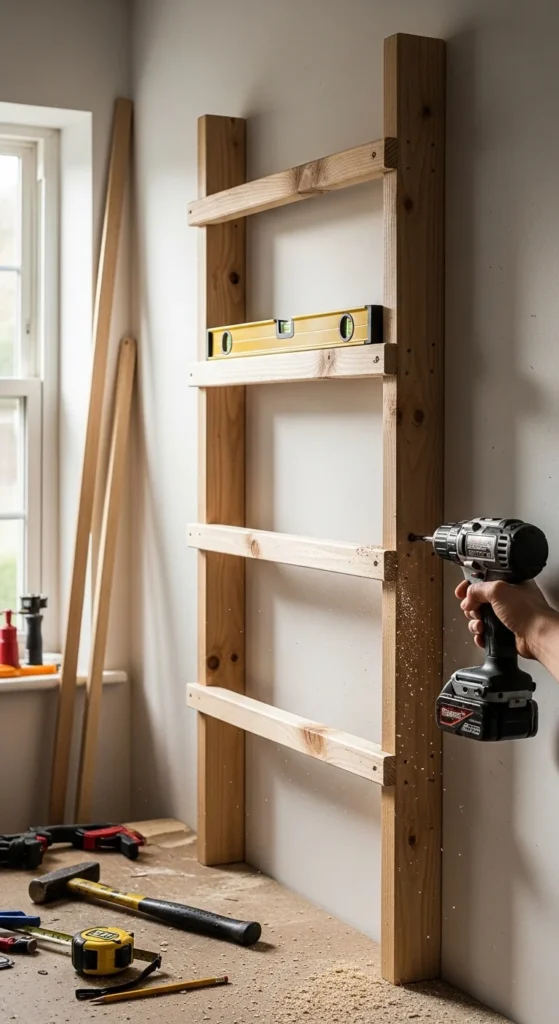
Step 4: Build the Support Frame
For strong floating shelves:
- Use 2x4s to create a ladder-style frame
- Attach frame directly into studs
- Keep frame perfectly level
This hidden structure is what makes shelves look “floating” but hold heavy weight
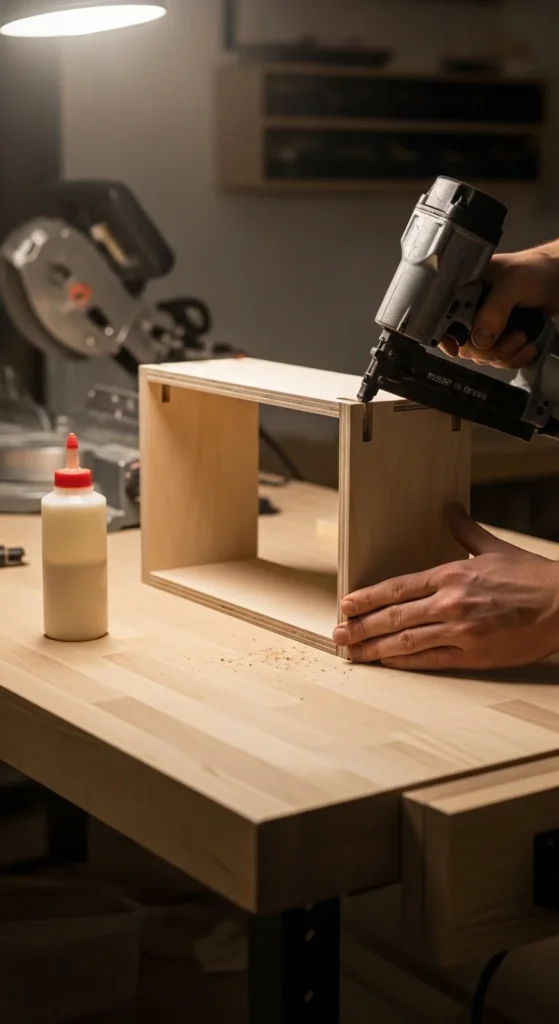
Step 5: Add the Shelf Cover (Floating Effect)
Cut plywood pieces for:
- Top
- Bottom
- Sides
Attach using:
- Wood glue
- Screws or brad nails
This creates a seamless, box-style illusion
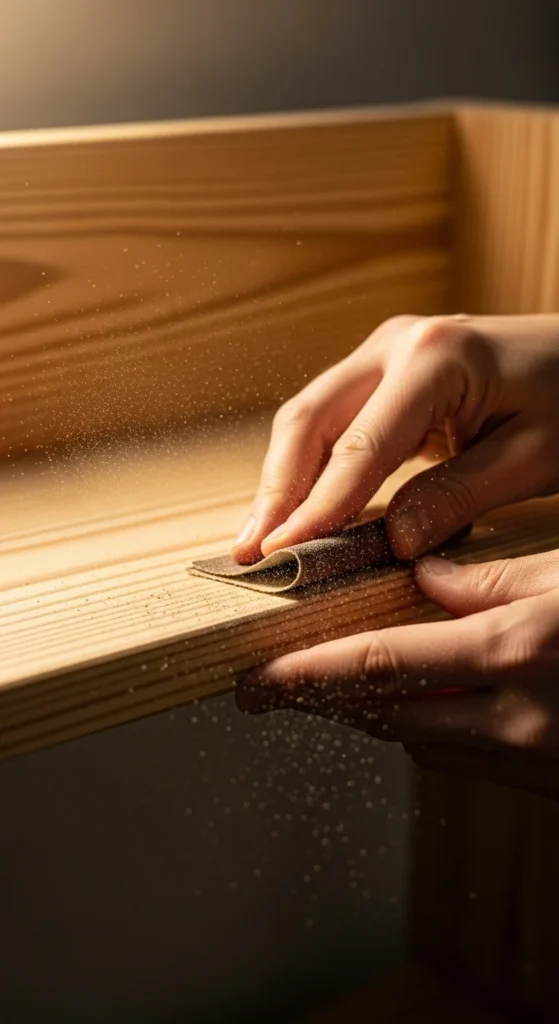
Step 6: Sand for a Professional Finish
- Smooth all edges and corners
- Remove splinters
- Prep surface for paint or stain
This is what separates DIY from “store-bought look”
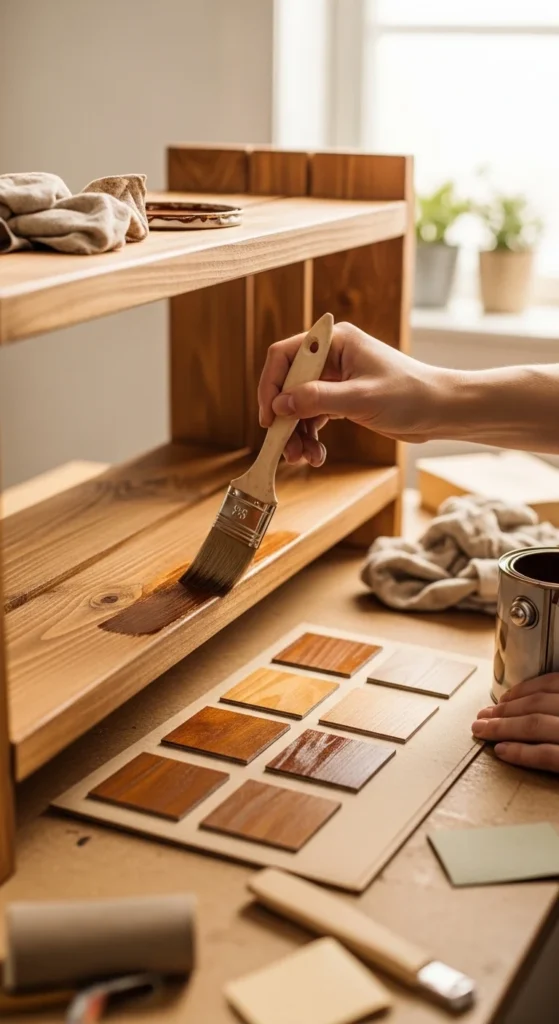
Step 7: Paint or Stain
Customize your shelves:
- Walnut stain → warm & modern
- White paint → clean & minimal
- Dark tones → bold statement
Match your shelves with wall color for a built-in effect
Step 8: Install & Level
- Mount shelves onto the frame
- Use a level to ensure straight alignment
- Tighten all screws securely
Optional: Touch up wall paint around edges for a seamless look
Step 9: Load Test for Safety
Before decorating:
- Apply weight gradually
- Test with books or storage bins
Ensures your shelf can handle daily use
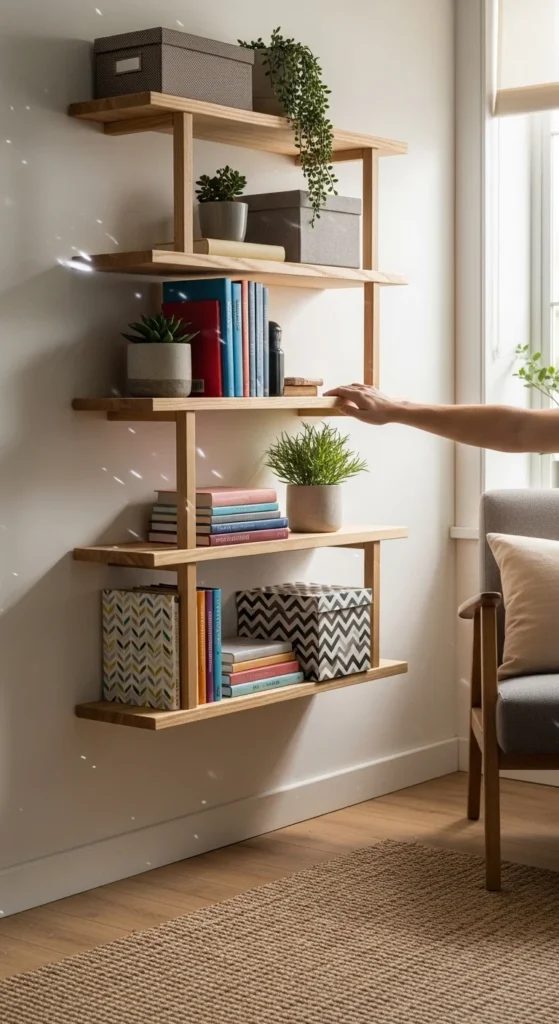
Final Thoughts
DIY wall shelves are the perfect blend of style, function, and affordability. Whether you want a sleek floating look or a rustic vibe, the key is in the structure, leveling, and finishing details.
With the right approach, you can create shelves that not only hold your items—but also elevate your entire space.