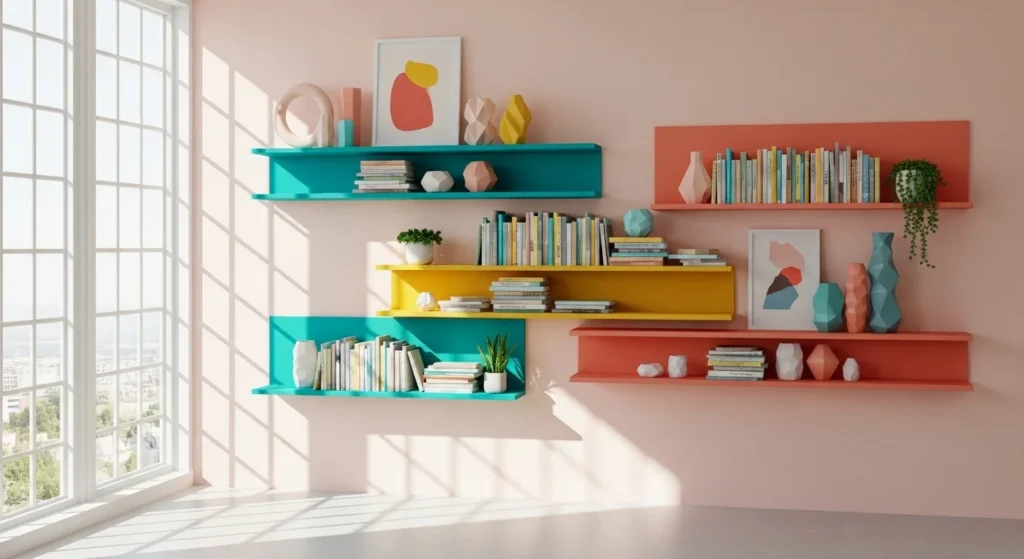
Floating shelves are one of the easiest ways to upgrade your space with a clean, modern look—without visible brackets. Whether you’re styling a living room, organizing a kitchen, or adding storage to a bathroom, this beginner-friendly guide will walk you through everything you need to know.
Inspired by expert tutorials from Home Depot and DIY brands like Kreg Tool, this guide keeps things simple, practical, and easy to follow.
Why Choose Floating Shelves?
Floating shelves create a seamless, no-visible-bracket look that feels like part of the wall. They’re:
- Easy to install (even for beginners)
- Budget-friendly
- Perfect for both decor and storage
- Great for small spaces
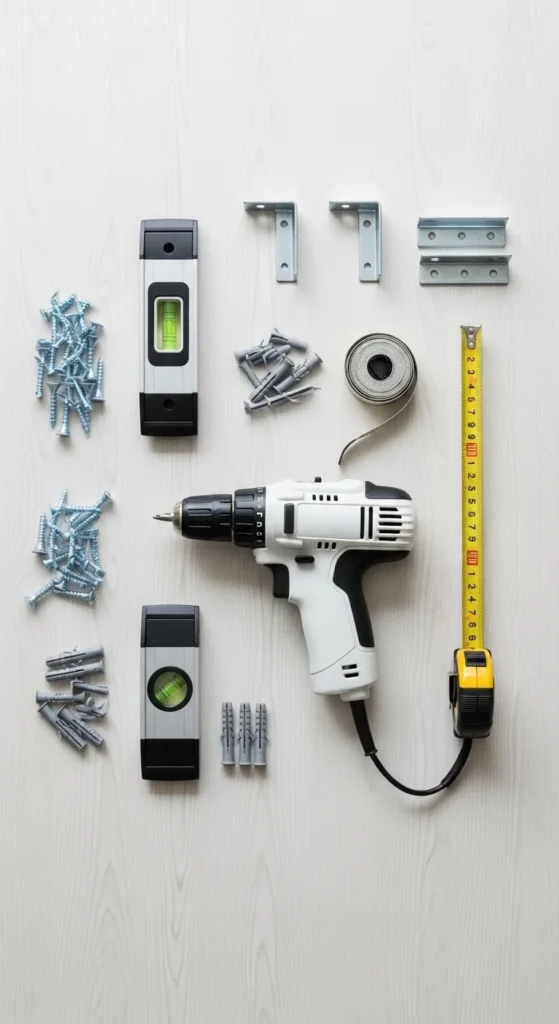
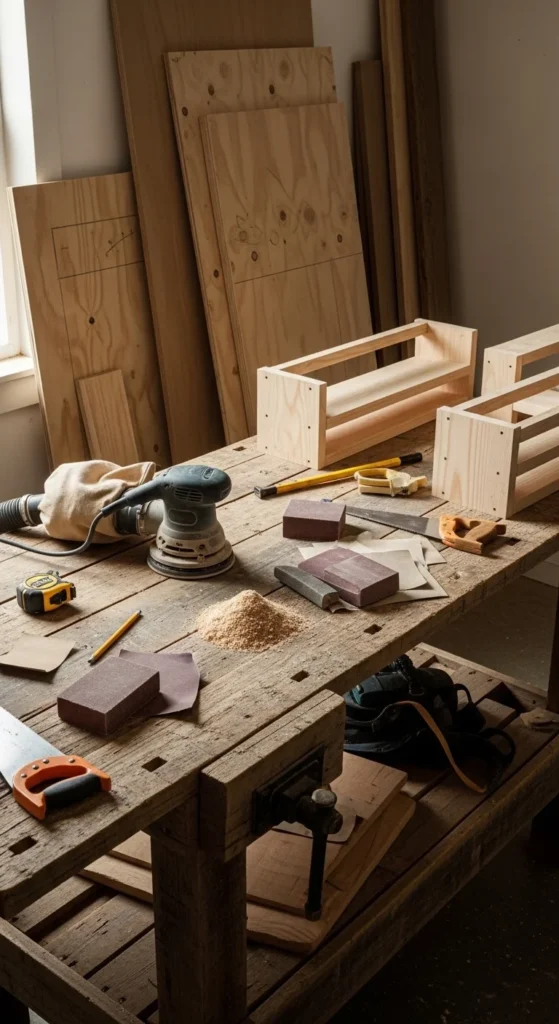
Tools & Materials You’ll Need
Basic Tool Checklist
- Stud finder
- Drill + drill bits
- Level (spirit level)
- Measuring tape
- Pencil
- Screwdriver
Materials
- Floating shelf (pre-made or DIY)
- Steel brackets (hidden type)
- Wall anchors (if no studs)
- Screws
Tip: Most guides (including Home Depot) emphasize that these basic tools are enough—no advanced equipment needed.
Step-by-Step: How to Install Floating Shelves Easily
Step 1: Choose the Perfect Spot
Decide where your shelf will go based on function and style.
- Living room: eye-level for decor
- Kitchen: above counters
- Bathroom: 10–12 inches above fixtures
Avoid placing shelves too close to outlets or switches.
Step 2: Locate Wall Studs
Use a stud finder to locate solid support behind your wall.
- Best option: Drill into studs (strongest hold)
- No studs? Use heavy-duty wall anchors
This is the most important step—almost every guide highlights it.

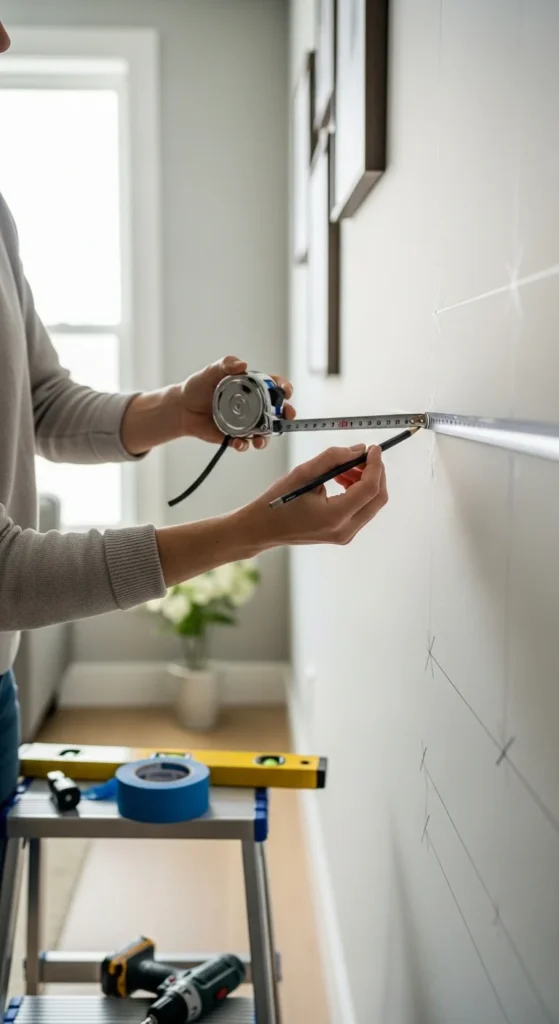
Step 3: Mark and Measure
- Mark where brackets will go
- Use a level to draw a straight line
- Double-check spacing if installing multiple shelves
Pro tip: Keep 12–18 inches between shelves for balanced spacing.
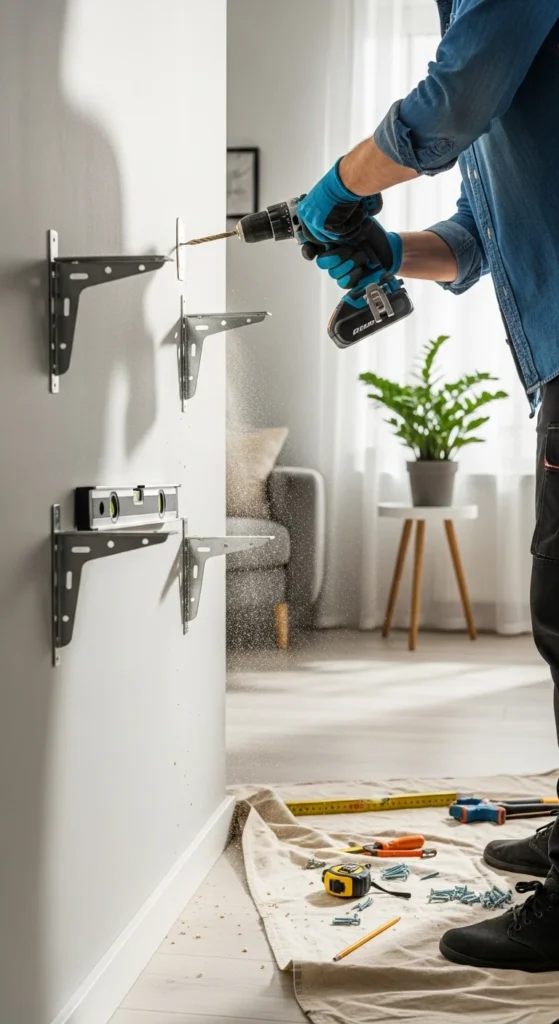
Step 4: Install the Brackets
Attach your hidden steel brackets to the wall:
- Drill pilot holes
- Secure brackets with screws
- Ensure everything is tight and stable
Brands like Ultrashelf even offer pre-measured brackets for easier installation.
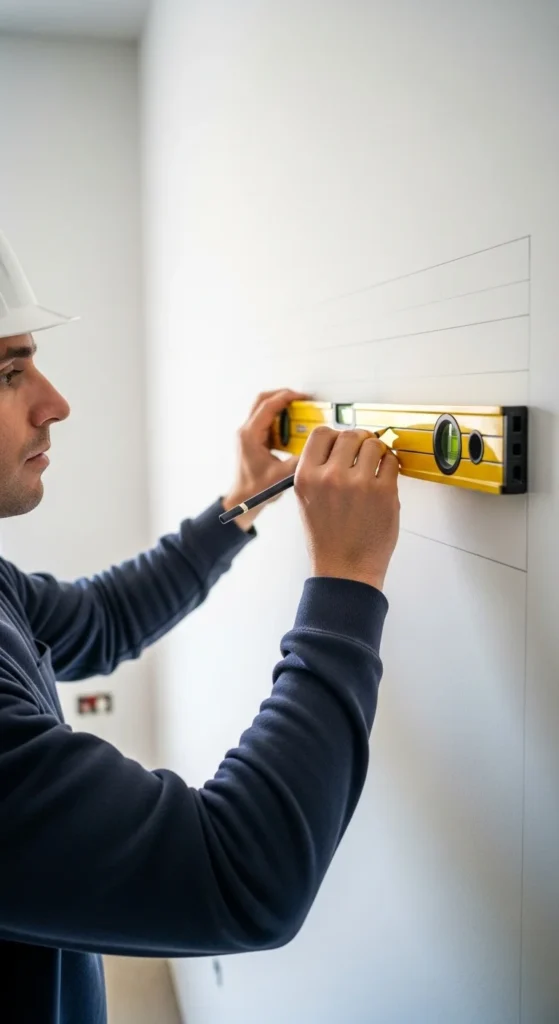
Step 5: Check Level (Critical Step)
Before moving on:
- Place a level on the brackets
- Adjust if needed
Even a slight tilt will be noticeable—don’t skip this step!

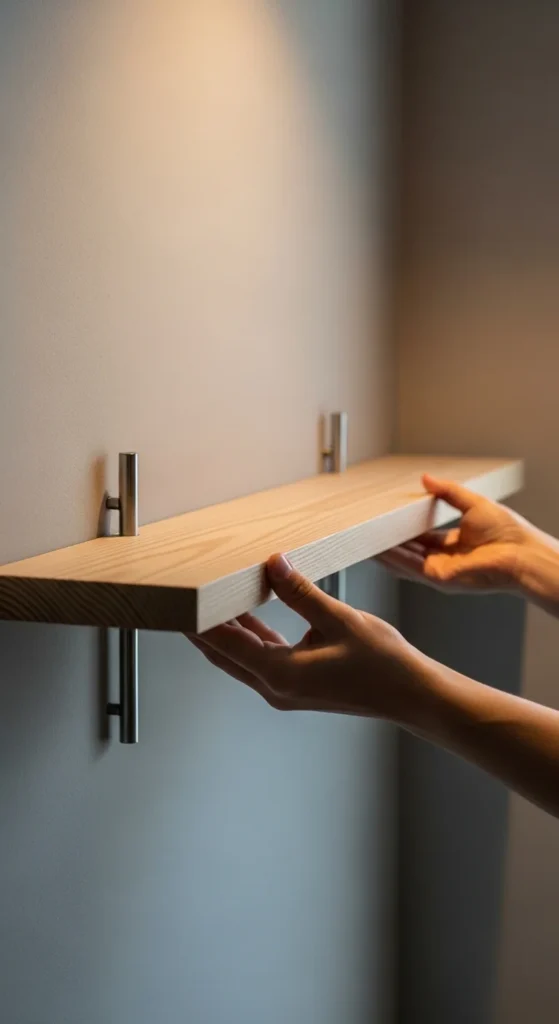
Step 6: Slide the Shelf Onto Brackets
This is where the “floating” magic happens:
- Align shelf holes with rods/brackets
- Gently slide the shelf into place
You should now see a clean, bracket-free look.
Step 7: Secure and Style
- Tighten any locking screws (if included)
- Add decor, books, or storage items
Done! Your floating shelf is ready to use.
Common Mistakes to Avoid
Skipping stud detection
Not using a level
Overloading the shelf
Uneven spacing between shelves
Using weak anchors

Pro Tips for a Perfect Finish
- Use hidden fasteners for a clean look
- Choose thicker shelves for heavy-duty storage
- Sand and paint DIY shelves before installing
- Keep weight evenly distributed
Best Uses by Room
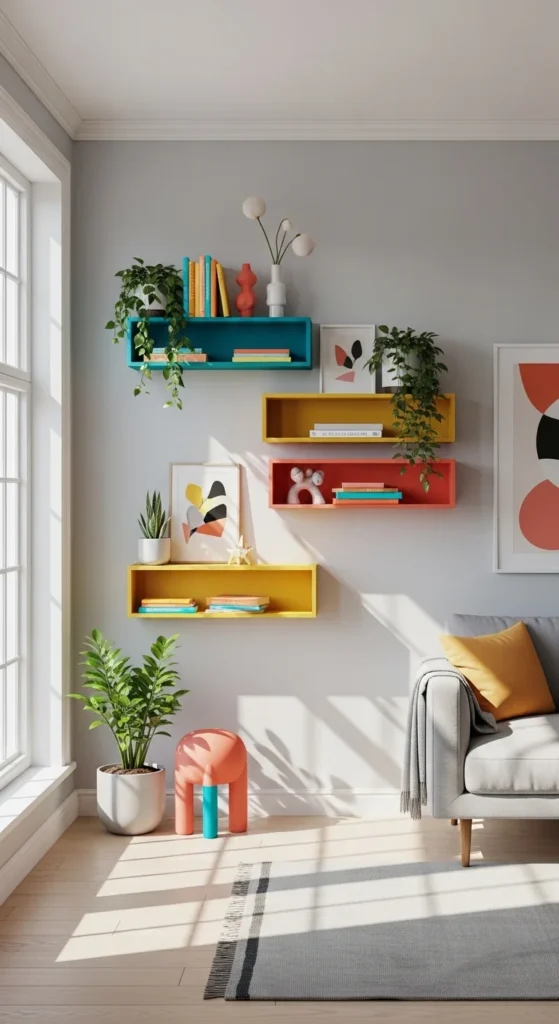
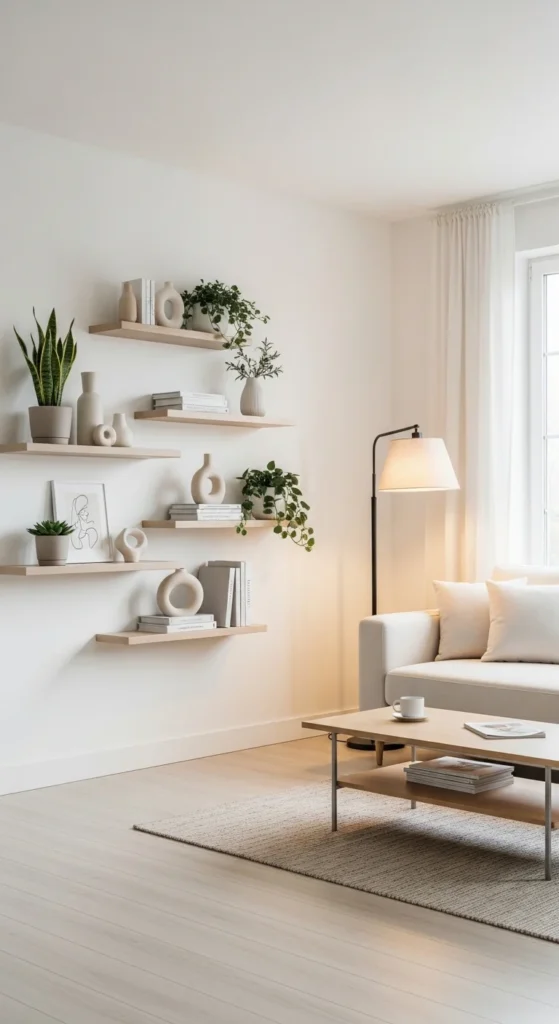
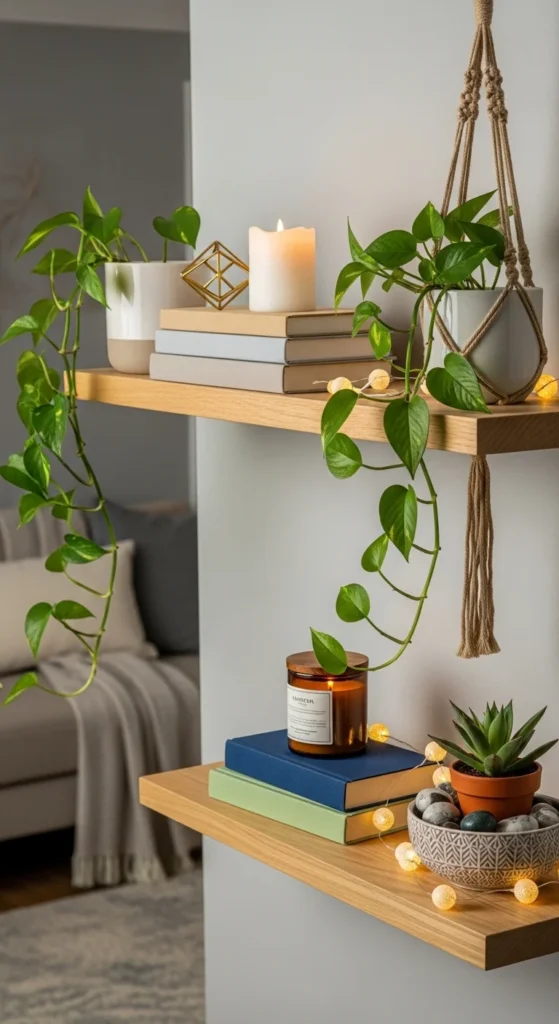
Living Room
Display books, plants, and decor pieces.
Kitchen
Store jars, spices, and small dishes.
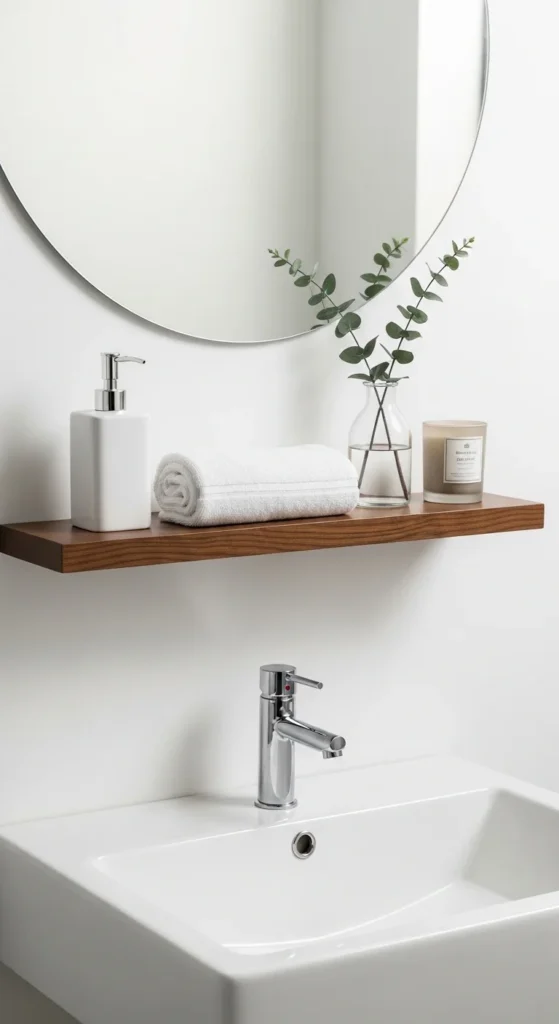
Bathroom
Create a spa-like vibe with towels and candles.
Hallway
Install multiple shelves for a gallery-style layout.
Budget-Friendly Options
- Use plywood instead of solid wood
- Buy generic brackets instead of premium brands
- Repurpose old wood for DIY shelves
Many DIY plans from Kreg Tool highlight cost-saving builds.
How Long Does It Take?
- Single shelf install: 30–60 minutes
- Multiple shelves: 1–2 hours
Perfect for a quick weekend DIY project.
Final Thoughts
Installing DIY floating shelves is easier than it looks. With just a few tools and a simple step-by-step process, you can transform any wall into a stylish and functional space.
Start with one shelf, follow the steps carefully, and you’ll quickly gain the confidence to create a full floating shelf setup anywhere in your home.