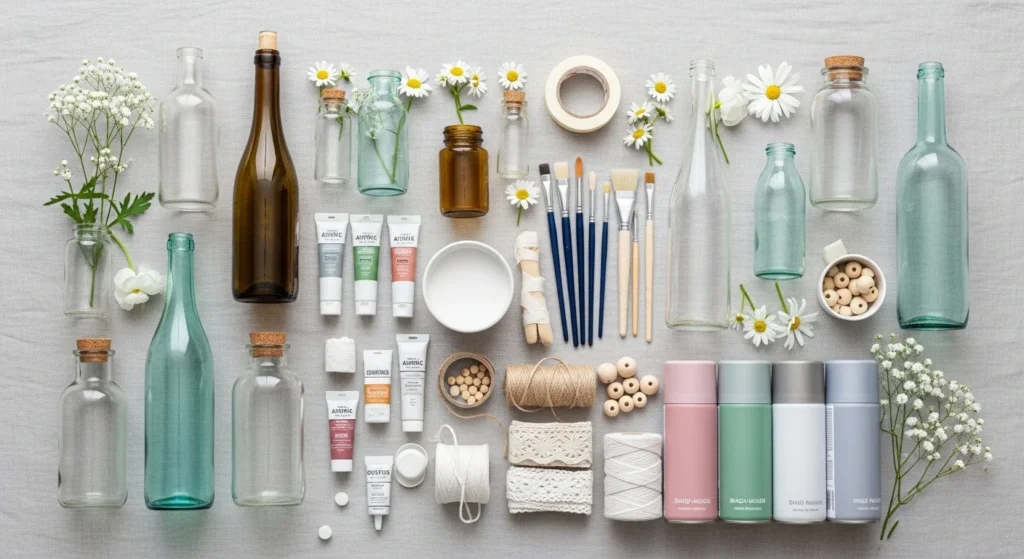
Transforming old glass bottles into beautiful decor pieces is easy, affordable, and eco-friendly. Whether you’re upcycling wine, beer, soda, or milk bottles, you can turn them into charming vases, lanterns, or accent pieces with minimal materials and no advanced art skills.
This guide walks you through beginner-friendly techniques, creative patterns, and decor tips to create handmade-look bottles perfect for your home, seasonal displays, or gifts.
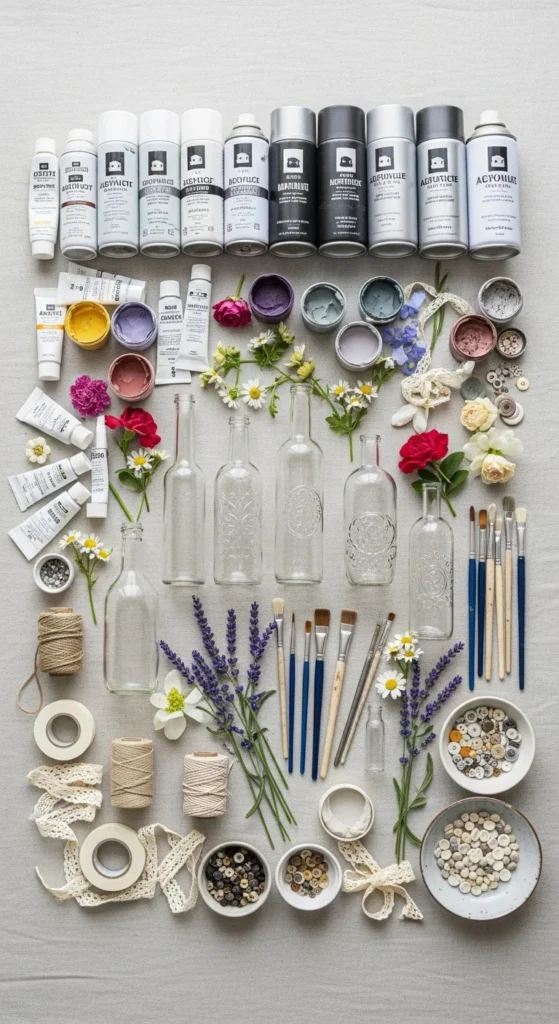
Why Upcycled Glass Bottles Make Perfect Decor
- Eco-friendly & zero-waste: Turn “trash into treasure” with bottles from your recycling bin.
- Low-cost materials: Use leftover paint, tape, and household craft supplies.
- Customizable: Match colors, patterns, and textures to your room or season.
- Beginner-friendly: Anyone can do it—no drawing skills required.
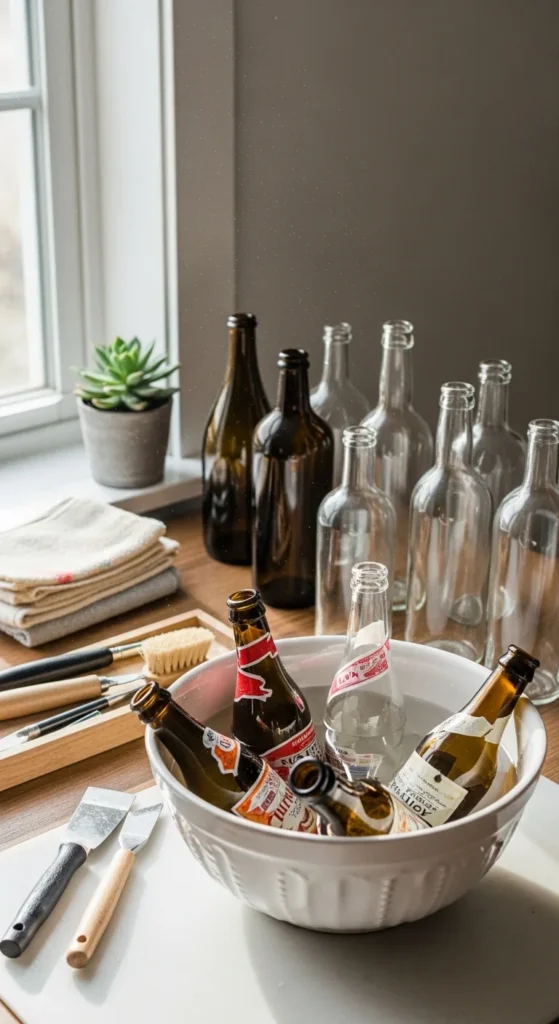
Supplies You’ll Need
Basic Supplies:
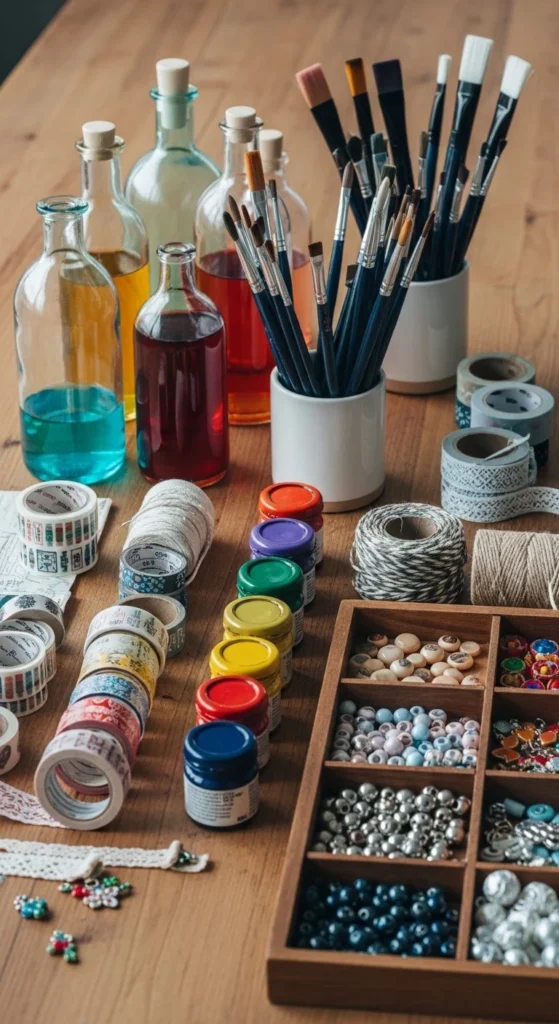
- Clear glass bottles (wine, beer, soda, milk)
- Chalk paint, acrylic paint, or spray paint
- Brushes, sponges, or cotton swabs
- Painter’s tape, washi tape, or stencils
Optional Textures & Decorations:
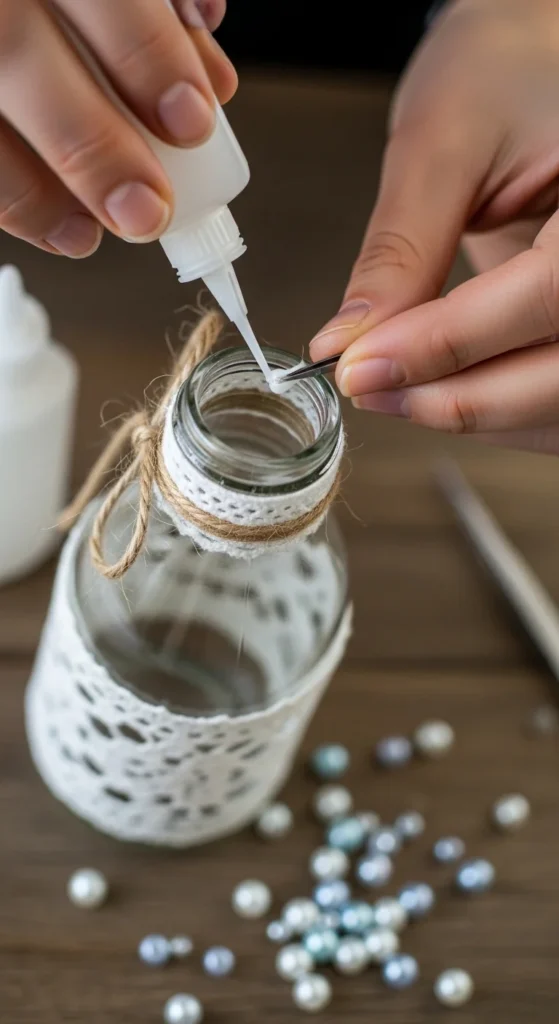
- Twine, lace, yarn, beads, pearls, or buttons
- Fairy lights for bottle lanterns
- Adhesives: hot glue or craft glue
Step 1 – Clean and Prep Your Bottles
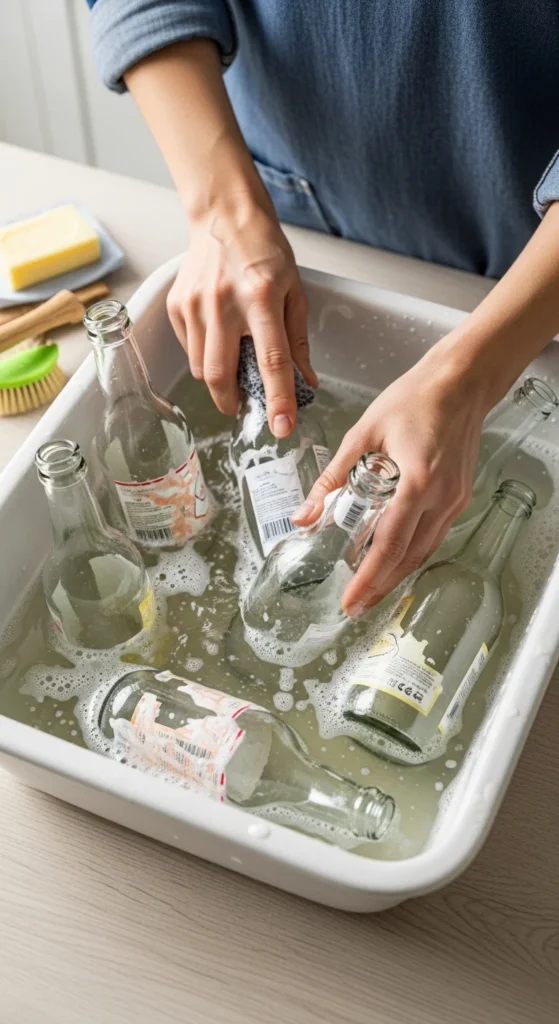
- Soak bottles in warm water to remove labels.
- Scrape off stubborn residue with a plastic scraper or Goo Gone.
- Wipe glass with rubbing alcohol for a smooth base.
Pro Tip: Proper prep prevents paint from peeling and ensures a smooth finish.
Step 2 – Choose Your Paint & Base Coat
- Chalk paint: Soft, matte, vintage look; easy to distress.
- Acrylic paint: Vibrant colors; perfect for hand-painted motifs.
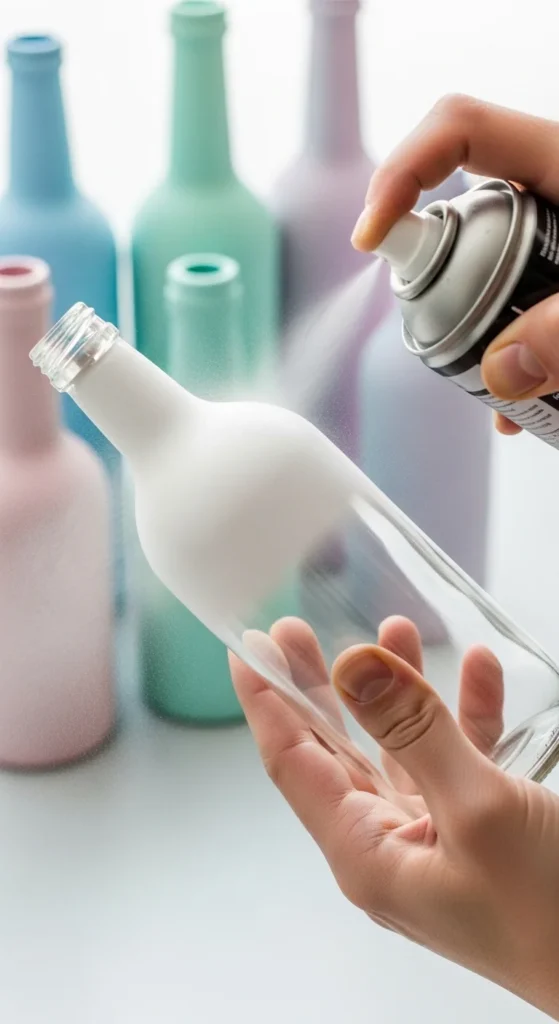
- Spray paint: Fast coverage; ideal for solid or ombre designs.
Universal 3-Step Workflow:
- Clean bottle → 2. Apply base coat → 3. Add accent colors/patterns → 4. Seal
Step 3 – Apply Patterns (Beginner-Friendly Ideas)
Tape & Stencil Patterns:
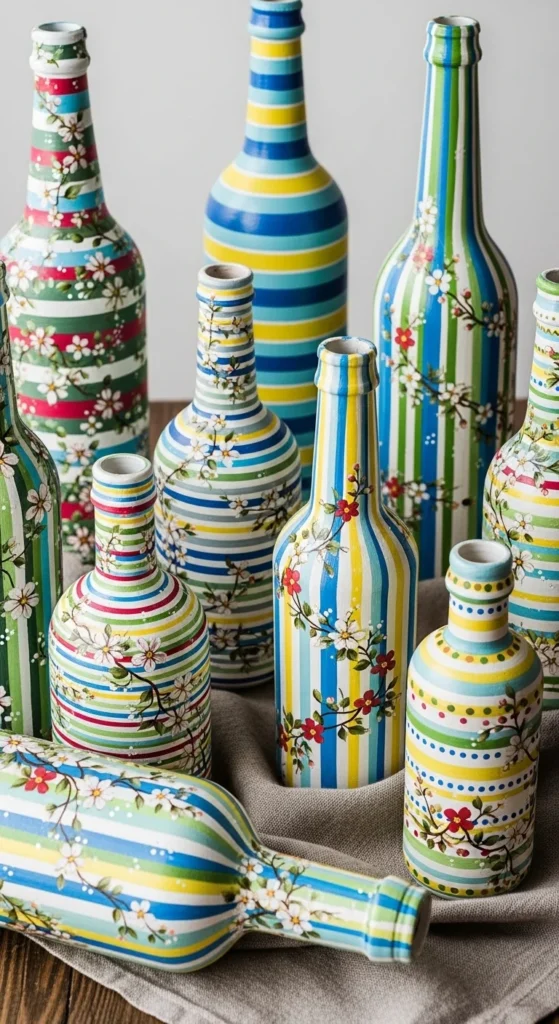
- Stripes, chevrons, polka dots, sunbursts
- Use painter’s tape or washi tape for crisp lines
Hand-Painted Motifs:
- Florals: daisies, sunflowers, lotuses
- Leaves & botanical line art
- Dot-art or 3D-outliner accents
Pro Tip: Imperfect lines = charming, handmade look. No rulers required!
Step 4 – Add Texture & Decorative Accents
- Wrap twine or yarn around the bottle neck
- Glue lace, beads, pearls, or buttons for tactile interest
- Optional: add small charms or ribbon bows for seasonal flair
Step 5 – Seal & Protect Your Bottles
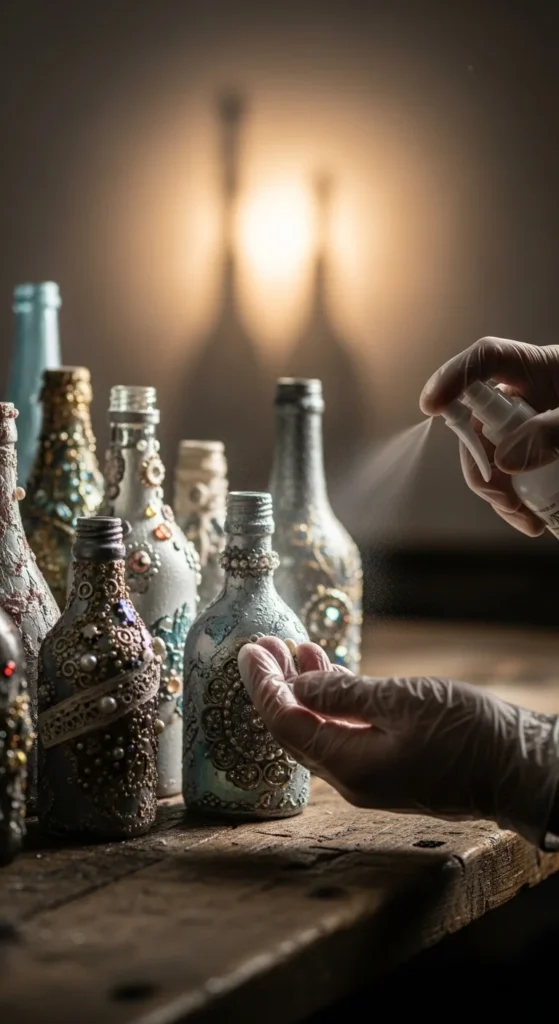
- Apply matte or gloss sealant over painted surfaces
- Avoid soaking bottles in water if using fresh flowers
- Use sealing to prevent chipping and extend longevity
Checklist:
- Rubbing-alcohol clean → base coat → accents → sealer → avoid soaking
Step 6 – Display & Use Ideas
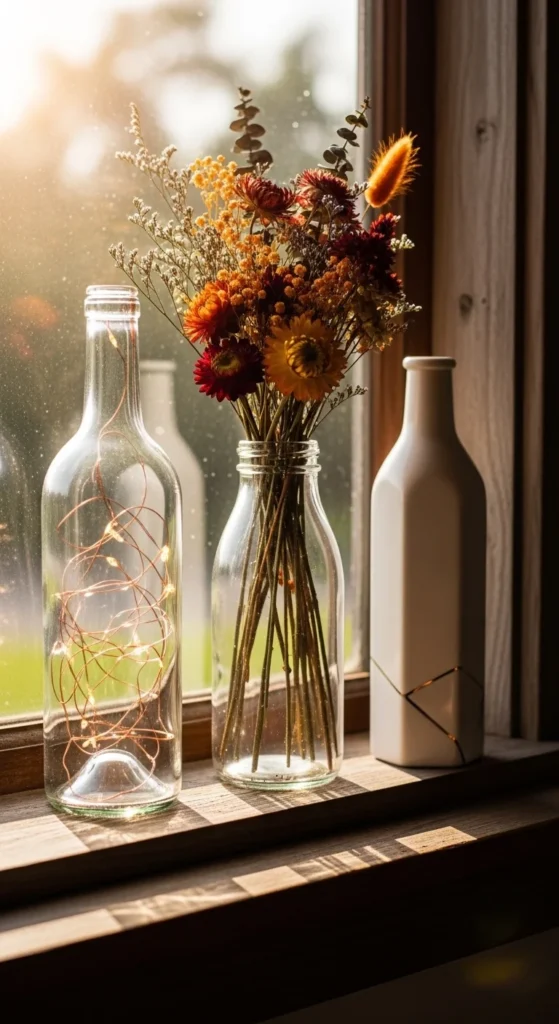
- Vases: Fresh or faux flowers
- Lanterns: Insert fairy lights for cozy glow
- Shelf accents: Arrange sets of 2–3 bottles for aesthetic impact
- Gift-ready: Add tags, ribbons, or small notes
Mini FAQ:
- Fresh vs. faux flowers? Faux is safer for painted bottles.
- Can I make a set? Yes! Coordinate colors and shapes for maximum visual appeal.
Step 7 – Seasonal & Personalized Variations
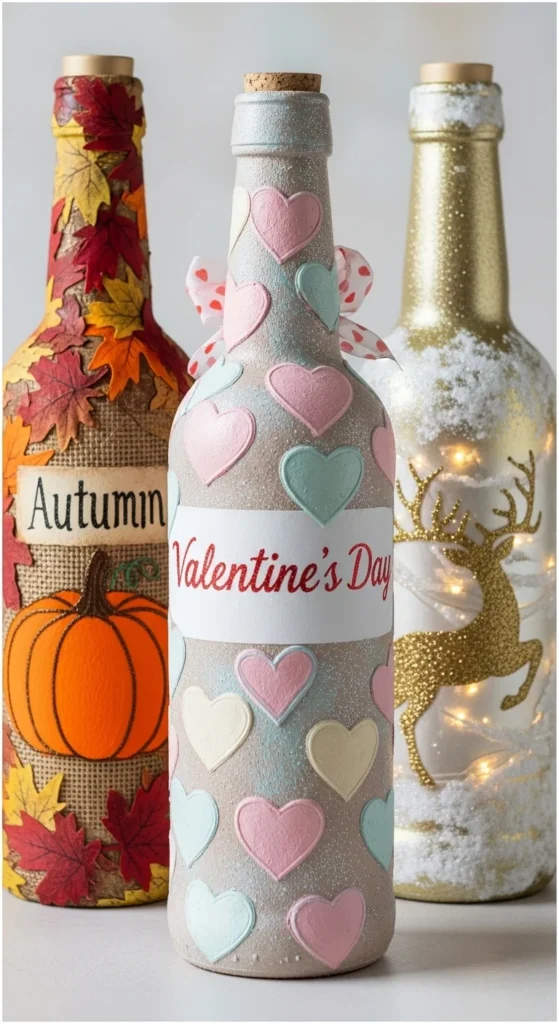
- Seasonal motifs: Hearts for Valentine’s, pumpkins for fall, reindeer for Christmas
- Minimalist style: Single color + one accent (lace, ribbon, small floral)
- Personalized bottles: Initials, monograms, or small photo transfers
Extra Tips & Tricks
- Beginner-friendly: No experience needed; start with tape or sponge techniques
- No-extra-tools: Cotton swabs, sponges, or toothpicks can make fine details
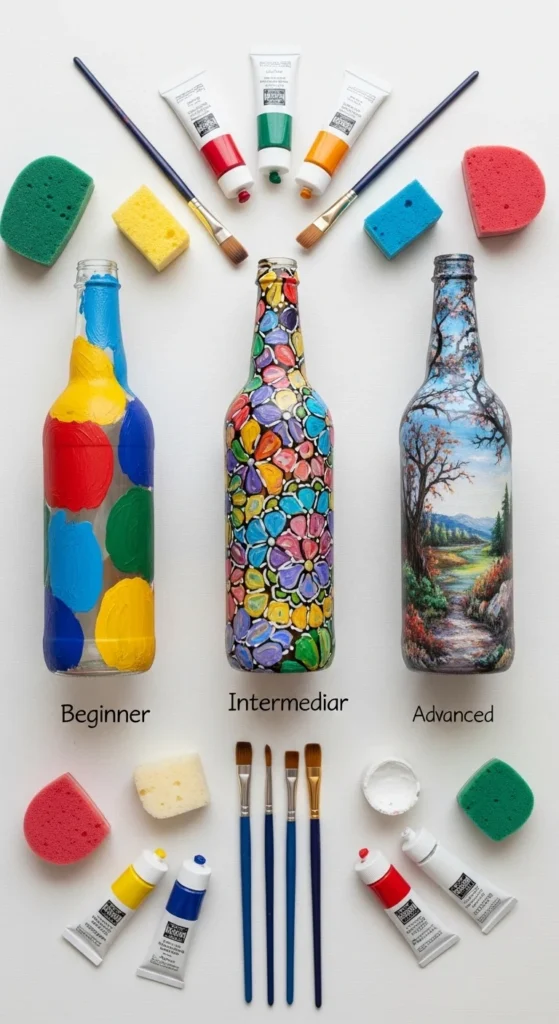
- Skill ladder: Start spray-only → hand-painted line art → dot/3D-outliner for advanced effects
- Care & cleaning: Dust lightly, avoid harsh cleaners, retouch as needed
- Color-emotion pairing: Blue = calm, orange = joy, white+gold = elegance
Final Thoughts
Decorating painted glass bottles is fun, eco-conscious, and endlessly customizable. With basic supplies and creative inspiration, you can create handmade-look bottles that brighten your space, make perfect gifts, and fit any season or style.
Start small, embrace imperfection, and enjoy turning simple bottles into charming works of art!