Introduction
Create beautiful home decor using simple air-dry clay — no oven or kiln needed
Perfect for beginners, kids, and quick weekend projects
Make trendy items like miniatures, planters, and jewelry
Use affordable tools you already have at home
Customize every piece with paint, textures, and patterns
Turn handmade clay into gifts or even sellable items
Focus on easy, aesthetic, and functional decor ideas
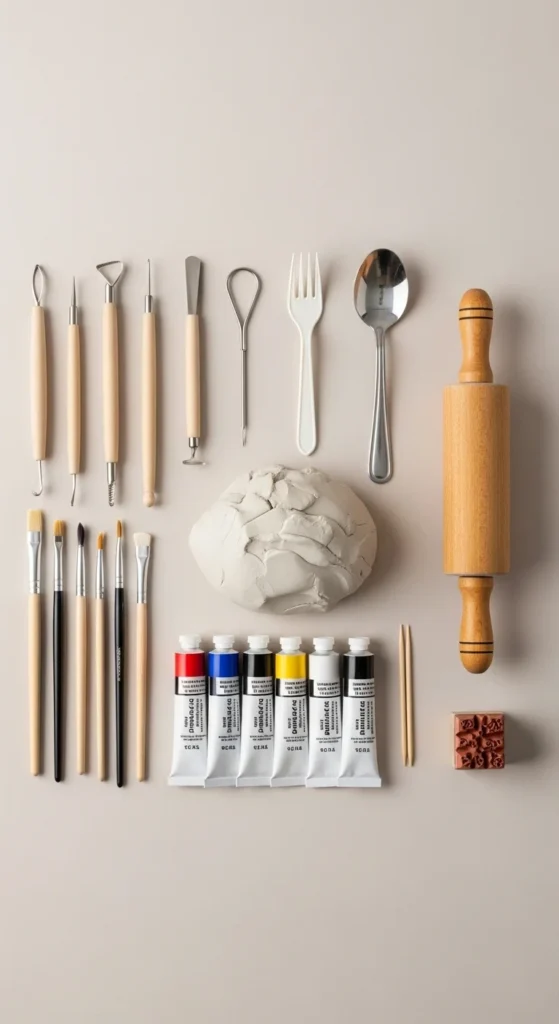
Step 1: Gather Your Clay Craft Supplies
Start simple no fancy tools required
- Air-dry clay (best for beginners, no baking needed)
- Rolling pin (or glass bottle)
- Toothpick or قلم for detailing
- Cookie cutters or lids for shapes
- Acrylic paints for finishing
- Clear varnish or sealant
Beginner Tip: You can use kitchen tools instead of buying expensive kits
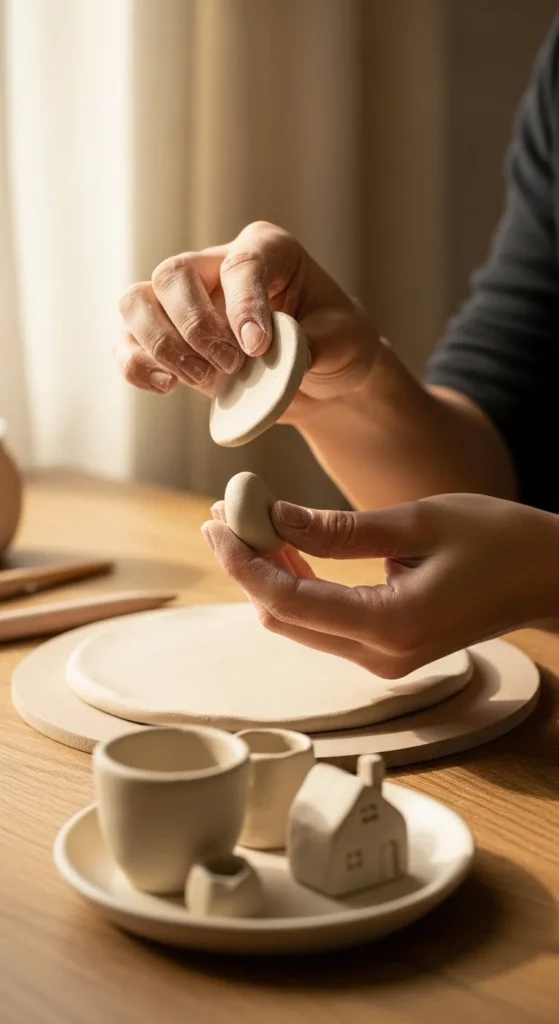
Step 2: Shape Your Clay (Keep It Simple First)
Start with easy beginner-friendly shapes
- Roll clay evenly (not too thin to avoid cracks)
- Cut circles for coasters or dishes
- Shape small balls for beads or mini decor
- Use fingers to mold simple forms
Start with basic shapes before trying detailed designs
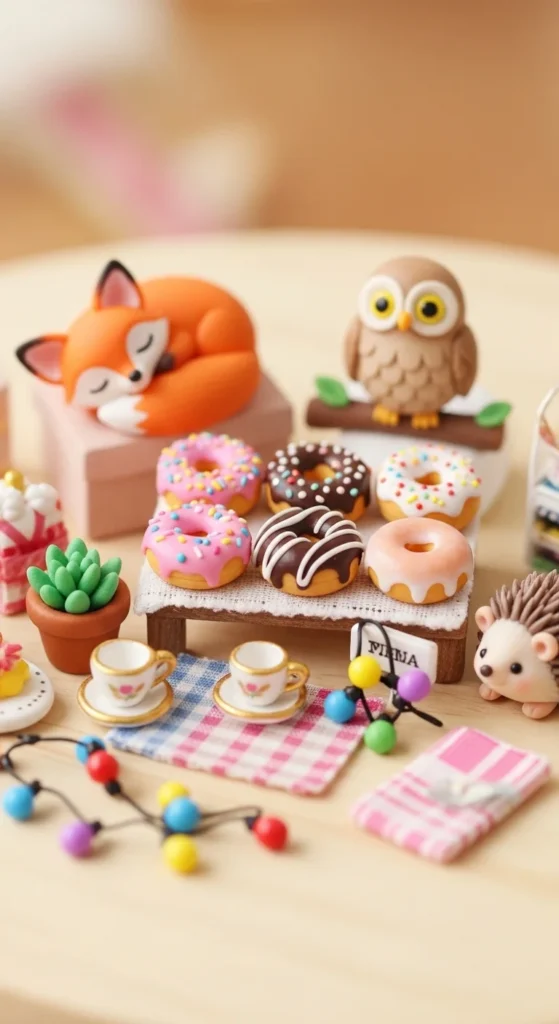
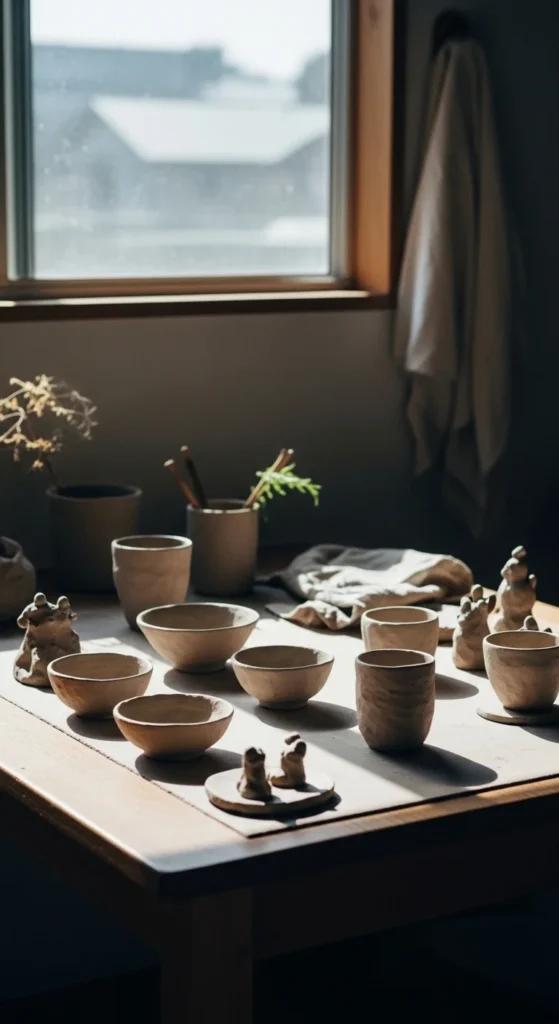
Step 3: Try Trending Mini Clay Projects
These ideas are popular and easy to make
- Mini food (donuts, fruits)
- Cute animals (frogs, birds, dinos)
- Small magnets or charms
- Tiny decorative objects
Miniatures are trending because they’re quick, cute, and shareable
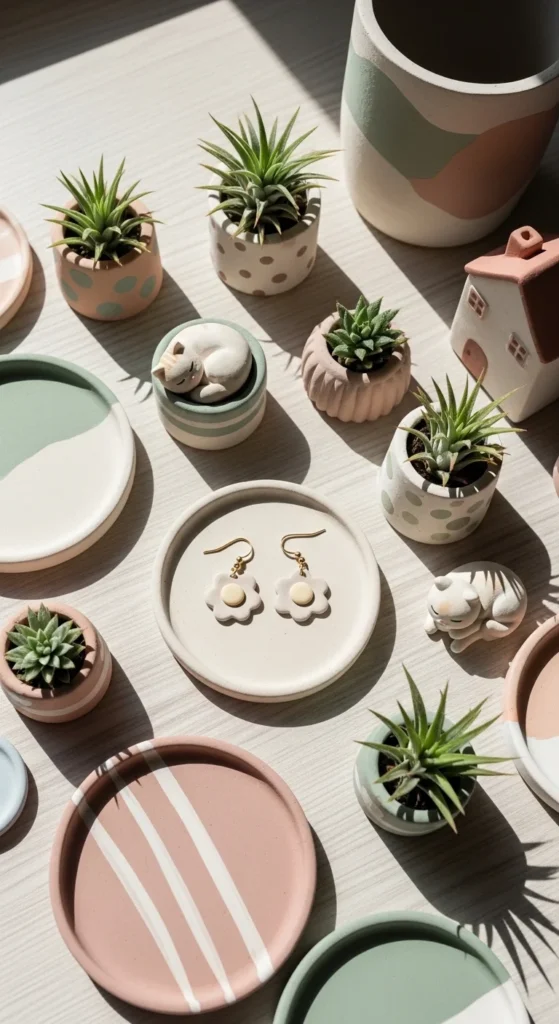
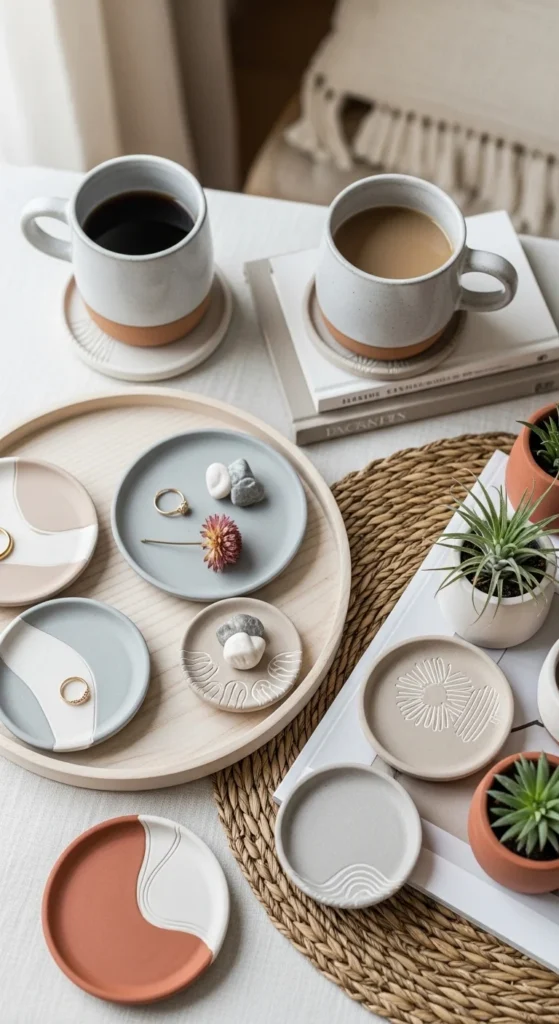
Step 4: Create Functional Home Decor
Turn clay into useful items
- Trinket dishes for jewelry
- Coasters for coffee tables
- Mini planters or pots
- Candle holders
Functional crafts are perfect for gifts and everyday use
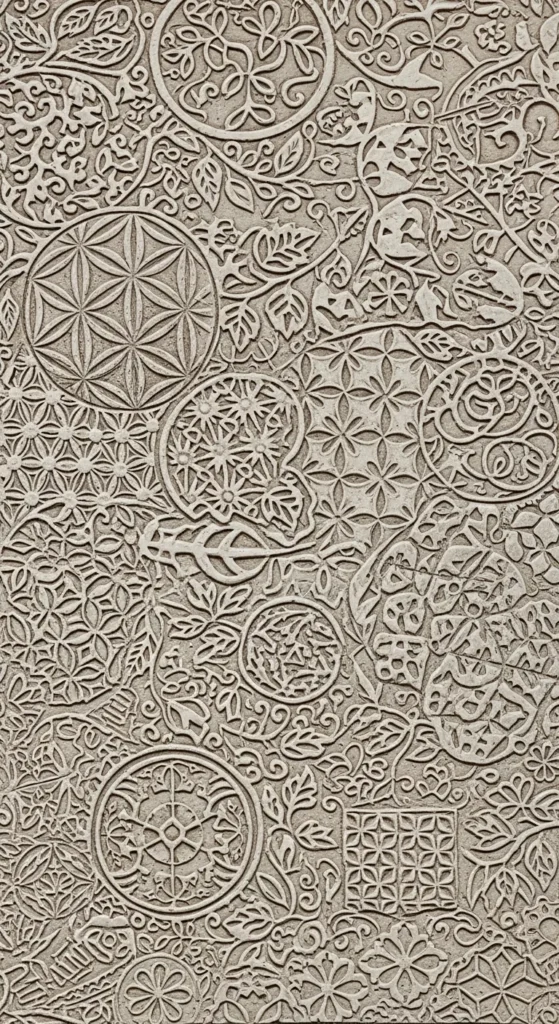
Step 5: Add Texture & Design Details
Make your crafts look professional
- Press leaves or fabric for texture
- Use toothpick to draw patterns
- Try marble effect by mixing colors
- Create geometric or minimalist designs
Textures instantly upgrade simple clay projects
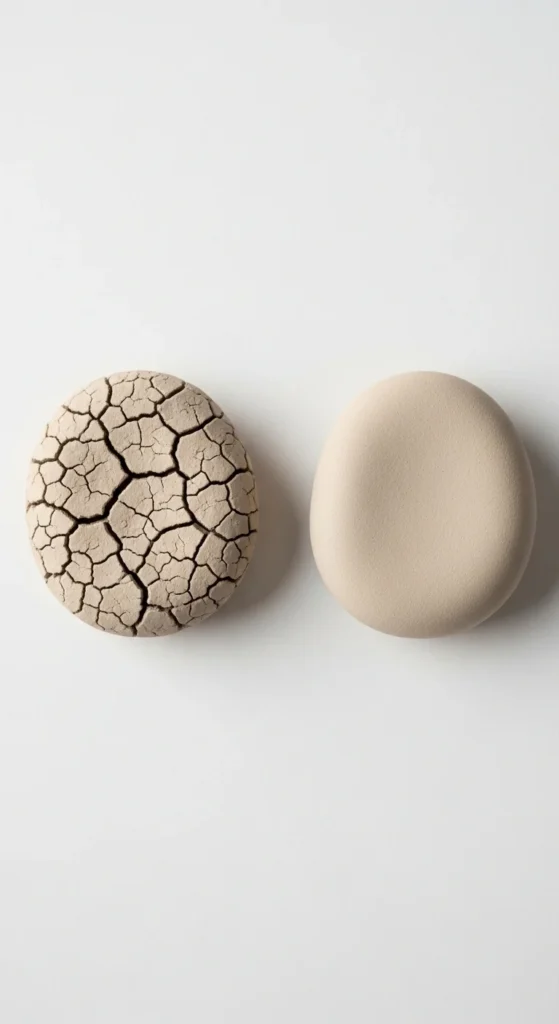
Step 6: Let It Dry Properly
Drying is the most important step
- Leave clay to air dry for 24–48 hours
- Flip pieces halfway for even drying
- Keep away from moisture
- Avoid rushing the process
Slow drying helps prevent cracks
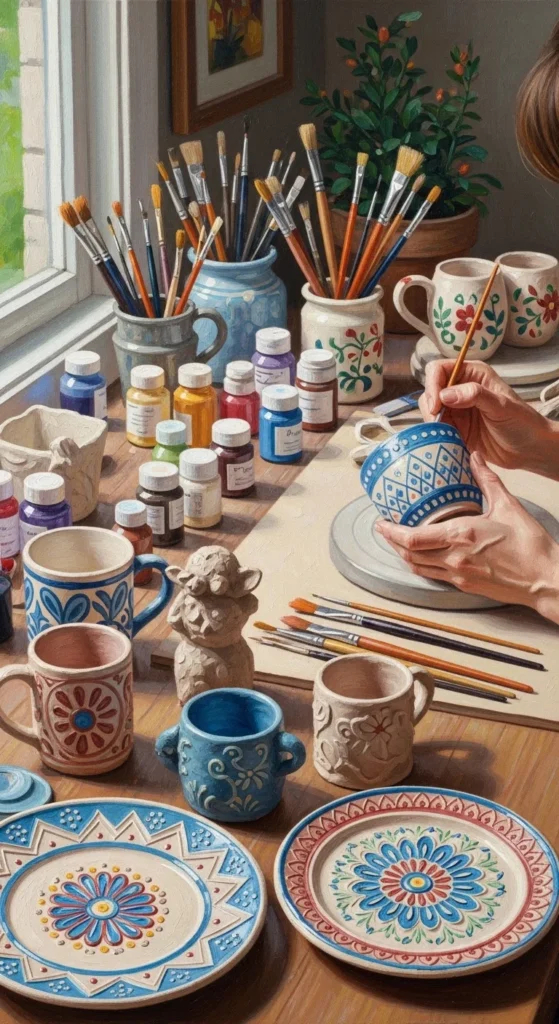
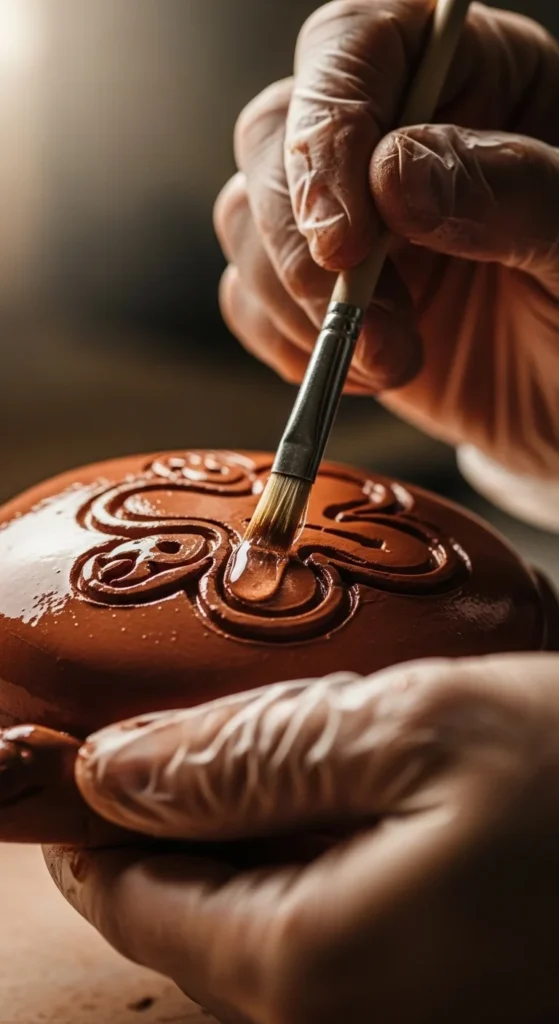
Step 7: Paint and Customize Your Designs
Bring your creations to life
- Use acrylic paints for vibrant colors
- Try neutral tones for modern decor
- Add gold accents for luxury look
- Create patterns or color blocking
Painting transforms basic clay into designer decor
Step 8: Seal for Durability
Protect your finished pieces
- Apply clear varnish or sealant
- Adds shine and water resistance
- Makes items long-lasting
- Especially important for coasters and planters
Sealing prevents damage and improves finish
Step 9: Avoid Common Clay Mistakes
Get smooth, crack-free results
- Don’t roll clay too thin
- Avoid drying in humid areas
- Smooth edges with water before drying
- Don’t skip sealing step
Most problems come from improper drying or thickness
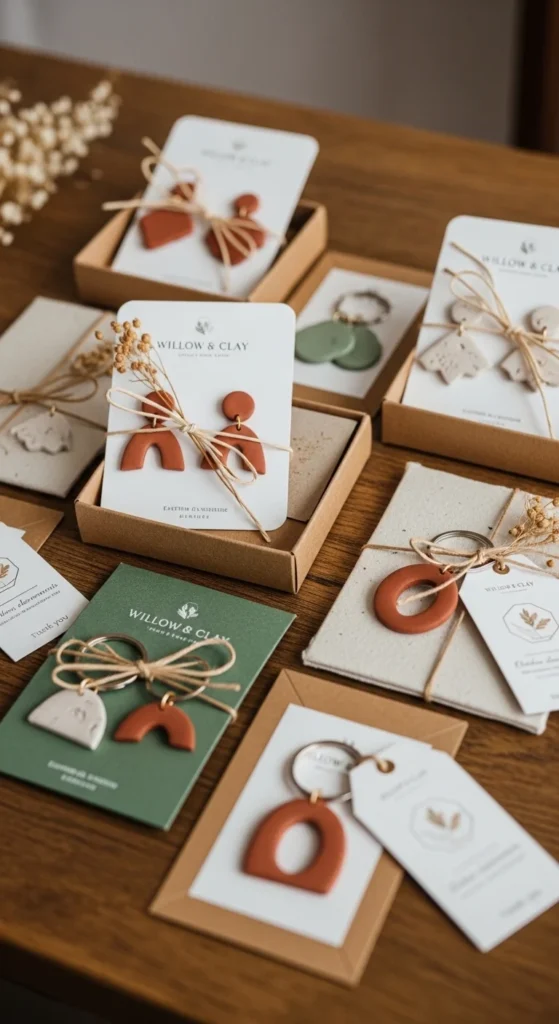
Step 10: Turn Clay Crafts Into Gifts or Income
Your creations can go beyond decor
- Make personalized gifts (names, shapes)
- Sell items like keychains or earrings
- Create small decor sets
- Package beautifully for selling
Simple clay crafts can become a profitable side hustle
Final Thoughts
DIY clay crafts are one of the easiest ways to create trendy decor at home
With just Air-dry clay and simple tools, you can make endless designs
Start small, focus on simple shapes, and build your skills step by step
From miniatures to functional decor, the possibilities are endless
Enjoy the process and experiment with styles and textures
With a little creativity, clay can turn into beautiful, handmade art for your home