Create a fully organized home using simple DIY storage bins made from household items
Perfect for kitchens, garages, closets, and small spaces
Turn cardboard, cereal boxes, fabric, and jars into smart storage solutions
Save money with zero-cost or low-cost upcycling hacks
Upgrade your space with clear bins, labels, and stackable systems
Mix DIY creativity with functional organization
Focus on simple, aesthetic, and practical storage ideas
Step 1: Collect Simple Household Materials
Start with what you already have at home
- Cardboard boxes (cereal, shipping boxes, shoe boxes)
- Fabric scraps or wrapping paper
- Glass jars and containers
- Old baskets or plastic containers
- Tape, glue, scissors
- Labels or marker pens
Beginner Tip: You don’t need new supplies — everything can be upcycled
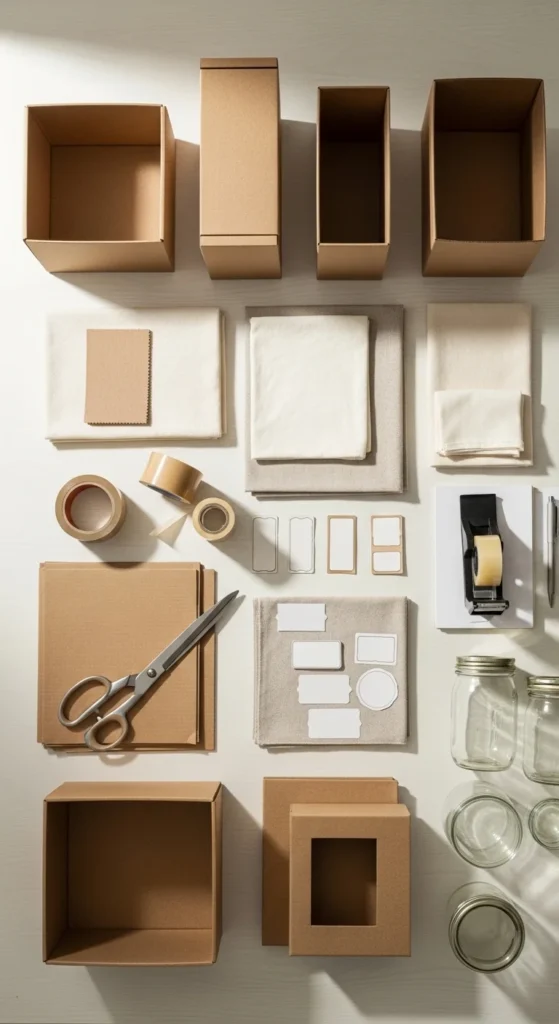
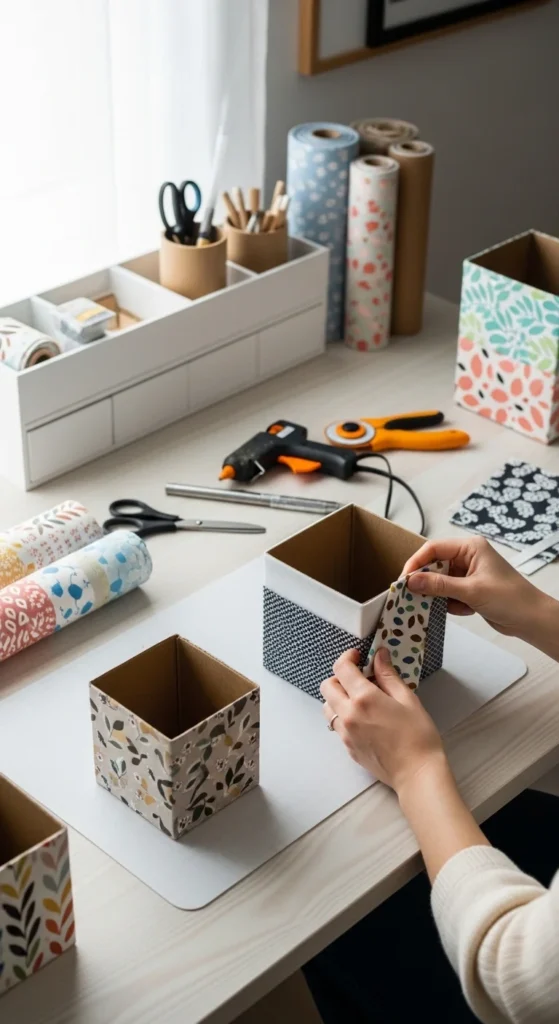
Step 2: Make Cardboard DIY Storage Bins
Turn waste boxes into custom organizers
- Cut cardboard into desired bin shape
- Reinforce edges with tape or glue
- Wrap with fabric or decorative paper
- Add handles for easy pulling
Perfect for desks, shelves, and kids’ storage
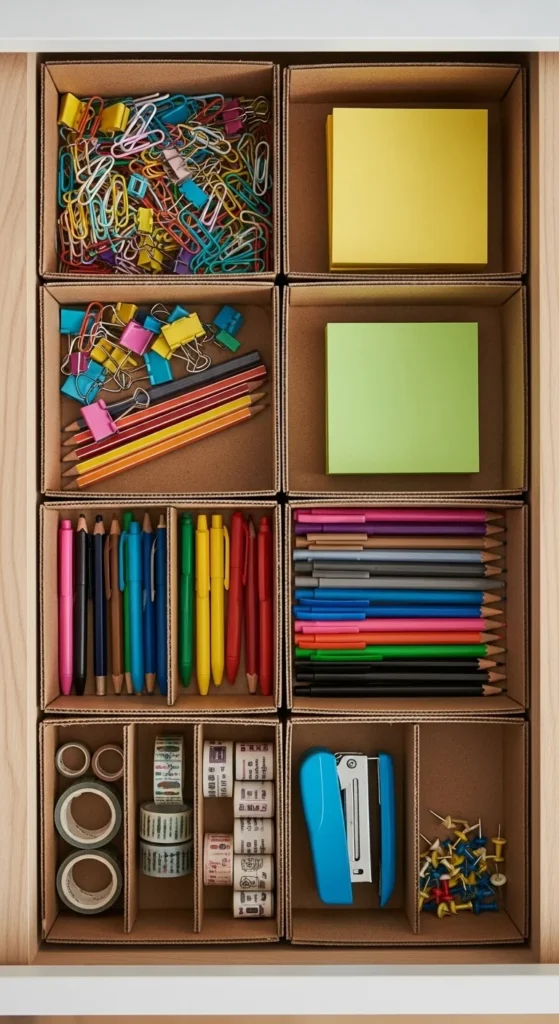
Step 3: Create Drawer Dividers from Cereal Boxes
Free and effective organization hack
- Cut cereal boxes into smaller sections
- Fit inside drawers as compartments
- Cover with paper for a clean look
- Sort pens, makeup, or kitchen tools
Best zero-cost organization method
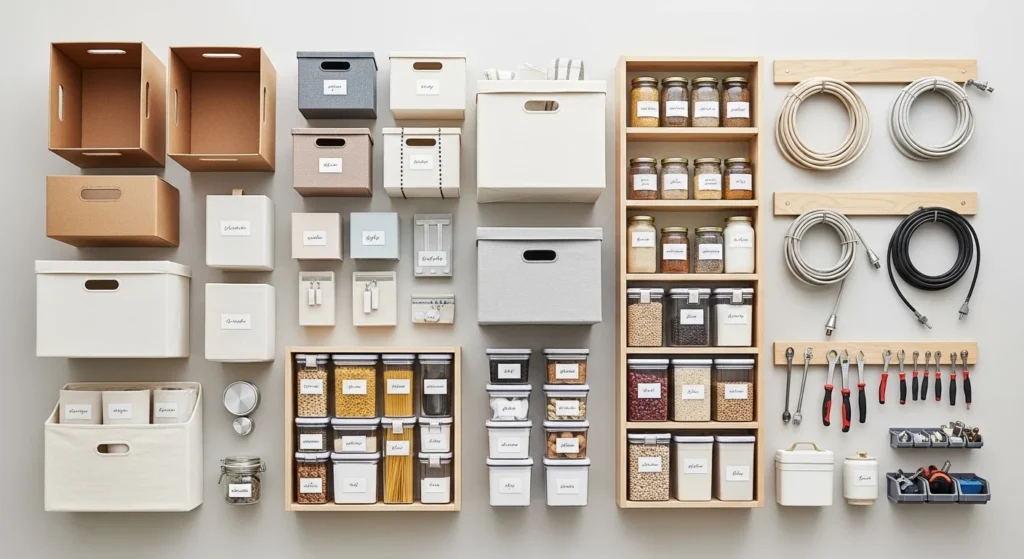
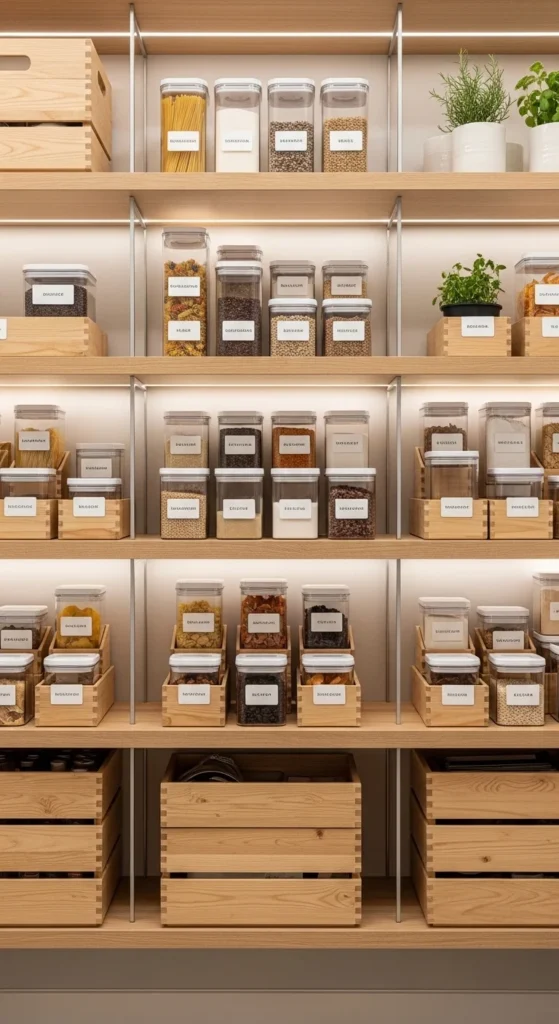
Step 4: Build Pantry Storage with Stackable Systems
Upgrade kitchen organization
- Use plywood or sturdy boxes for shelves
- Create stackable bin layers
- Label each container clearly
- Store snacks, spices, or dry goods
Stackable systems save vertical space
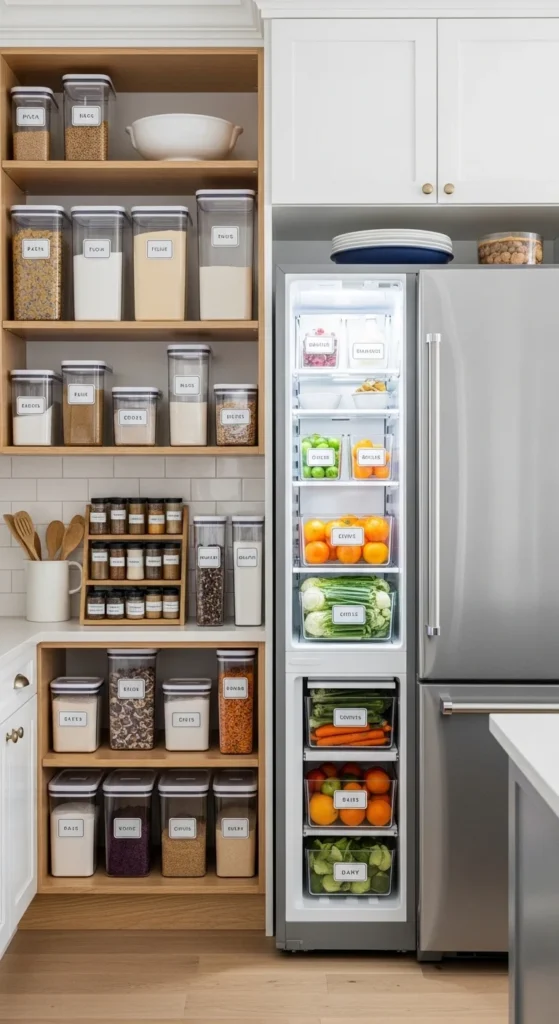
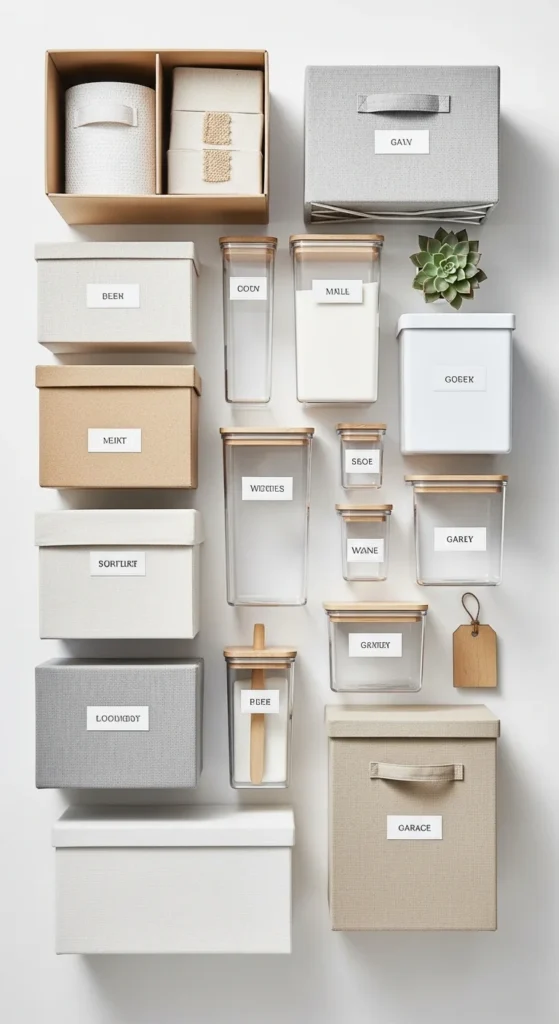
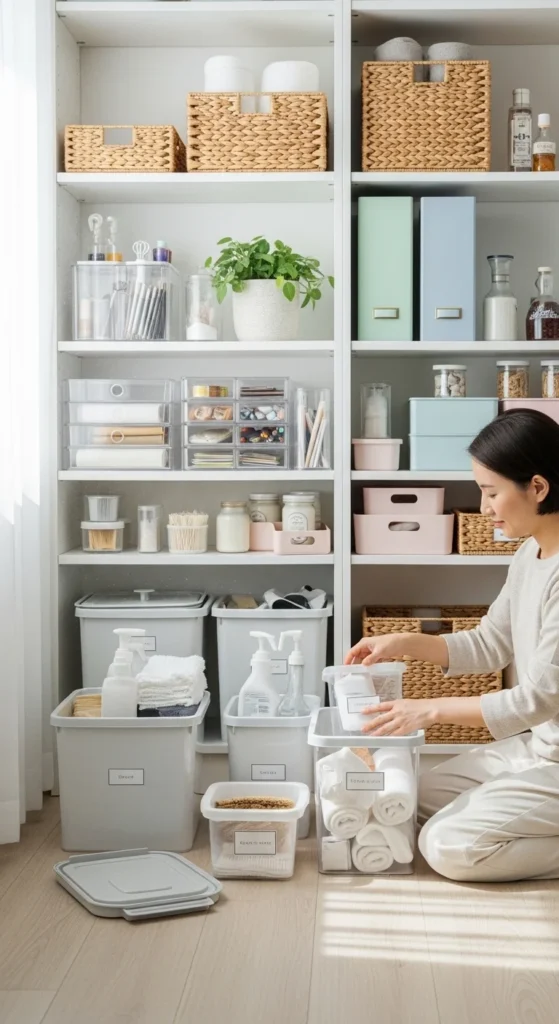
Step 5: Use Clear Bins for Visibility Storage
Make everything easy to find
- Use transparent plastic bins
- Group similar items together
- Add printed or handwritten labels
- Ideal for fridge, pantry, and closets
Clear bins reduce clutter instantly
Step 6: Organize Garage with Tote Rack Systems
Heavy-duty storage solution
- Build simple 2×4 wooden rack
- Store large plastic totes (27-gallon bins)
- Stack by category (tools, holiday, sports)
- Label each container clearly
Prevents stacking chaos in garages

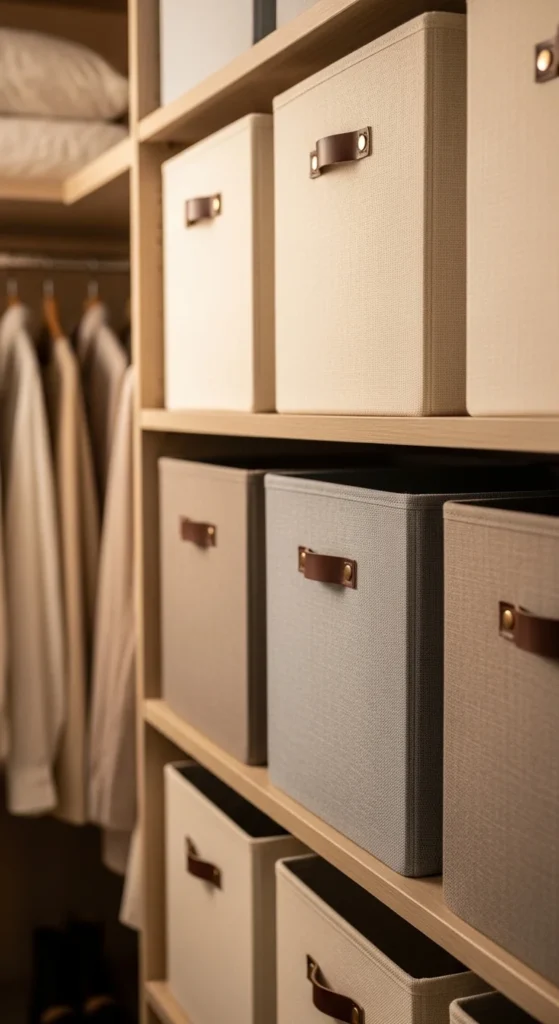
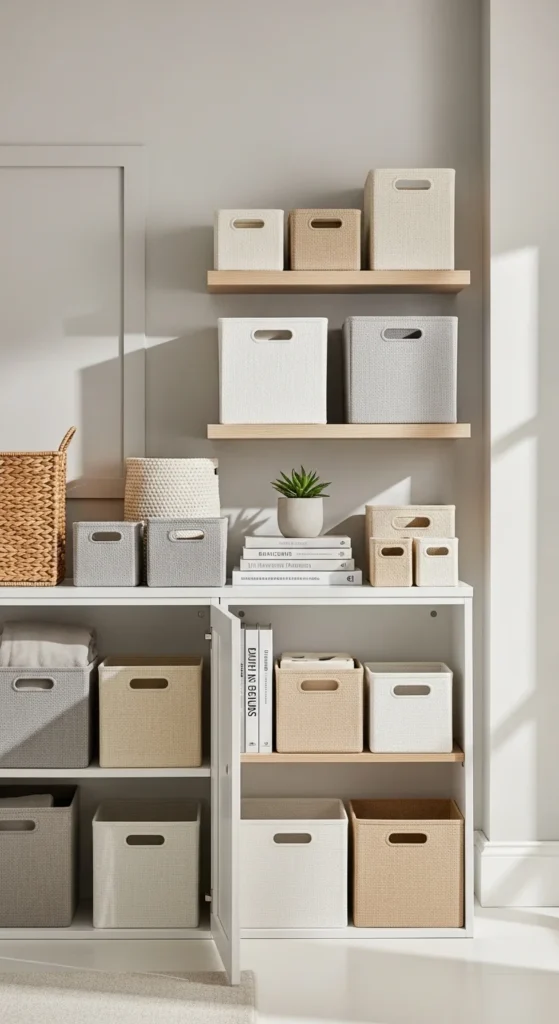
Step 7: Make Fabric Storage Bins
Soft and stylish organization
- Sew or glue fabric around boxes
- Add handles for easy use
- Perfect for laundry or closets
- Match fabric to home decor style
Fabric bins make storage look aesthetic
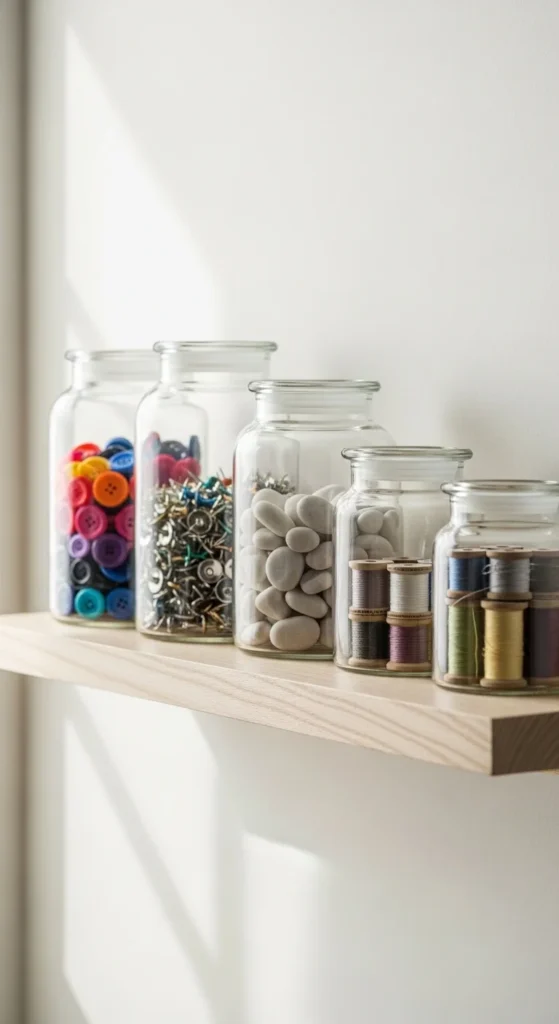
Step 8: Repurpose Glass Jars & Small Containers
Perfect for tiny items
- Store cotton, beads, spices, screws
- Arrange on shelves or drawers
- Add labels for easy access
- Group similar sizes together
Jars make clutter look organized instantly
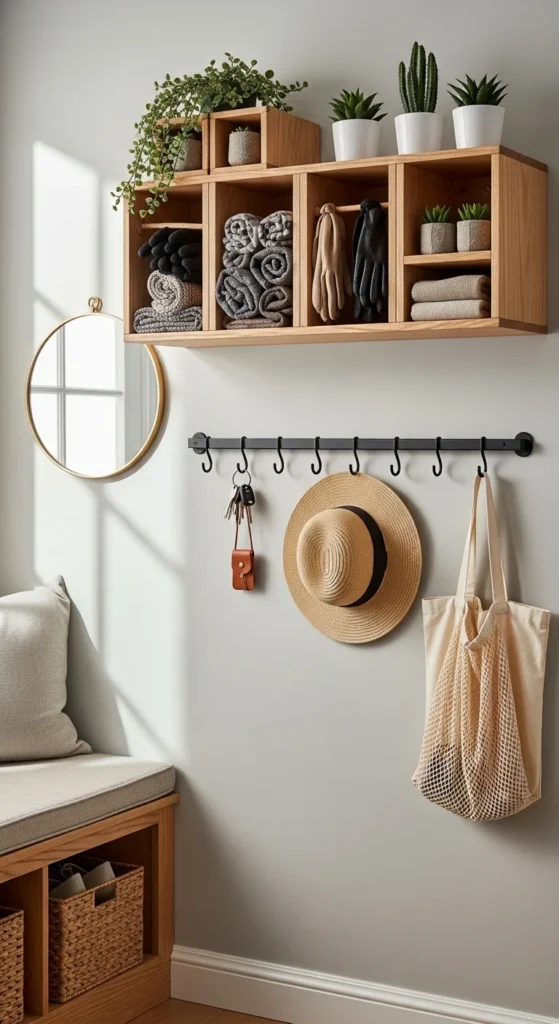
Step 9: Create Vertical Wall Storage
Maximize unused space
- Attach hooks or pegs to walls
- Hang baskets or small bins
- Use behind doors or inside closets
- Great for kitchens and entryways
Vertical storage saves floor space
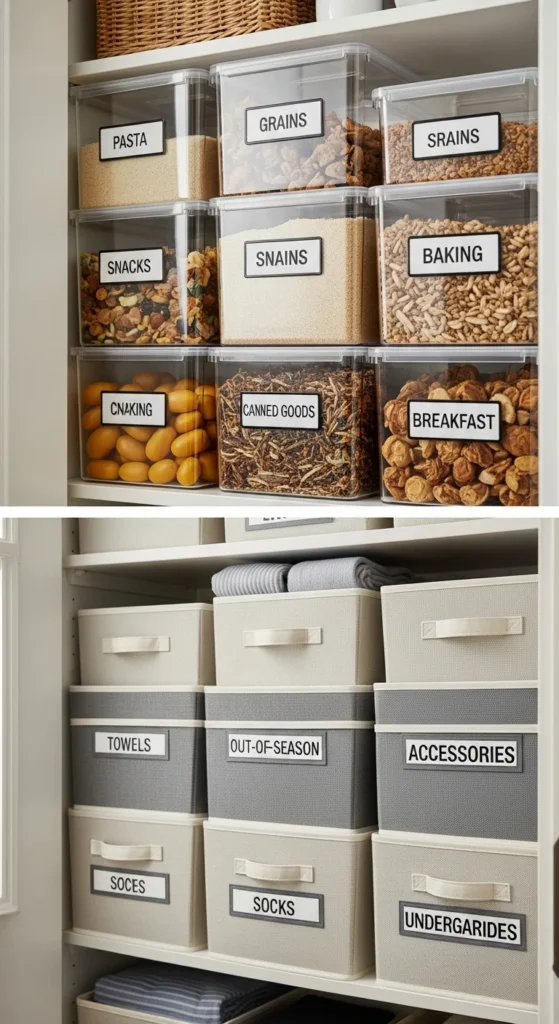
Step 10: Label Everything for Easy Organization
Final step for long-term order
- Use printed or handwritten labels
- Label categories (seasonal, kitchen, tools)
- Use color coding if needed
- Keep system consistent
Labels make any system last longer
Step 11: Upgrade Aesthetic with Simple Styling
Make storage look beautiful
- Wrap boxes in matching colors
- Use neutral or pastel tones
- Add decorative baskets
- Keep design minimal and clean
Good storage should also look good
Step 12: Maintain and Rotate Your Storage System
Keep organization long-term
- Do weekly decluttering
- Rotate seasonal items
- Update labels when needed
- Replace damaged bins
Consistency keeps your system working
Final Thoughts
DIY storage bins are one of the easiest ways to create a clean and organized home without spending much
With simple materials like cardboard, fabric, and jars, you can build a fully functional storage system
From kitchens to garages, every space becomes more usable and visually clean
Start small, reuse materials, and build your system step by step
Focus on function, visibility, and simplicity
With a little creativity, everyday waste can turn into a smart and beautiful organization system