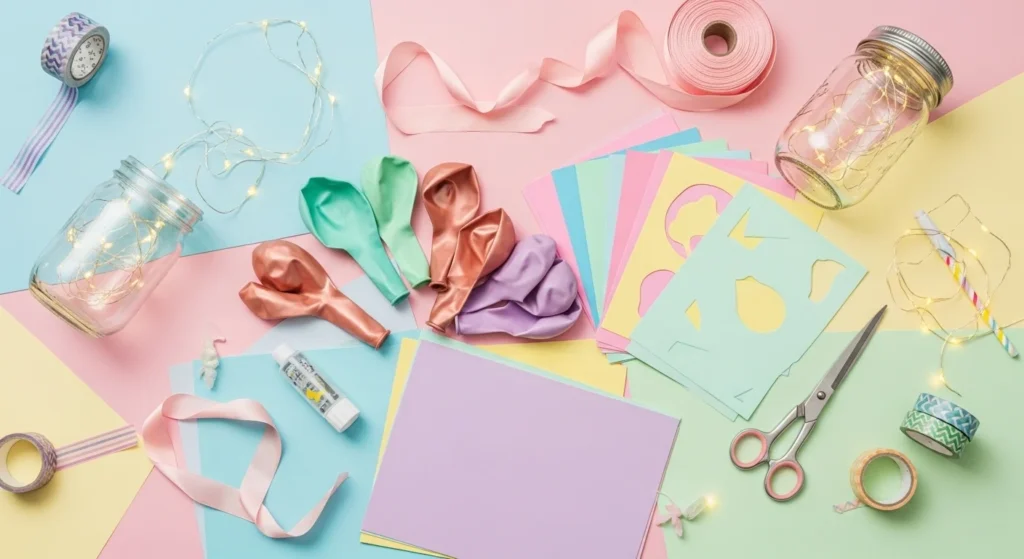
Decorating a party doesn’t have to be expensive or stressful. With DIY party decorations, you can create a beautiful, cohesive, and “professional-looking” setup using simple materials, creative ideas, and a clear plan.
This guide walks you through step-by-step DIY decoration ideas, from choosing a theme to creating balloon backdrops, paper decor, lighting, and centerpieces—all while staying budget-friendly and beginner-friendly.
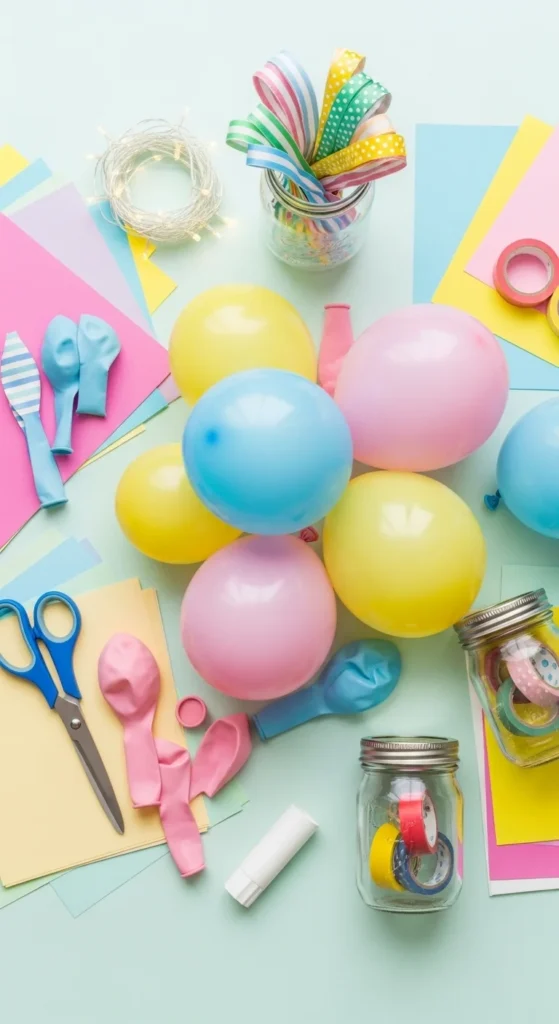
Why DIY Party Decorations Are the Best Choice
- Budget-friendly: Save money compared to hiring decorators
- Customizable: Match your exact theme, colors, and style
- Beginner-friendly: No professional skills needed
- Eco-friendly: Use recycled materials like jars and paper
- Personal touch: Add names, photos, and meaningful elements
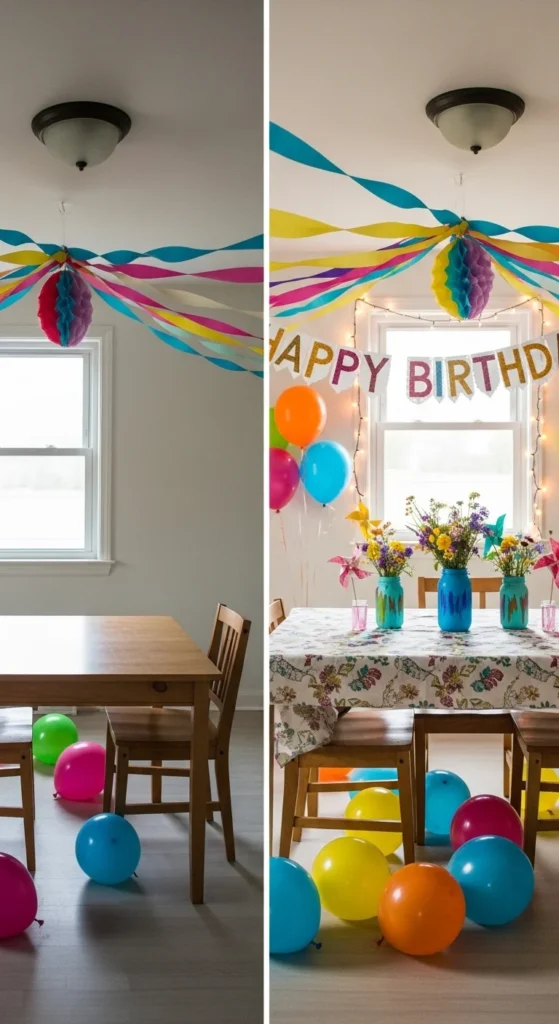
Supplies You’ll Need (5-Item Starter Kit)
Basic Essentials:
- Balloons (latex or biodegradable)
- Colored paper / crepe paper
- Glue, tape, or hot glue gun
- String, ribbon, or twine
- Scissors
Optional Add-Ons:
- Fairy lights / LED string lights
- Mason jars or glass bottles
- Flowers or leaves (real or artificial)
- Printed photos or name banners
Pro Tip: A small craft kit can save you money on every future party.
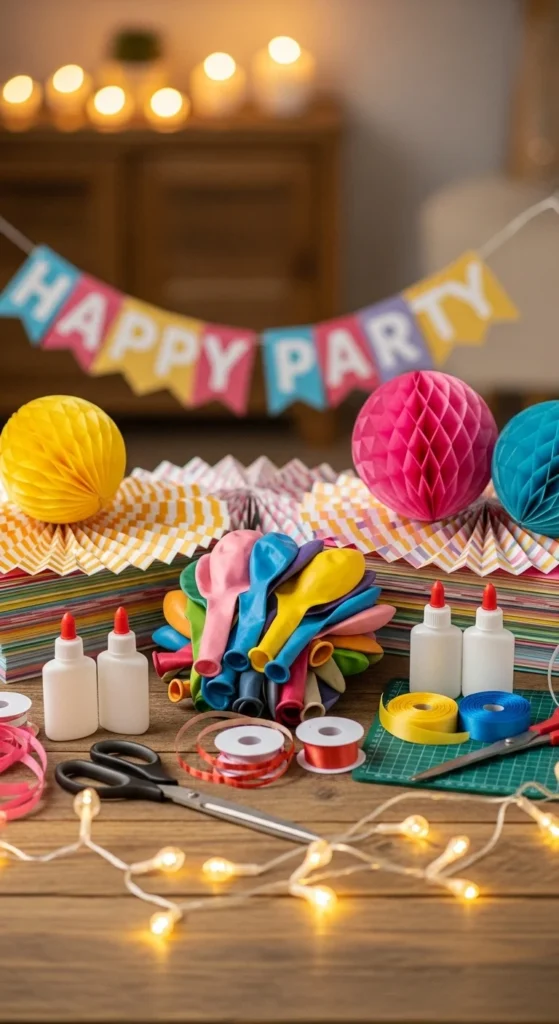
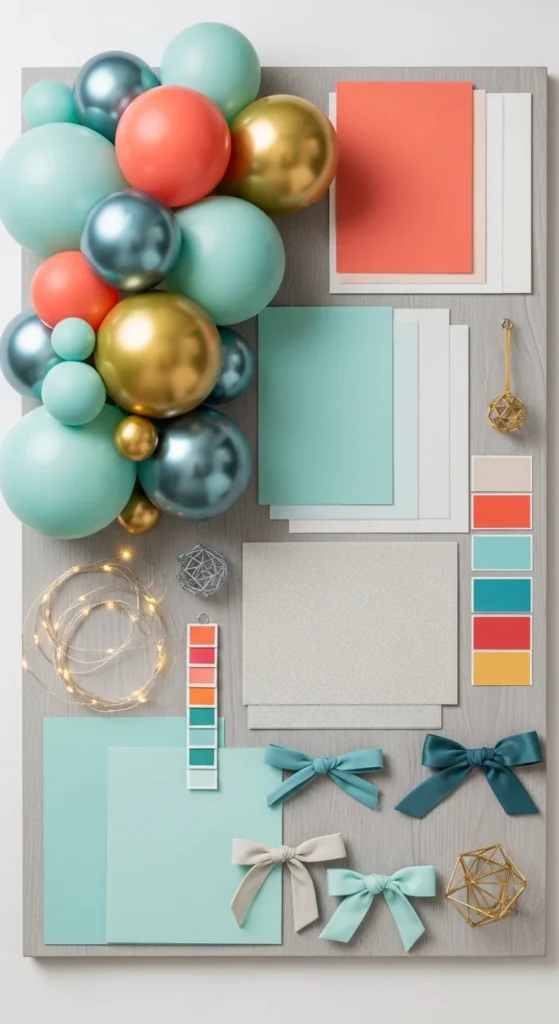
Step 1 – Choose a Theme and Color Palette
- Pick a theme (birthday, bridal shower, kids party, etc.)
- Select 2–3 main colors for consistency
- Match decorations, tableware, and backdrop to this palette
Pro Tip: Limiting colors creates a clean, “professional” look instantly.
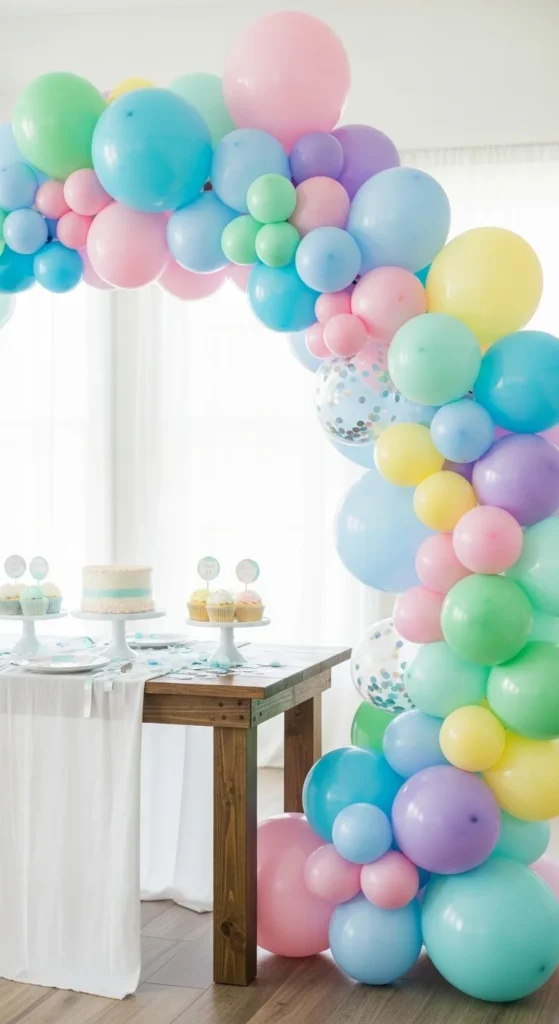
Step 2 – Create Balloon Decorations (Big Impact, Low Cost)
- Make a balloon arch for the entrance
- Create a balloon wall for photos
- Use confetti balloons for a fun effect
Pro Tip: Use balloons in odd numbers (3, 5, 7) for better visual balance.
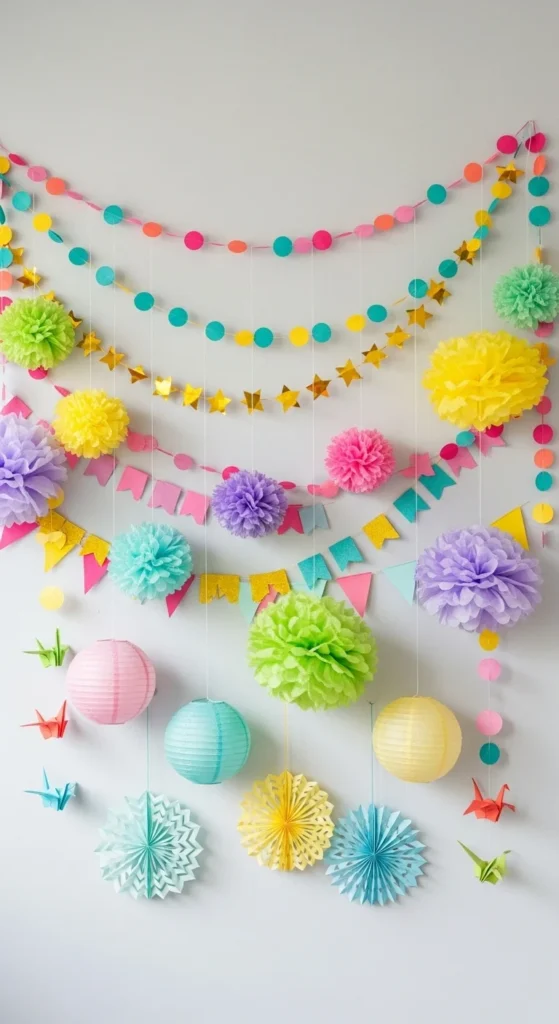
Step 3 – Add Paper Decorations (Beginner-Friendly)
- Paper garlands
- Tissue paper pom-poms
- Hanging fans, lanterns, or pinwheels
These are cheap, quick (under 1 hour), and perfect for beginners.
Pro Tip: Group 5–7 paper elements together for a fuller look.
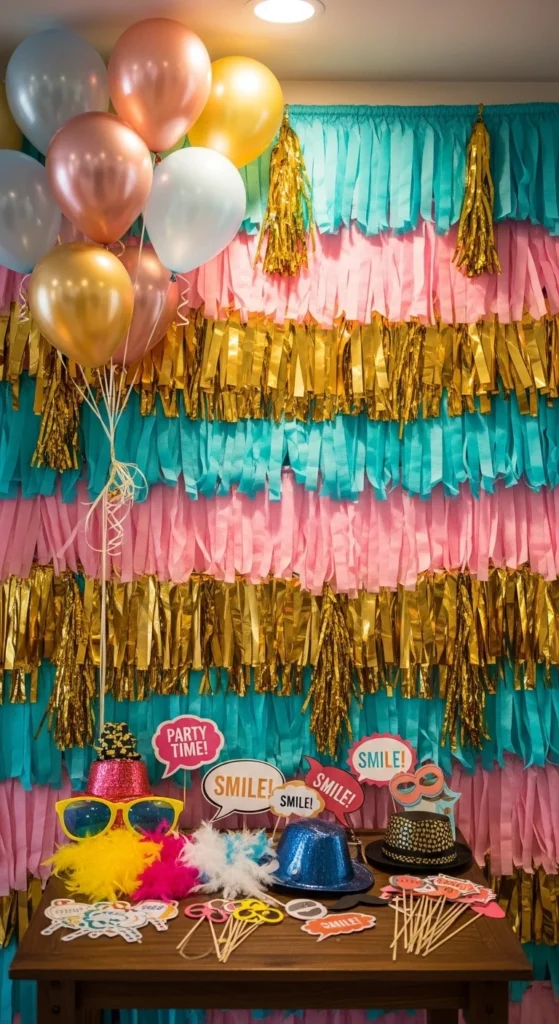
Step 4 – Design a Photo Booth Backdrop
- Use crepe paper strips or fabric
- Add balloons or paper circles
- Include props (glasses, hats, signs)
Mini Guide:
- Hang backdrop
- Add layered decorations
- Place lighting in front
Perfect for photos and social media moments!
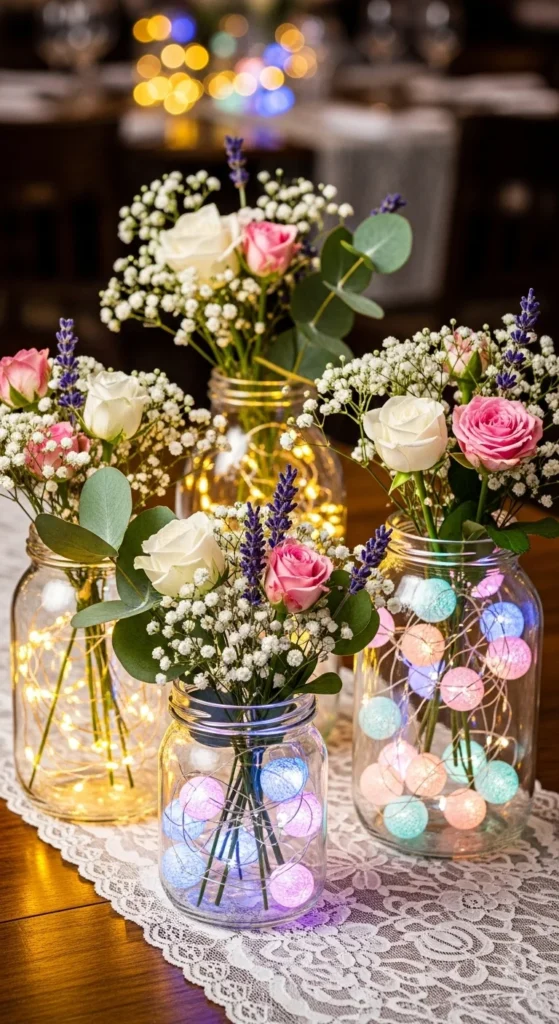
Step 5 – Use Jars, Bottles & Centerpieces
- Fill jars with fairy lights
- Add flowers or colored water
- Create table centerpieces in groups of 3
Pro Tip: Upcycled jars = eco-friendly + aesthetic.
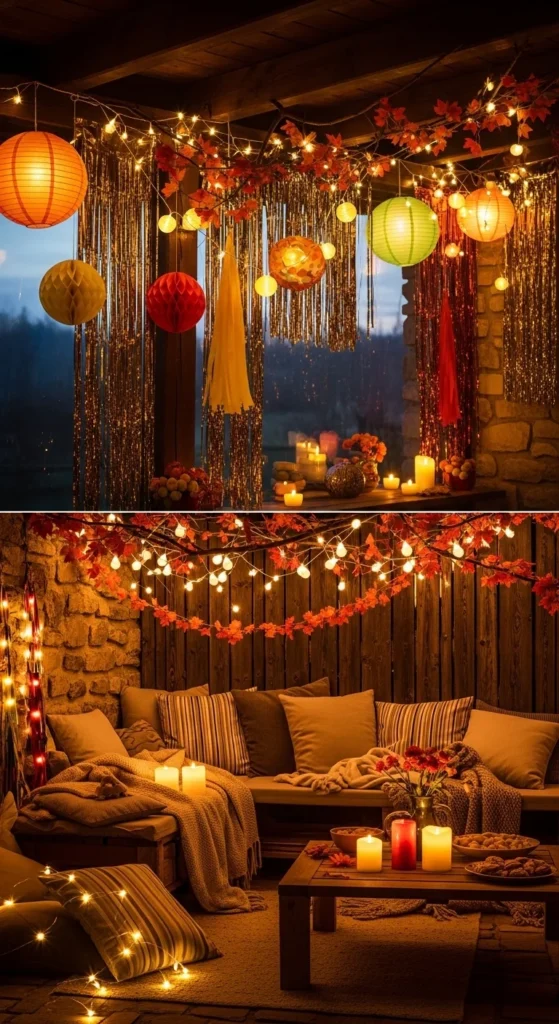
Step 6 – Add Lighting for a Magical Atmosphere
- Use LED string lights
- Place candles inside jars
- Highlight key areas (table, backdrop, entrance)
Lighting instantly upgrades your decor from simple to stunning.
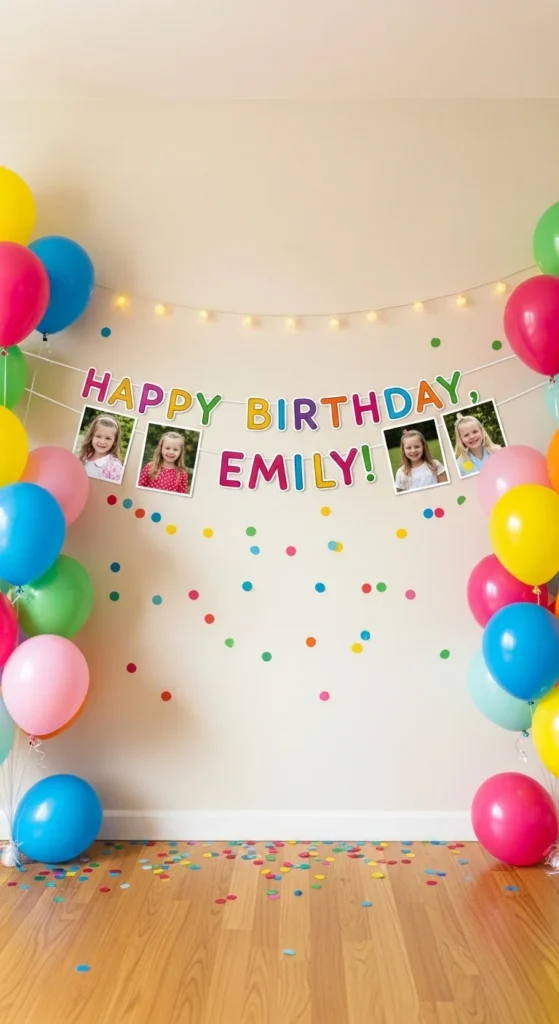
Step 7 – Personalize Your Decorations
- Add name banners or initials
- Use printed photos
- Create milestone or memory displays
Pro Tip: Personalized decor makes guests feel special.
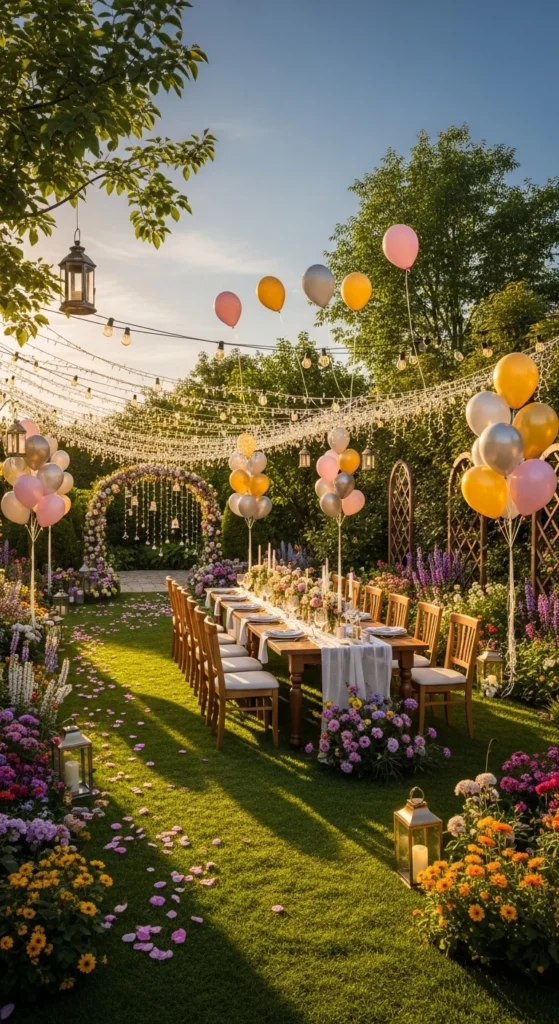
Step 8 – Outdoor Party Tips (If Needed)
- Use heavier materials (avoid light paper in wind)
- Secure decorations with tape or weights
- Choose LED lights instead of candles
Pro Tip: Waterproof or laminated decor lasts longer outdoors.
Step 9 – Quick 1-Hour Party Setup Plan
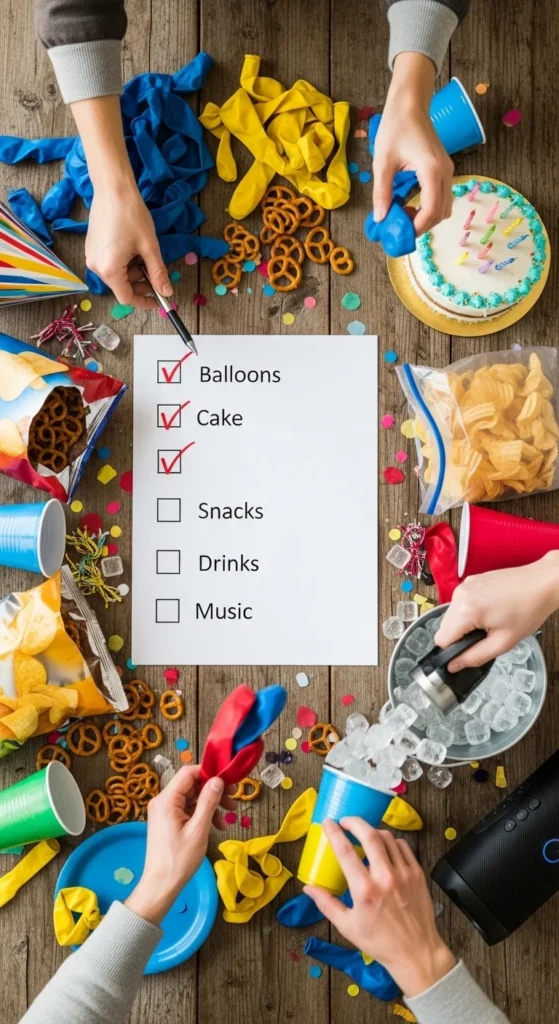
Checklist:
- Choose theme + colors
- Set up balloon arch
- Hang paper decorations
- Create backdrop
- Add lighting + centerpieces
Time-saving tip: Focus on 2–3 main decor areas only.
Extra Tips for a “Professional” Look
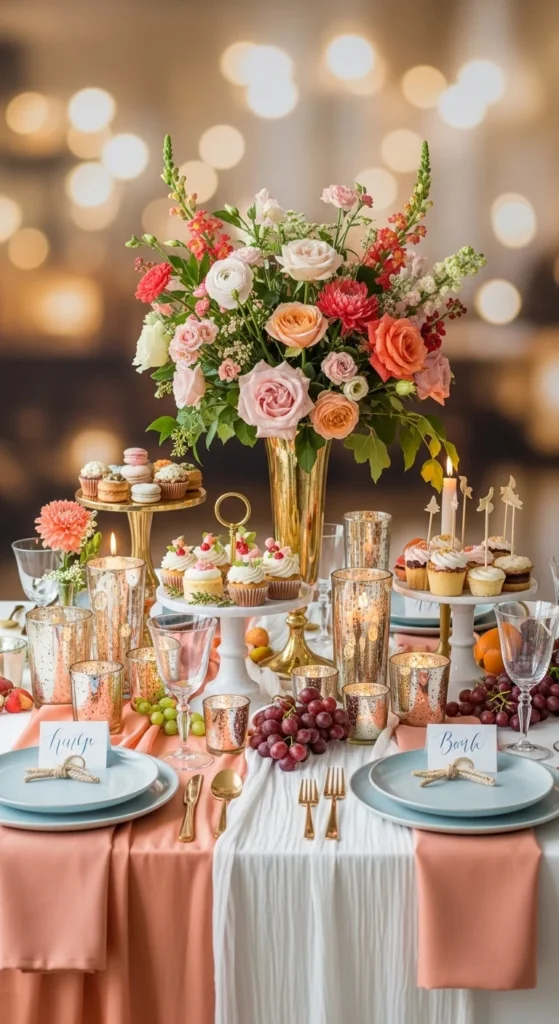
- Stick to 2–3 colors
- Use repetition (same decor multiple times)
- Mix heights (tall + short decor)
- Combine textures (paper + balloons + lights)
Golden Rule: Simple + repeated = elegant.
Final Thoughts
DIY party decorations are easy, affordable, and incredibly creative. With a clear theme, simple materials, and a few smart techniques, you can transform any space into a stunning party setup without stress.
Keep it simple, stay consistent, and let your creativity shine!