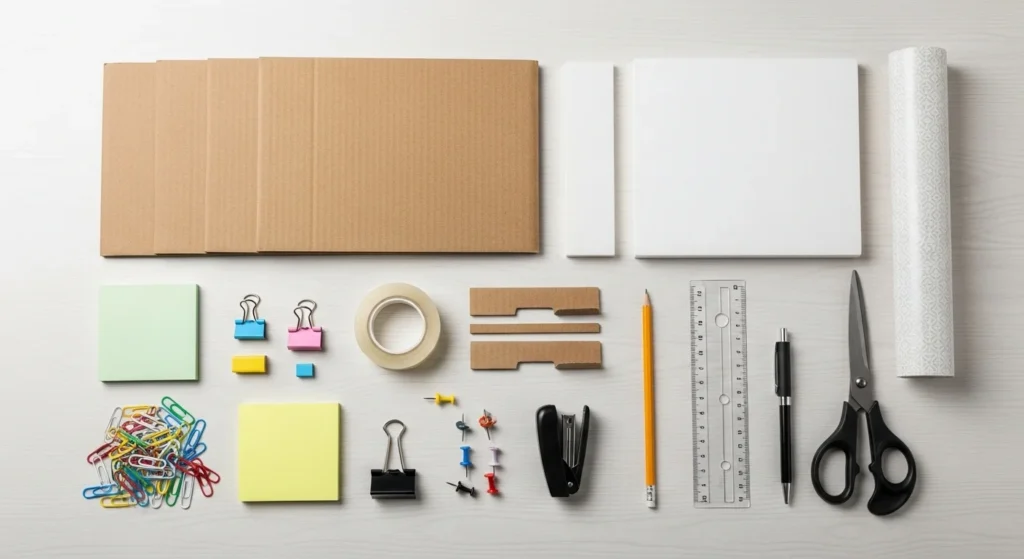
Keeping drawers organized doesn’t have to be expensive or complicated. With DIY drawer dividers, you can tame clutter, create custom-fit compartments, and transform any junk drawer, kitchen drawer, or bathroom vanity into a neat, functional space.
This guide shows step-by-step how to create low-cost dividers, whether you’re using cardboard, foam board, or wood, plus tips for aesthetic upgrades and modular solutions.
Why DIY Drawer Dividers Work
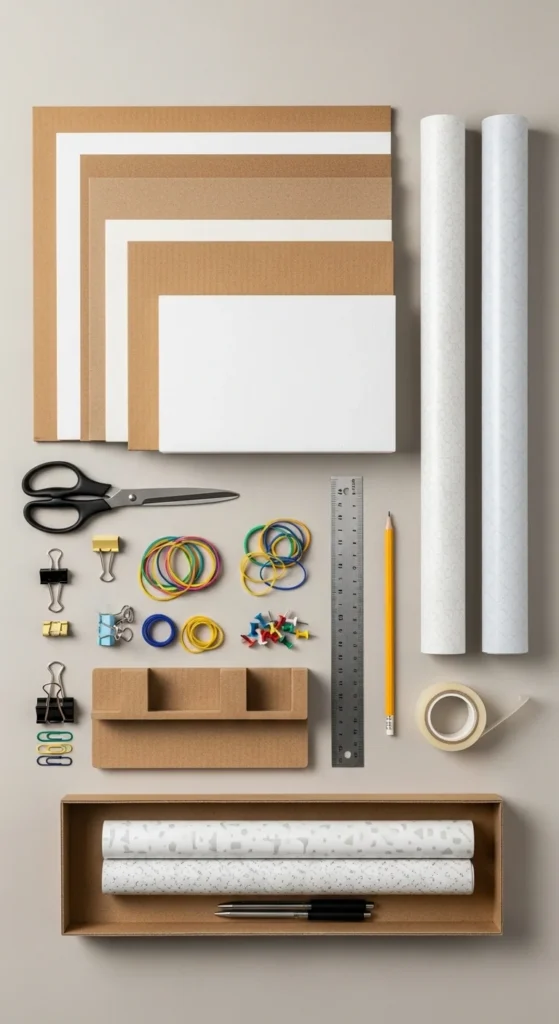
- Custom fit: Tailored to each drawer’s width, depth, and height
- Low cost: Use cardboard, foam board, or scrap wood
- Quick assembly: Many options require no tools or glue
- Versatile: Ideal for junk drawers, kitchen utensils, bathroom tools, and office supplies
- Stress-free organization: Makes it easy to find items and maintain tidiness
Supplies You’ll Need
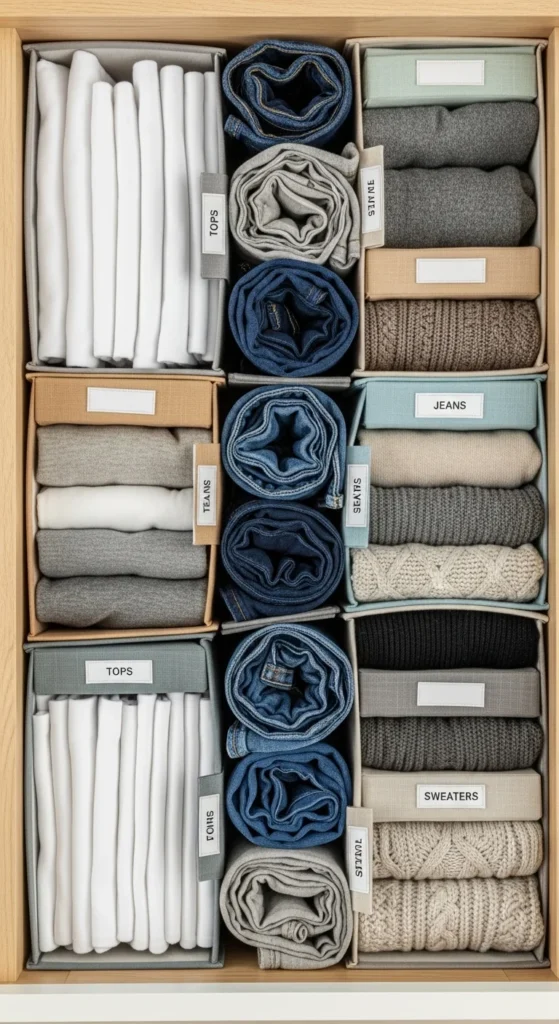
Basic Materials:
- Cardboard sheets or foam board
- Scissors or craft knife
- Ruler and pencil
- Tape (masking, kraft, or double-sided)
- Glue or hot glue (optional for secure edges)
Optional Decorative Items:
- Contact paper, scrapbook paper, or adhesive fabric
- Scrap fabric wraps
- Cord clips or small wood slats for adjustable dividers
- Acrylic bins for see-through compartments
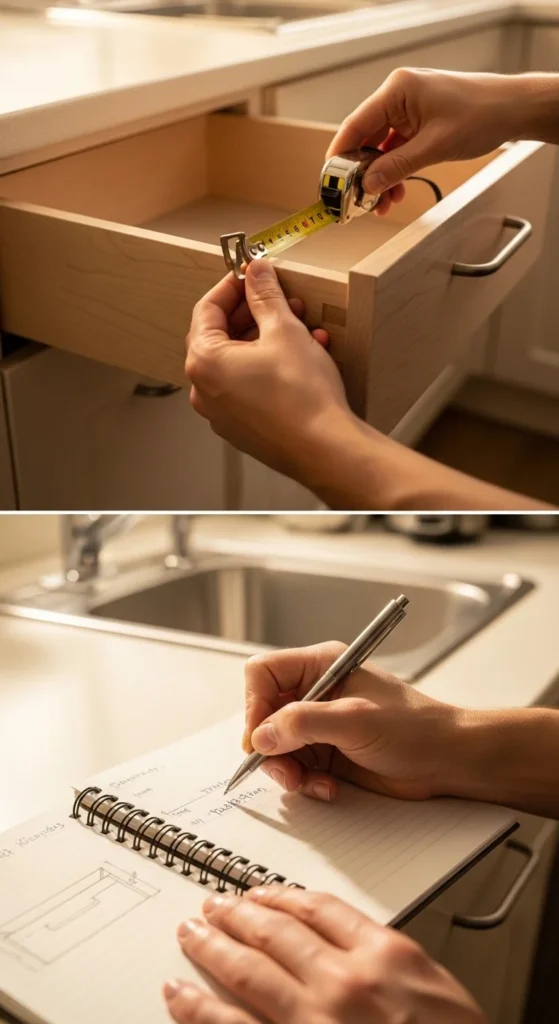
Step 1 – Measure Your Drawer Accurately
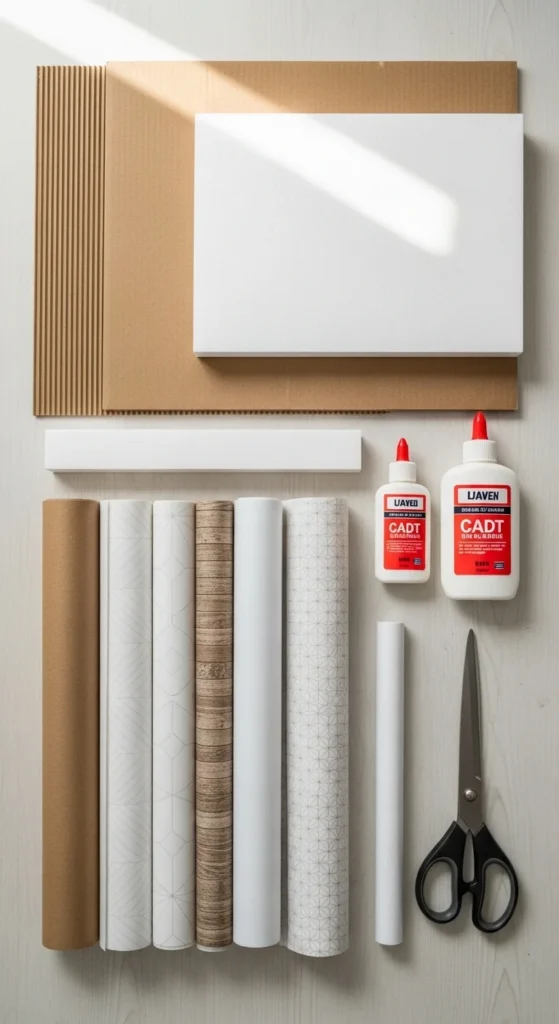
- Measure width, depth, and height of the drawer
- Note any irregular shapes, existing dividers, or obstacles
- Leave 1/8″ wiggle room for easy insertions
Pro Tip: Precise measurements prevent flopping dividers or wasted materials.
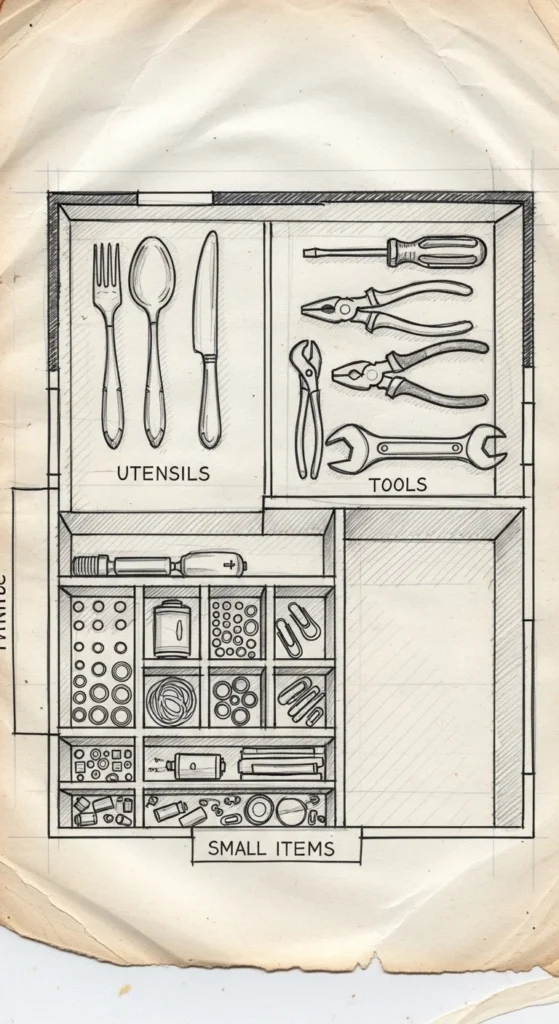
Step 2 – Plan Your Layout Before Cutting
- Draw a layout on paper to visualize compartments
- Decide if dividers will be slotted/interlocking, nested, or modular
- Plan for special zones: silverware snug fits, bathroom hot tool slots, or mini-jewelry sections
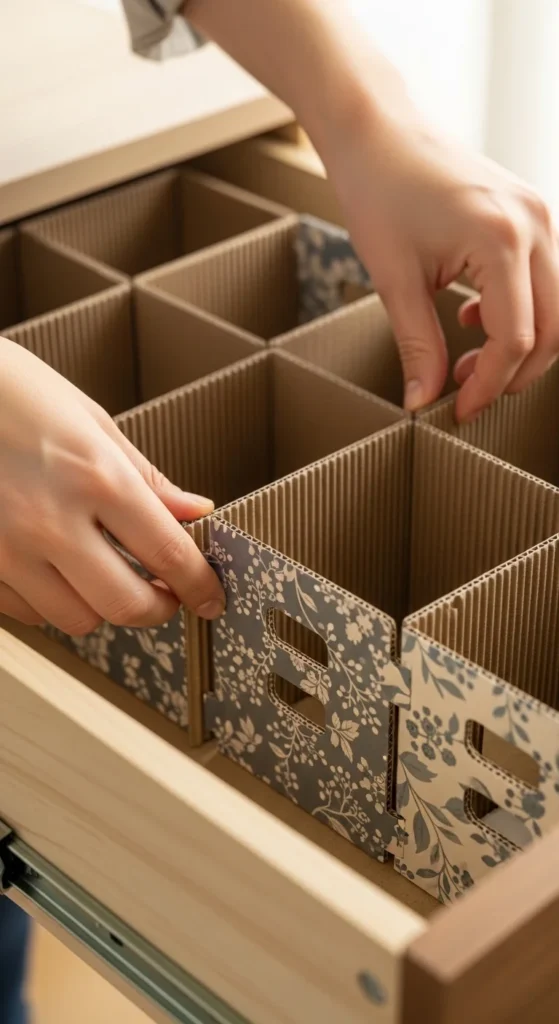
Step 3 – Cut and Assemble Cardboard or Foam Board Dividers
Cardboard Slotted Dividers (No Tools Needed):
- Cut pieces with half-way slits to interlock
- Slot together inside drawer
- Optional: secure edges with kraft paper tape for clean finish
Foam Board Dividers (Pretty + Sturdy):
- Cut to drawer dimensions
- Wrap in contact paper or scrap fabric
- Glue edges if necessary
Wood or Cord Clip Dividers (Adjustable):
- Cut MDF or plywood pieces
- Secure with cord clips or wood plugs
- Use for heavier items or semi-permanent setups
Pro Tip: Start simple with cardboard before trying wood or tension bamboo.
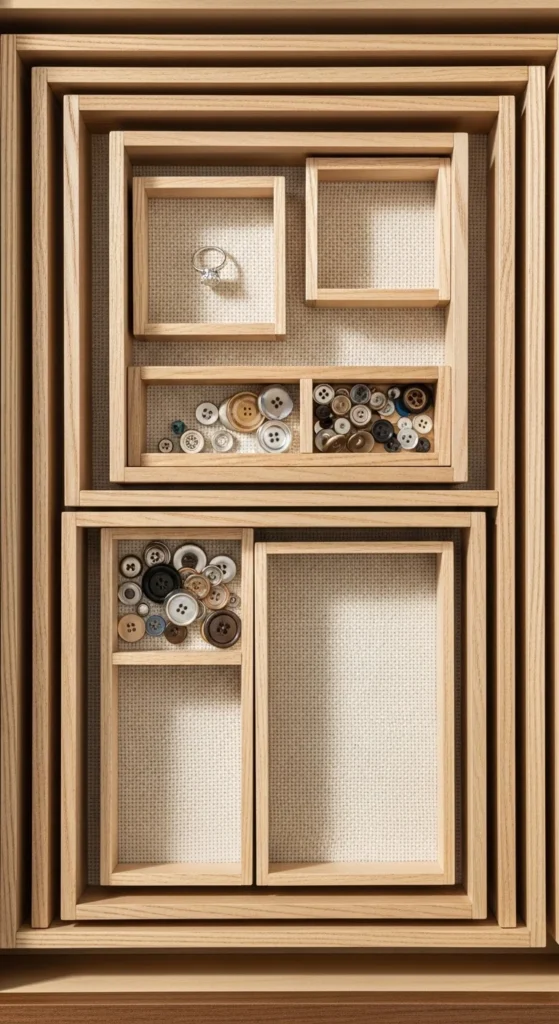
Step 4 – Customize for Your Items
- Nested drawers-in-drawers: Add smaller inner trays for deep drawers
- Sliding trays atop dividers: Great for workshop or office setups
- Mini compartments: Use popsicle sticks or small foam for jewelry, screws, or tiny items
- Fabric wraps: Make foam or cardboard dividers cozy and aesthetically pleasing
Step 5 – Secure and Adjust
- Use glue flaps, hot glue, or tape for stability
- Add finger pulls for lift-out modular dividers
- Ensure snug fit for kitchen silverware or bathroom tools
- Adjust bamboo tension dividers for heavier dishes
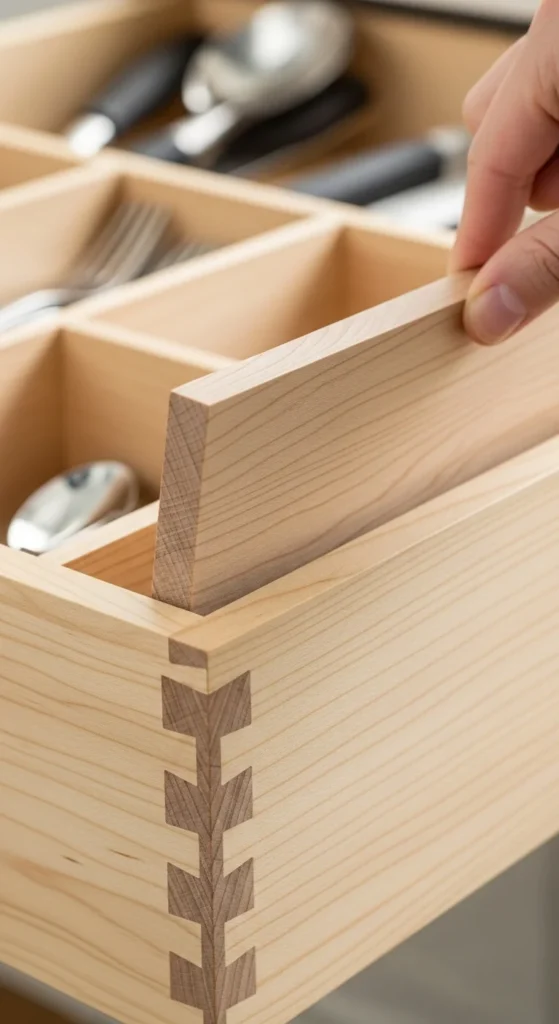
Step 6 – Aesthetic Finishing Touches
- Cover raw edges with contact paper, kraft tape, or fabric
- Wrap foam board in patterned paper for a polished look
- Add color coding for different compartments
- Use acrylic bins for see-through organization in bathroom or office
Pro Tip: A visually appealing divider encourages daily maintenance.
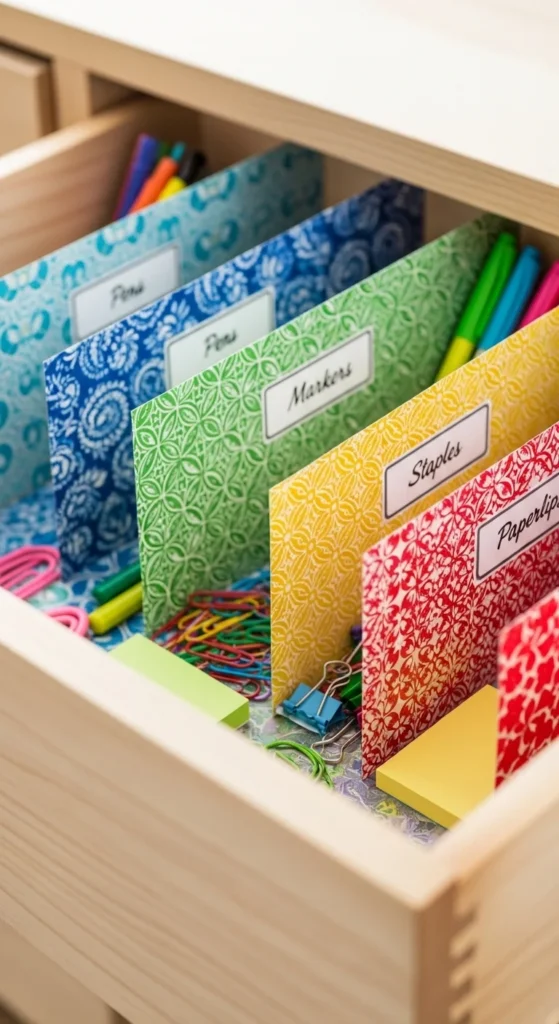
Step 7 – Tips for Long-Term Drawer Organization
- Plan layout per drawer use (junk drawer vs kitchen vs bathroom)
- Rotate and adjust dividers seasonally or for changing items
- For deep drawers, consider nested inner trays to prevent items from sinking
- Keep a small glue or tape kit handy for quick repairs
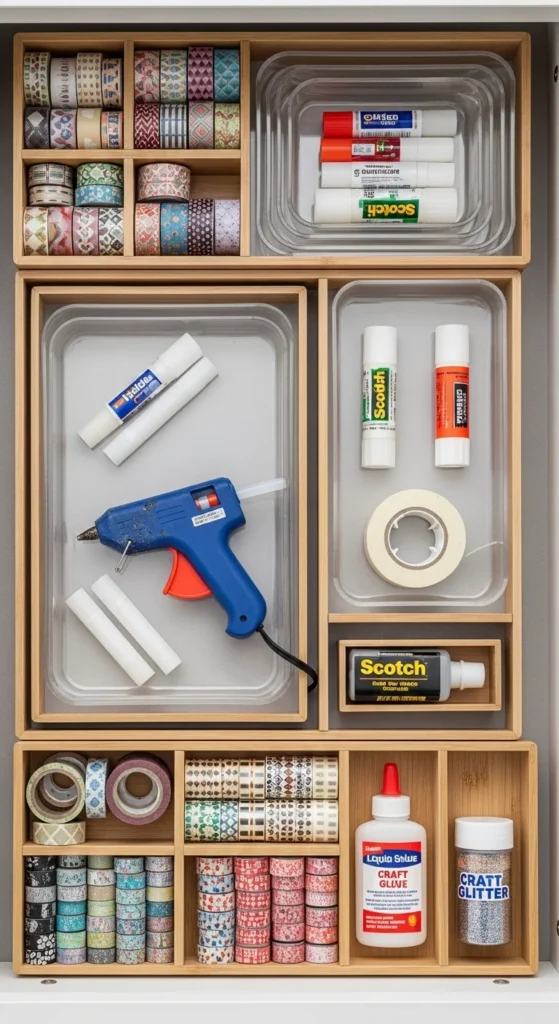
Extra Ideas & Hacks
- Cord clips + wood slats: Adjustable semi-permanent solution
- Sliding trays: Top-access for workshop drawers
- Tension bamboo: Heavy-duty, expandable for kitchen dishes
- Finger-pull lift-outs: Quick modular access
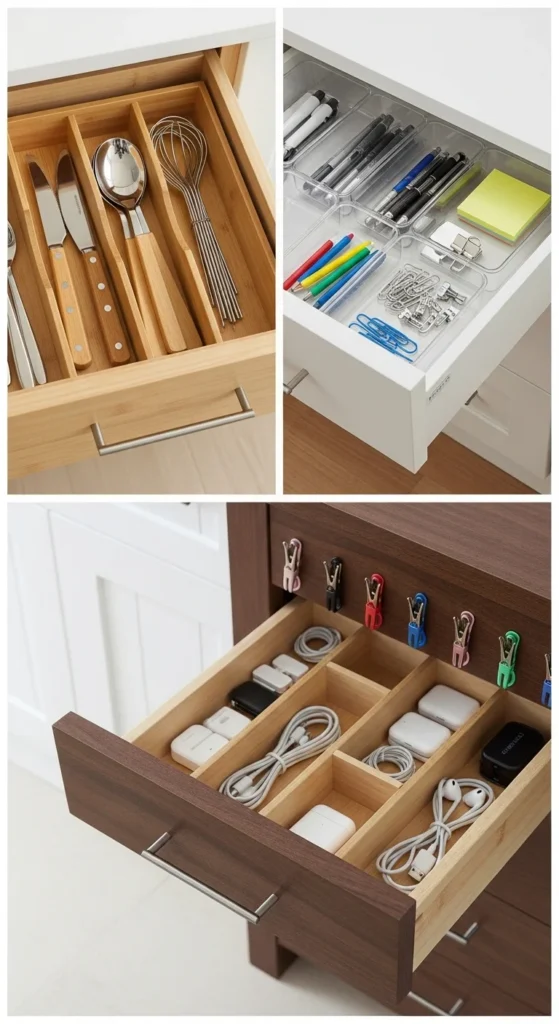
Final Thoughts
DIY drawer dividers are affordable, versatile, and customizable. Whether using cardboard, foam board, or wood, you can tame junk drawers, kitchen drawers, and bathroom vanity clutter with ease. With a bit of planning and creativity, every drawer can become a stress-free, visually pleasing, functional space.
Measure, plan, cut, and customize—turn chaotic drawers into organized perfection!