Turn old glass bottles into beautiful home decor with simple paint techniques
Bottle painting is beginner-friendly, affordable, and perfect for upcycling
Start with easy acrylic paint designs before trying advanced patterns
Use simple tools like brushes, dotting tools, and varnish sealers
Begin with small bottles and basic floral or geometric designs
Create stylish vases, centerpieces, and decorative accents from waste glass
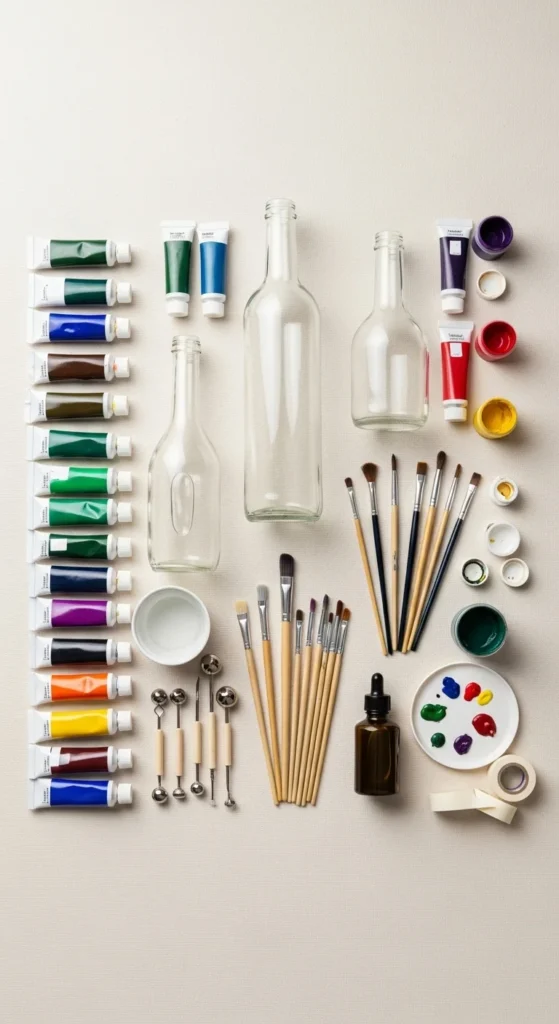
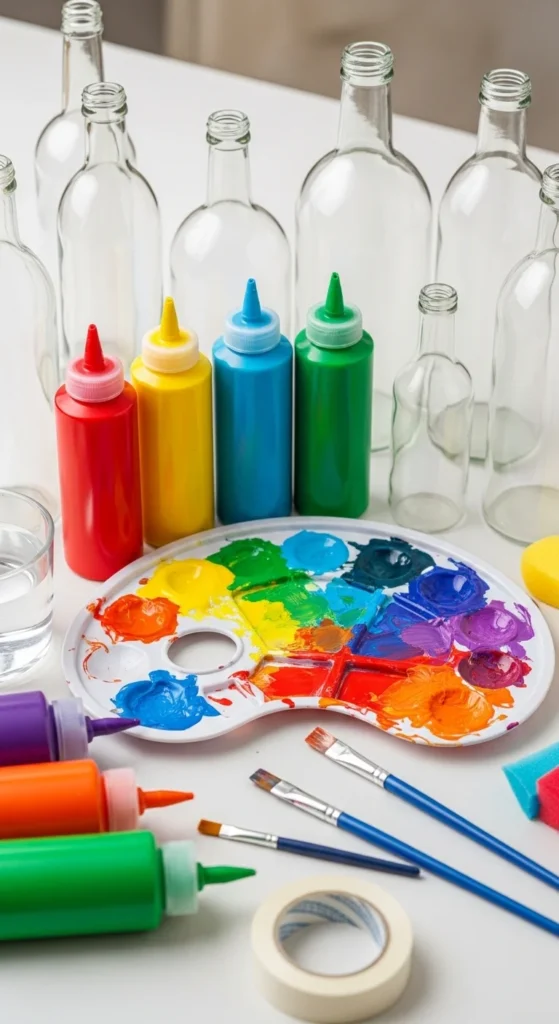
Step 1: Gather Your Bottle Painting Supplies
You only need a few basic materials:
- Clean glass bottles
- Acrylic paints
- Paintbrushes
- Dotting tools
- Isopropyl alcohol
- Acrylic varnish sealer
Optional:
- Chalk paint for matte finish
- Gold outliner for accents
- Masking tape for patterns
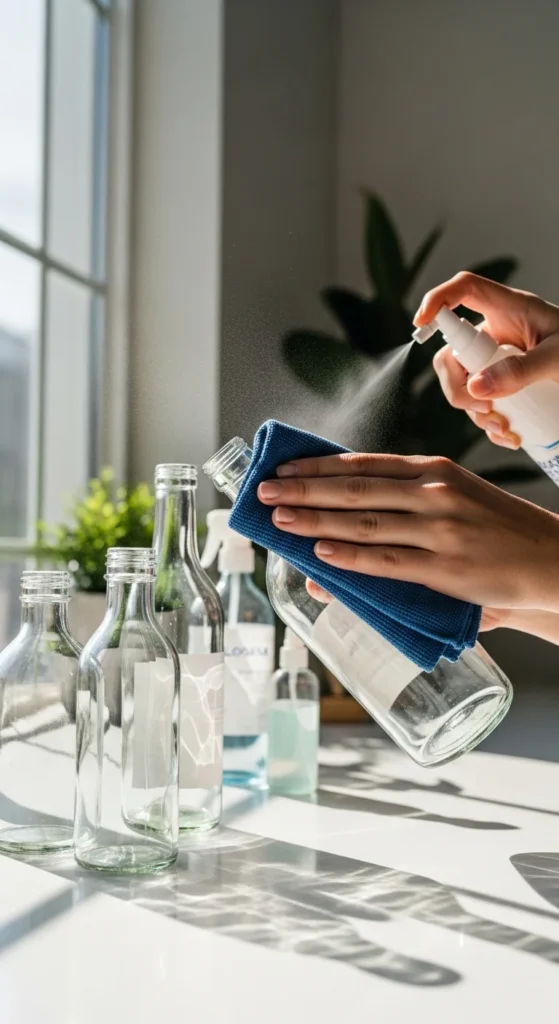
Step 2: Clean and Prepare the Bottles Properly
Remove all labels completely
Wash bottles with warm soapy water
Wipe surface using isopropyl alcohol to remove grease residue
Let bottles dry fully before painting
Clean prep prevents peeling and helps paint stick better
Step 3: Choose the Right Paint for Glass
Acrylic paint is best for beginners because:
- Easy to apply
- Affordable
- Quick drying
For rustic matte looks:
Use chalk paint (2–3 coats recommended)
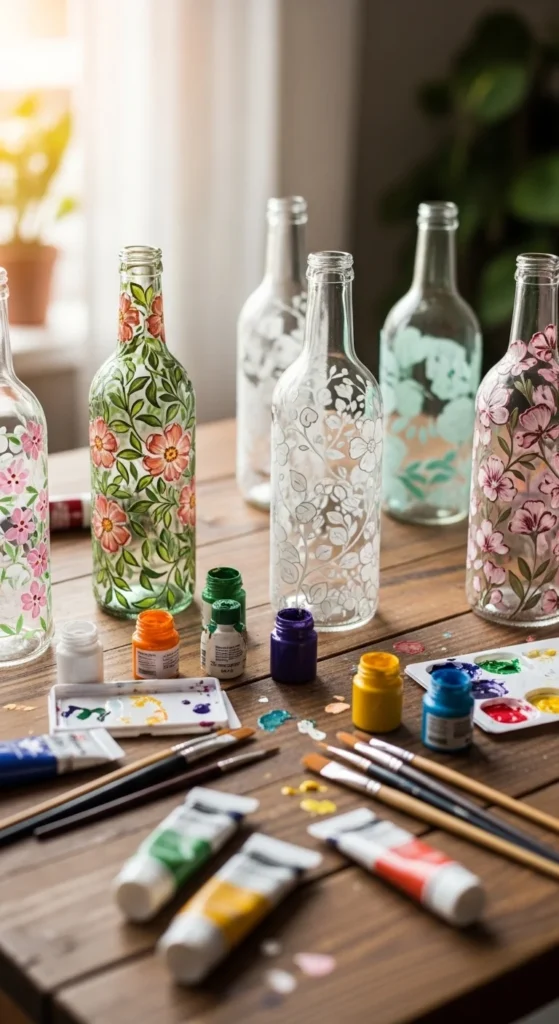
For translucent stained-glass effect:
Use glass or translucent paints
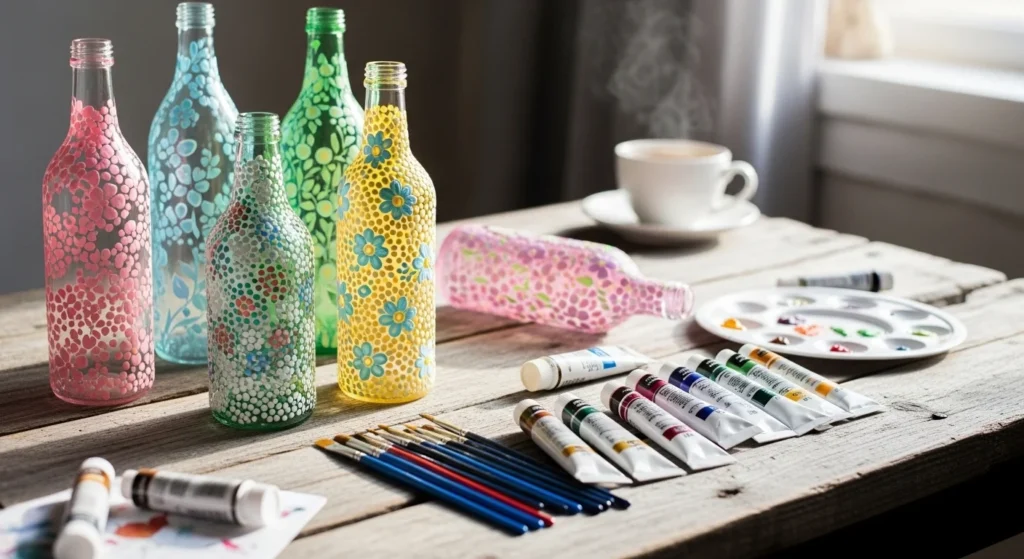
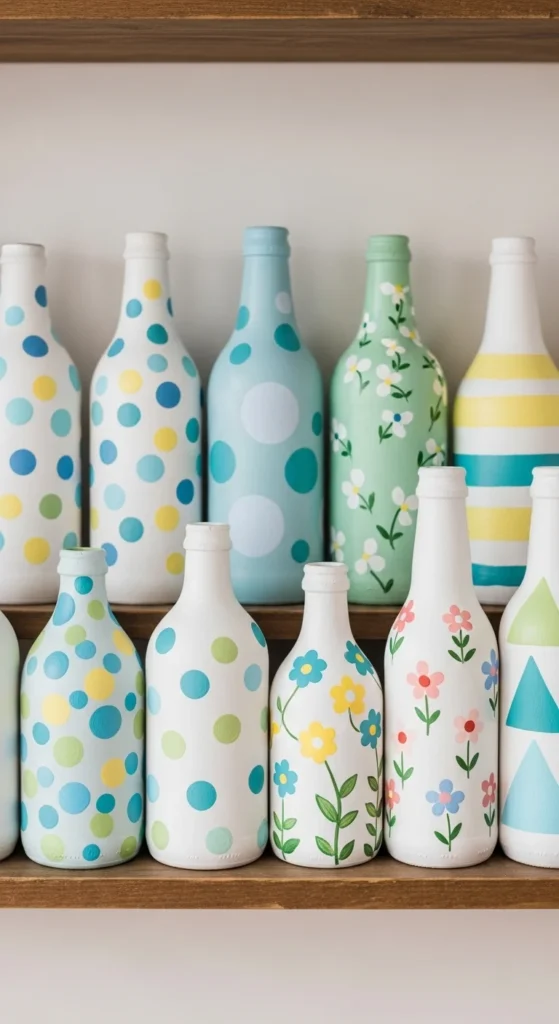
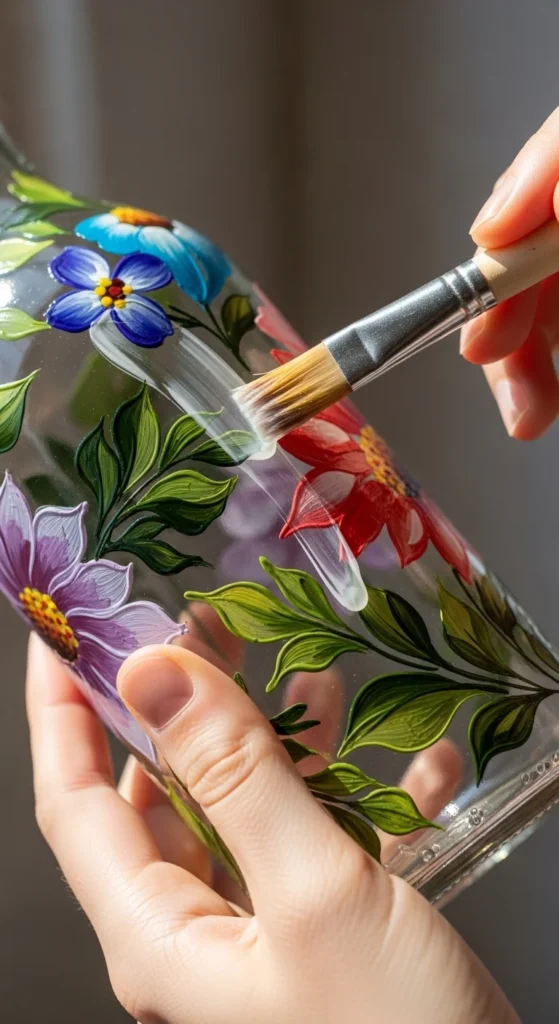
Step 4: Start with Simple Beginner Designs
Easy first designs include:
- Dot mandalas
- Floral vines
- One-stroke flowers
- Simple geometric patterns
Avoid highly detailed artwork at first
Practice basic patterns on scrap glass jars first
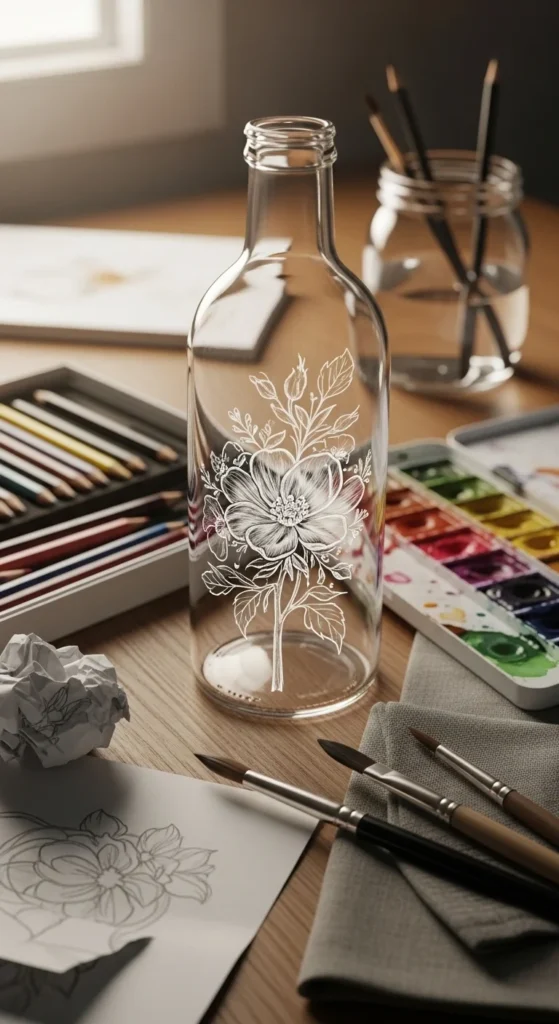
Step 5: Sketch Your Design Before Painting
Lightly sketch outlines using pencil or chalk marker
Planning helps avoid mistakes and uneven spacing
For symmetrical patterns:
Use masking tape guides for straight lines
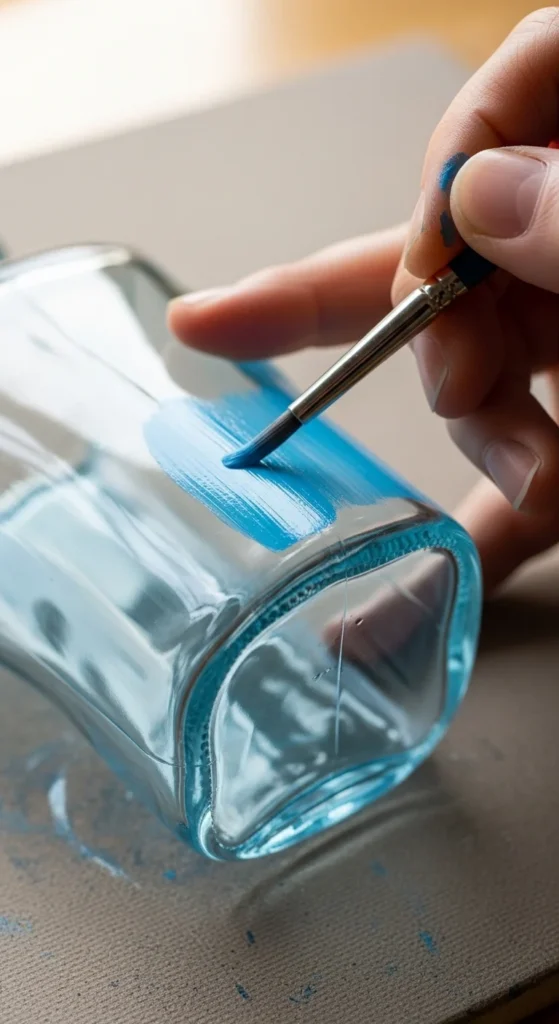
Step 6: Apply Thin Paint Layers
Always paint in thin coats
Thick paint cracks and scratches easily
Let each coat dry about 1–2 hours before next layer
Build color slowly for smooth professional finish
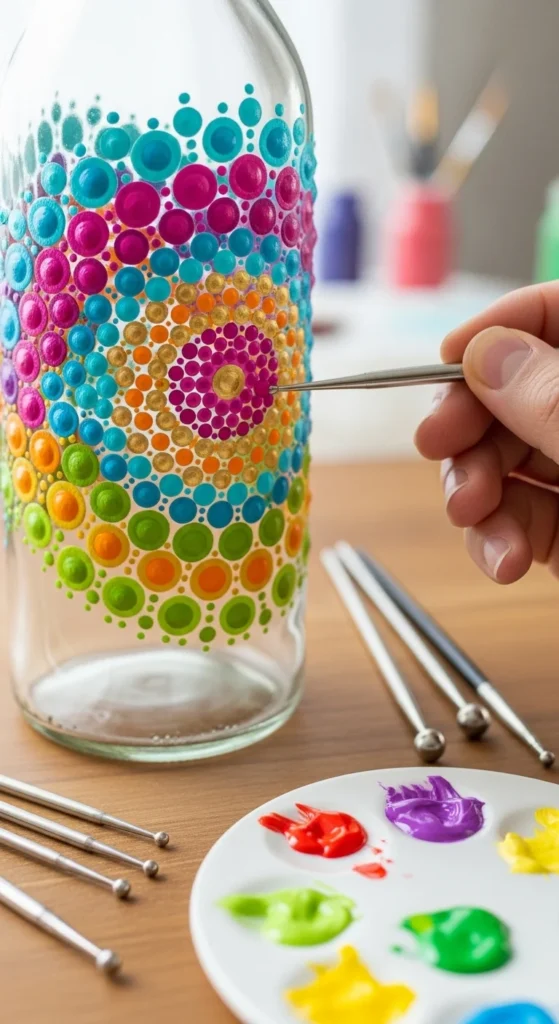
Step 7: Try Dot Art for Easy Beautiful Results
Dot art is trending because it is:
- Easy for beginners
- Relaxing to create
- Very decorative
Use dotting tools or cotton swabs for precise dots
Start from center and build outward evenly
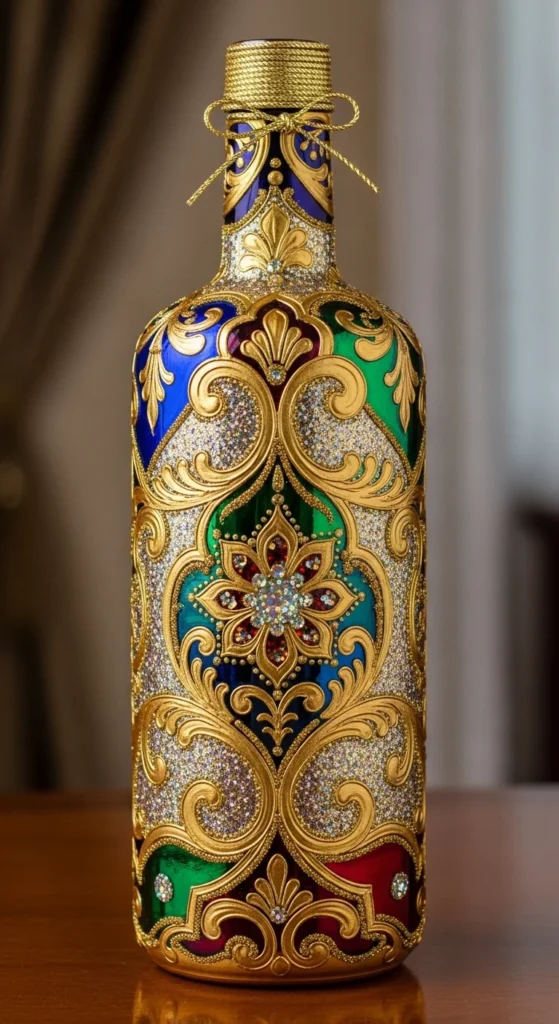
Step 8: Add Decorative Details
Enhance designs with:
- Gold outlines
- Glitter accents
- Raised clay embellishments
- Metallic highlights
Small details make bottles look elegant and expensive
Step 9: Seal the Finished Bottle Art
Once paint is fully dry:
Apply acrylic varnish sealer for protection
Benefits:
- Prevents peeling
- Protects color
- Adds shine or matte finish
Let varnish dry completely before display
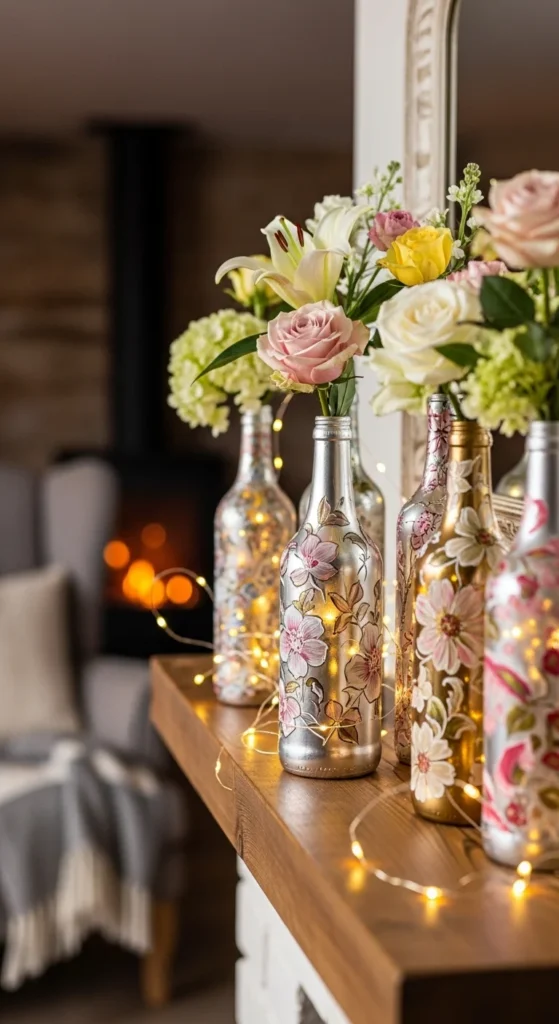
Step 10: Style Your Painted Bottles as Home Decor
Use finished bottles as:
- Flower vases
- Table centerpieces
- Shelf decor
- Candle holders
- Decorative lamps
Pair with faux flowers, pampas grass, or fairy lights for extra charm
Final Thoughts
Start simple and experiment with easy patterns first
Thin layers and proper prep make all the difference
Practice on old bottles before trying complex designs
Mistakes are part of learning creative bottle art
Upcycled bottle painting is fun, sustainable, and beautiful
Bottle art transforms ordinary waste glass into handmade decor anyone can create.