Transform your space with easy DIY art projects that require no experience and minimal cost
Perfect for beginners, renters, and anyone wanting a quick home refresh
Create wall art, textured decor, and personalized pieces using simple materials
Most projects can be done in under 30–60 minutes
Use budget-friendly, upcycled, and no-tool methods to save money
Customize every piece to match your home style—boho, modern, or minimalist
Focus on easy, aesthetic, and functional home decor ideas
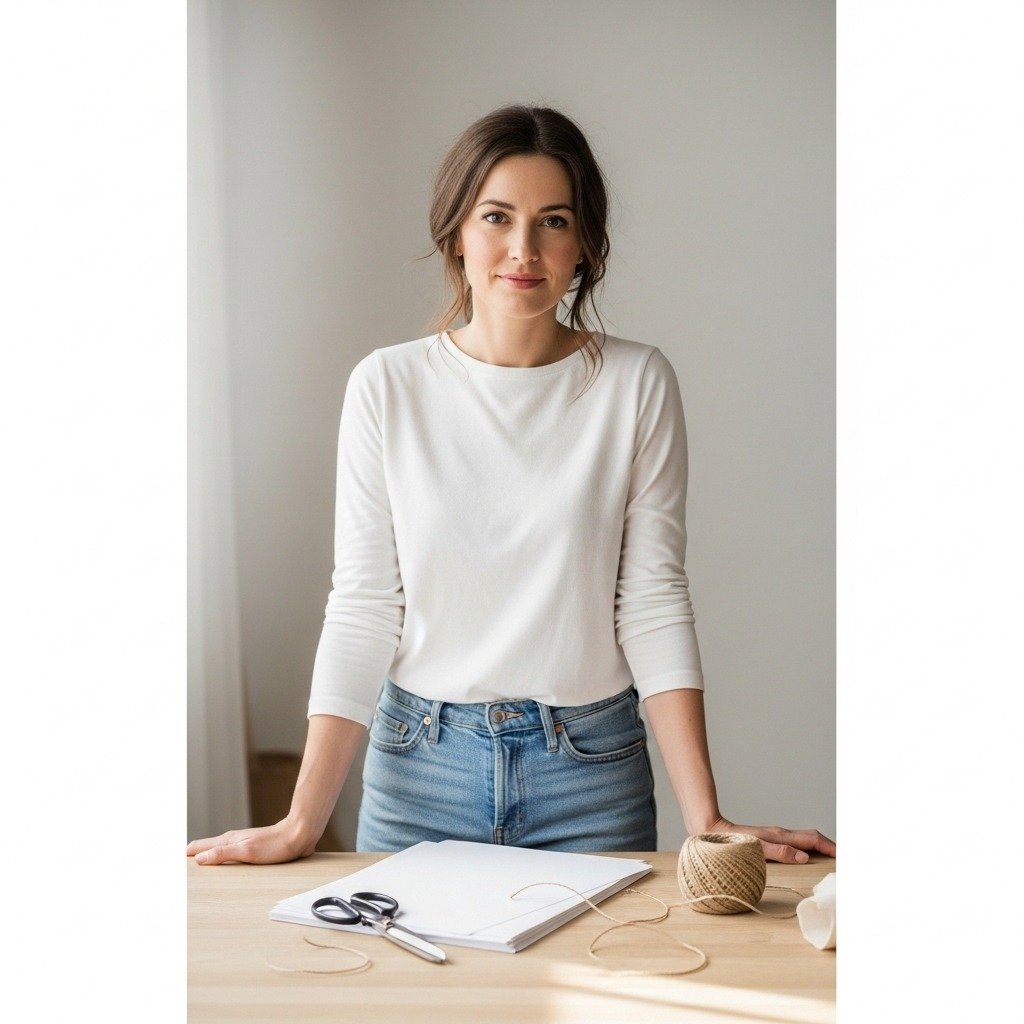
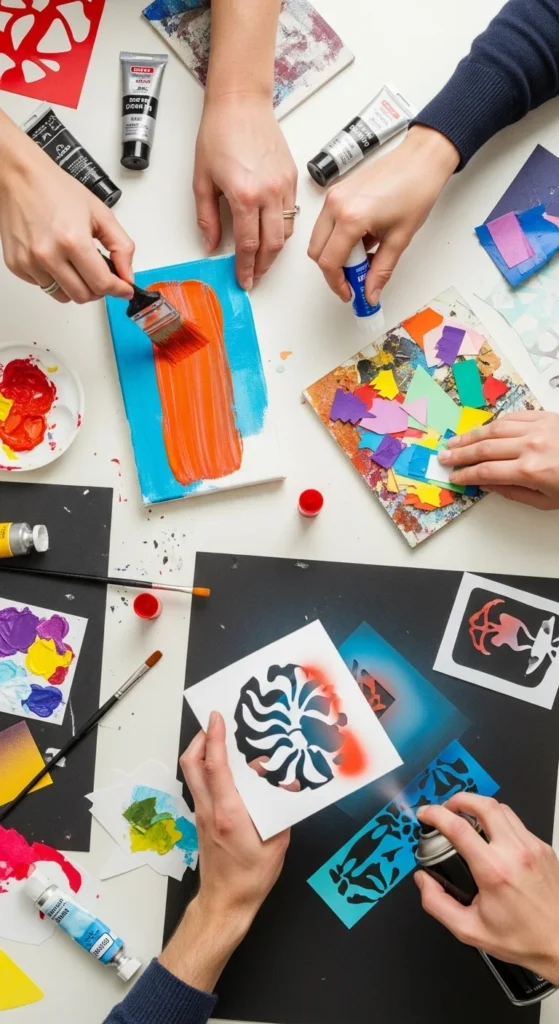
Step 1: Set Up Your DIY Art Space
Start with a simple, mess-free setup
- Clear a flat surface (table or floor)
- Use old newspapers or cloth as a base
- Keep basic supplies nearby (scissors, glue, paints)
- Ensure good lighting and ventilation
A clean workspace makes crafting easier and stress-free
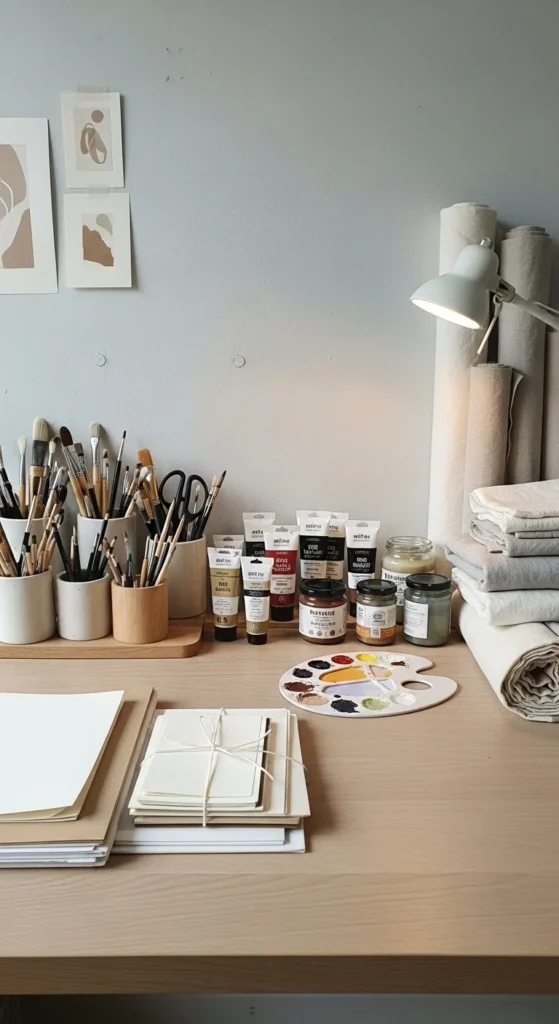
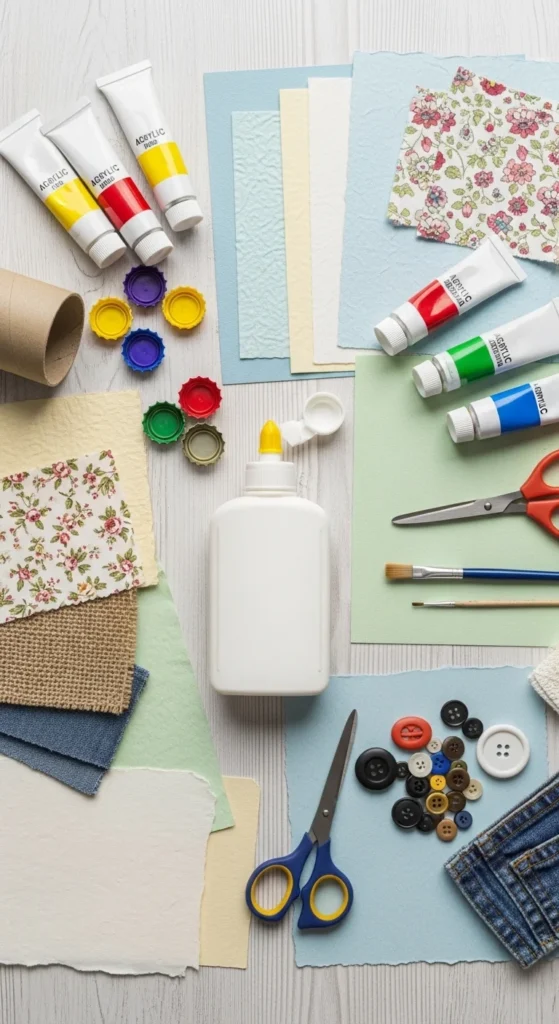
Step 2: Gather Budget-Friendly Supplies
You don’t need expensive materials
- Paper, cardboard, or old magazines
- Fabric scraps or old clothes
- Glue (or Mod Podge for better finish)
- Acrylic paints or markers
- Old frames or recycled wood
Use what you already have at home before buying anything
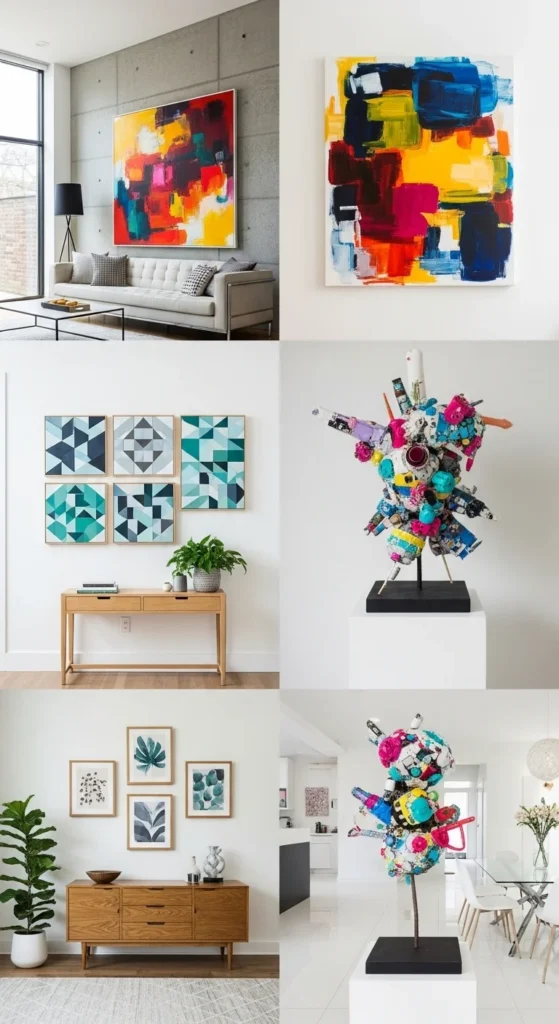
Step 3: Start with Easy Wall Art Projects
Perfect for beginners with no experience
- Paper collage art
- Painted canvas designs
- Framed printable quotes
- Minimalist geometric art
Wall art is the easiest way to transform a room instantly
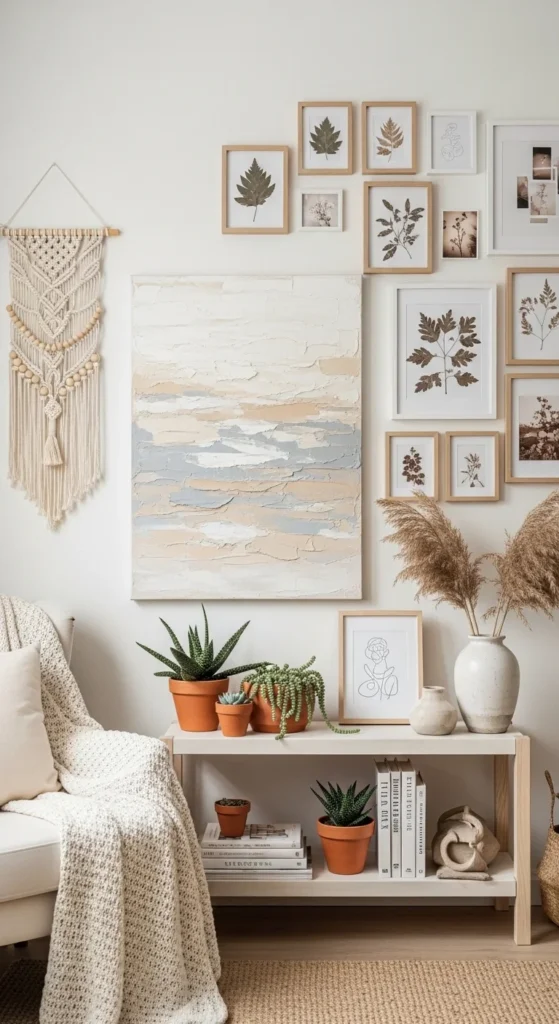
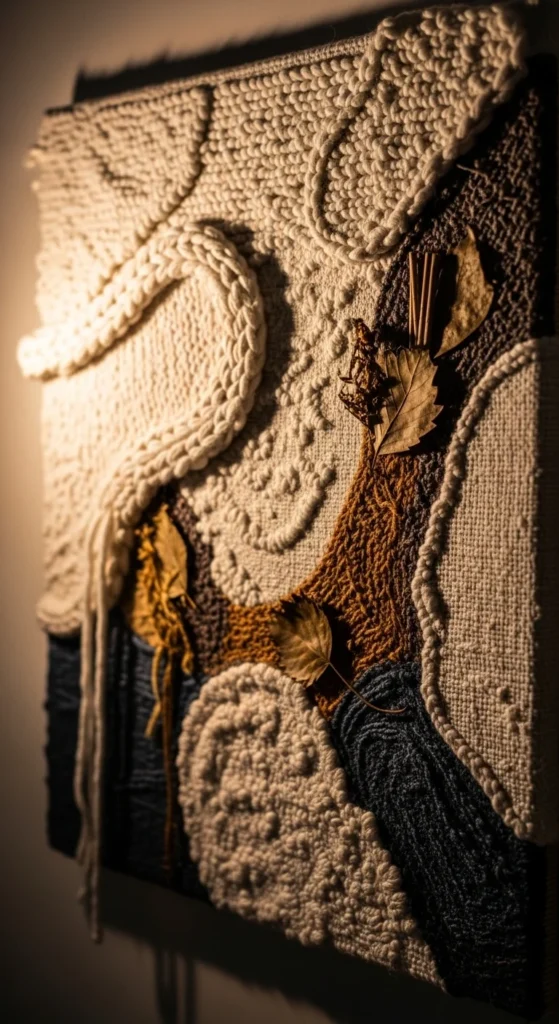
Step 4: Try Textured & 3D Art (Trending 2026)
Add depth and interest to your decor
- Yarn or macrame wall hangings
- Fabric or denim patch art
- Moss or nature-inspired frames
- Pom-pom or woven designs
Texture makes your DIY art look high-end and trendy
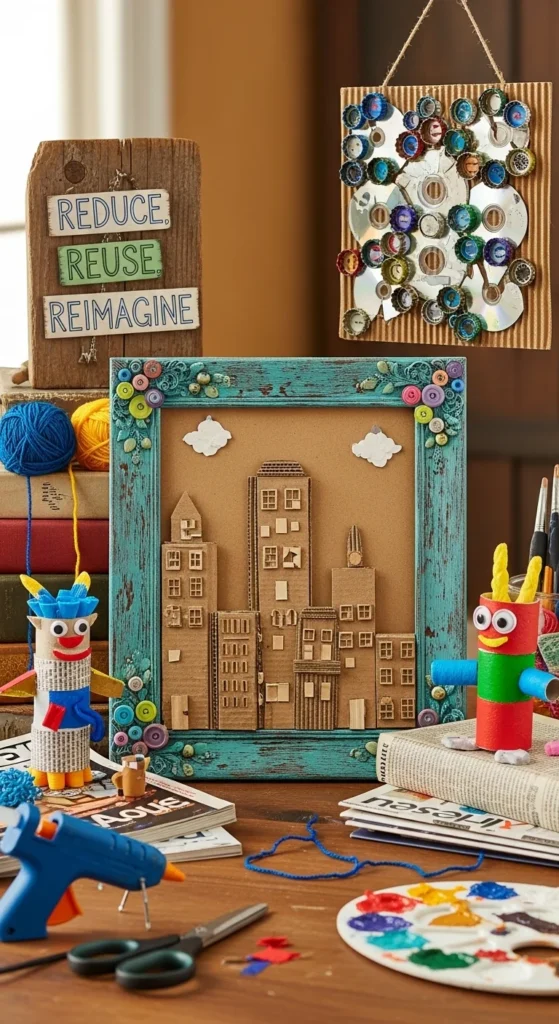
Step 5: Create Upcycled Art from Old Items
Turn waste into beautiful decor
- Old frames → modern art displays
- Cardboard → layered wall panels
- Scrap wood → rustic signs
- Magazines → collage boards
Upcycling saves money and adds a unique touch
Step 6: Personalize Your Art Projects
Make your decor meaningful
- Add names, quotes, or initials
- Use family photos or memories
- Create map or travel-inspired art
- Match colors to your room theme
Personalized art feels more special than store-bought decor

Step 7: Choose Your Style & Color Theme
Match your home aesthetic
- Neutral tones → modern & minimal
- Earthy colors → natural & calming
- Bright colors → bold statement pieces
- Black & white → clean and timeless
A consistent color palette makes your space look professionally styled
Step 8: Make Quick Time-Saving Projects
Short on time? Try these
- 5-minute paper art
- 15-minute painted designs
- One-hour wall decor projects
- Batch-create multiple pieces
Quick projects help you decorate faster without stress
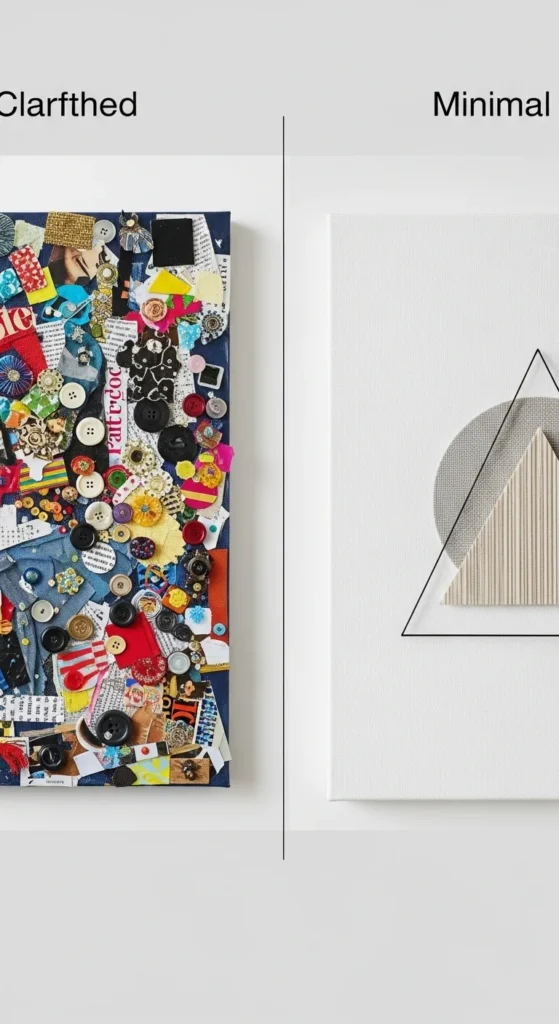
Step 9: Avoid Common DIY Art Mistakes
Keep your projects looking clean and aesthetic
- Don’t overcrowd your design
- Let paint dry between layers
- Stick to 2–3 main colors
- Don’t rush the process
Simple designs often look more elegant
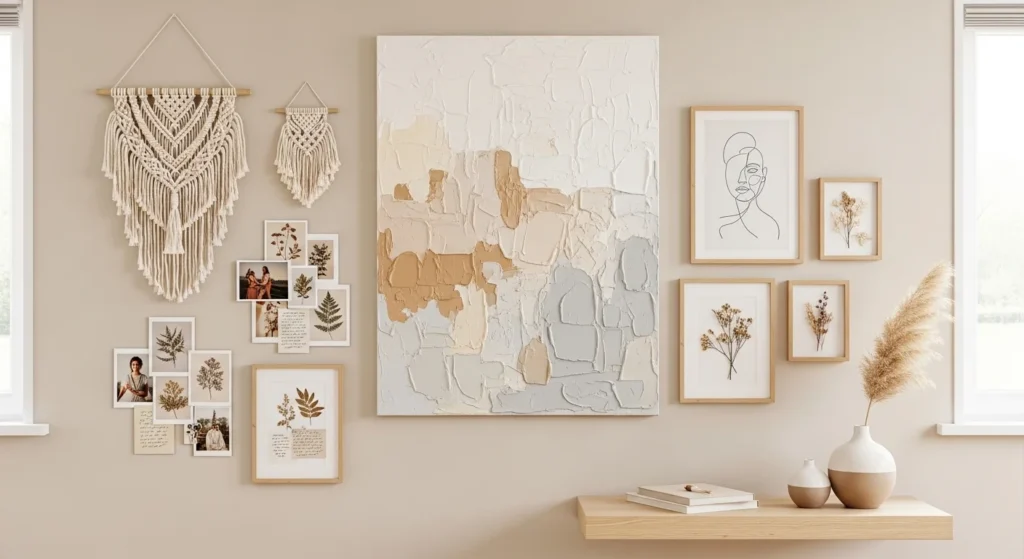
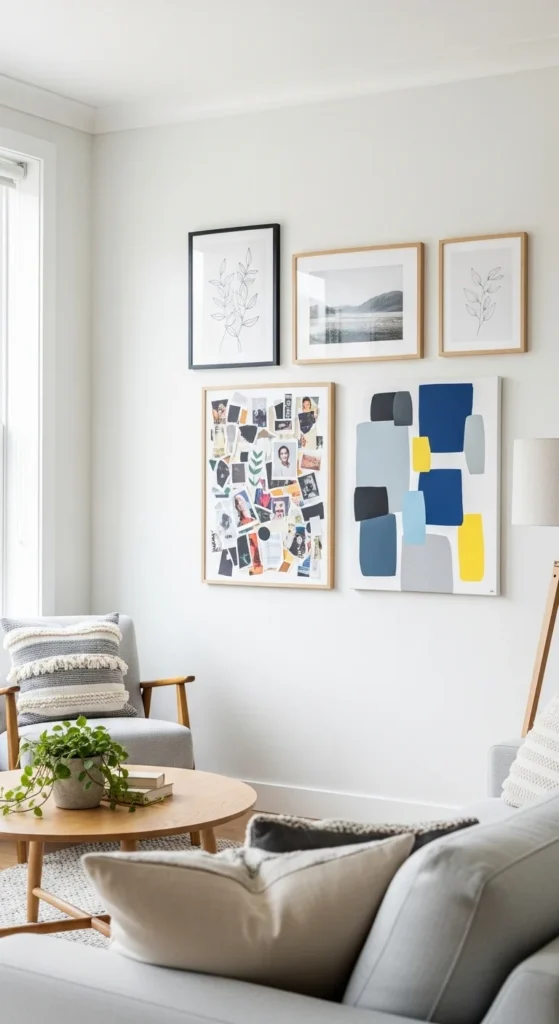
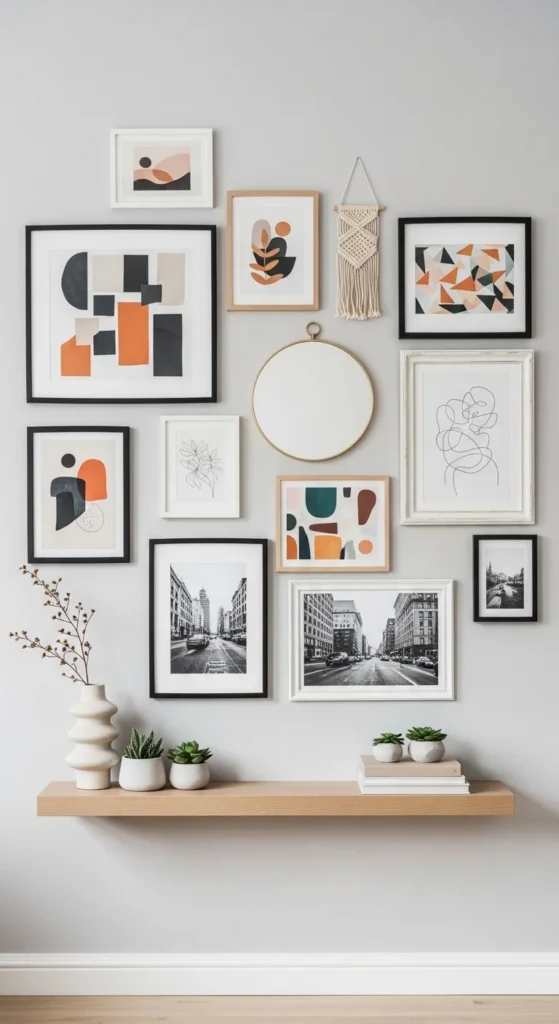
Step 10: Display & Style Your Artwork
Bring everything together beautifully
- Create a gallery wall
- Style art on shelves or tables
- Lean frames for a casual look
- Mix sizes and textures
Placement is just as important as the artwork itself
Final Thoughts
DIY art projects are one of the easiest ways to decorate your home on a budget
You don’t need expensive tools or artistic skills to get started
From wall art to textured decor, there are endless creative possibilities
Start small, experiment with styles, and build your confidence step by step
Focus on simple, meaningful designs that reflect your personality
With a little creativity, you can turn everyday materials into stunning home art