Introduction
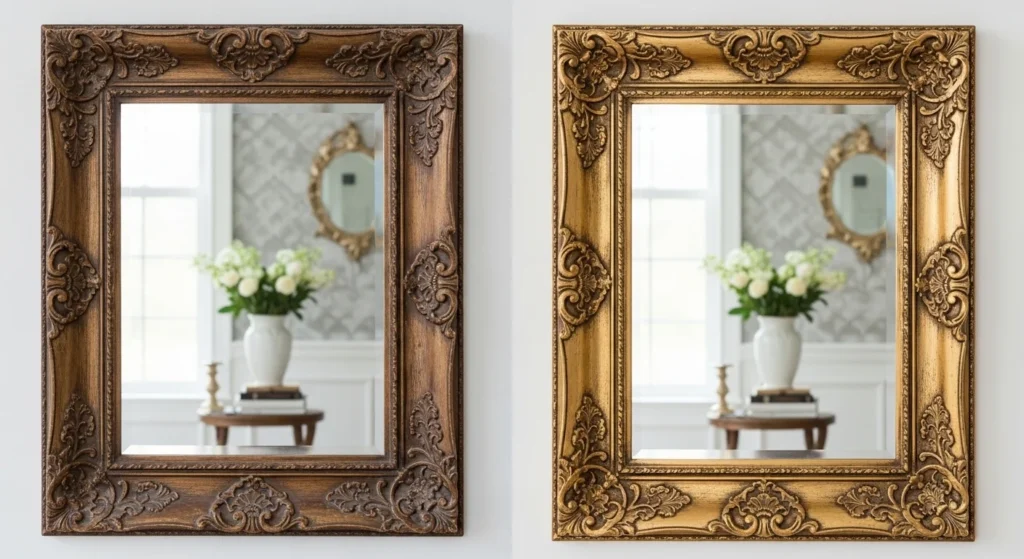
Refresh old or outdated mirrors with simple paint techniques
No advanced skills required perfect for beginners
Use budget-friendly supplies for a high-end look
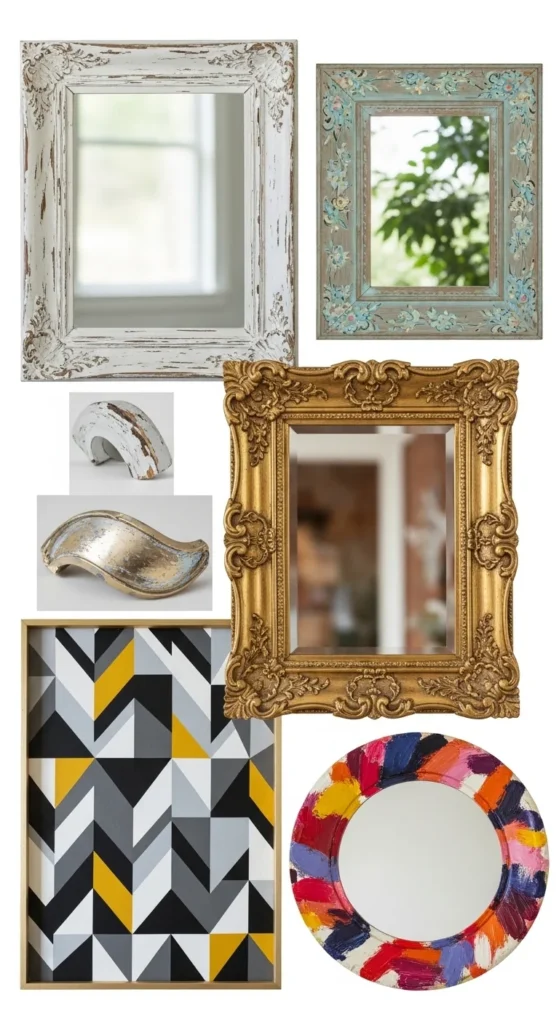
Choose from modern, farmhouse, or vintage styles
Focus on prep + thin layers for professional results
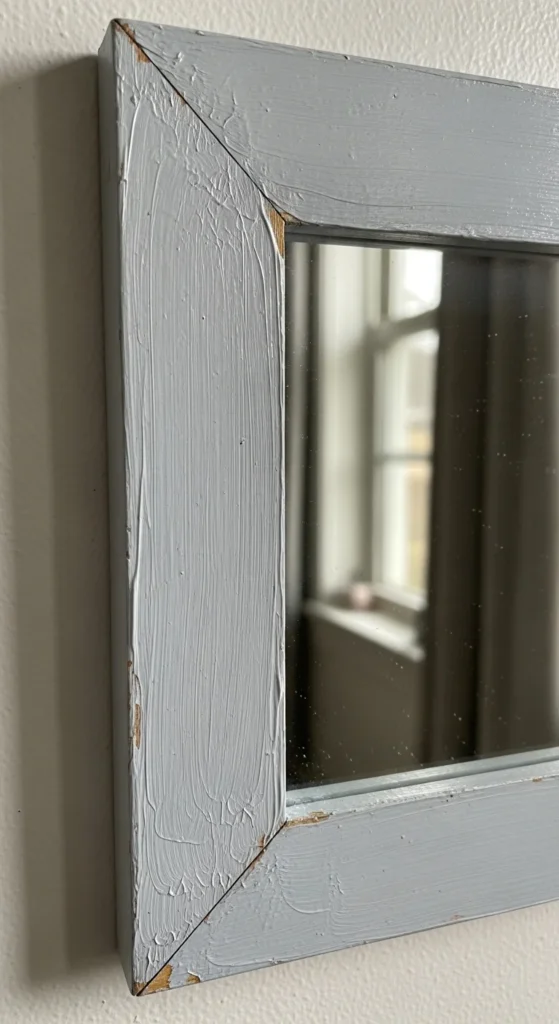
Transform thrifted frames into statement decor
Try trending finishes like gold, matte, and geometric designs
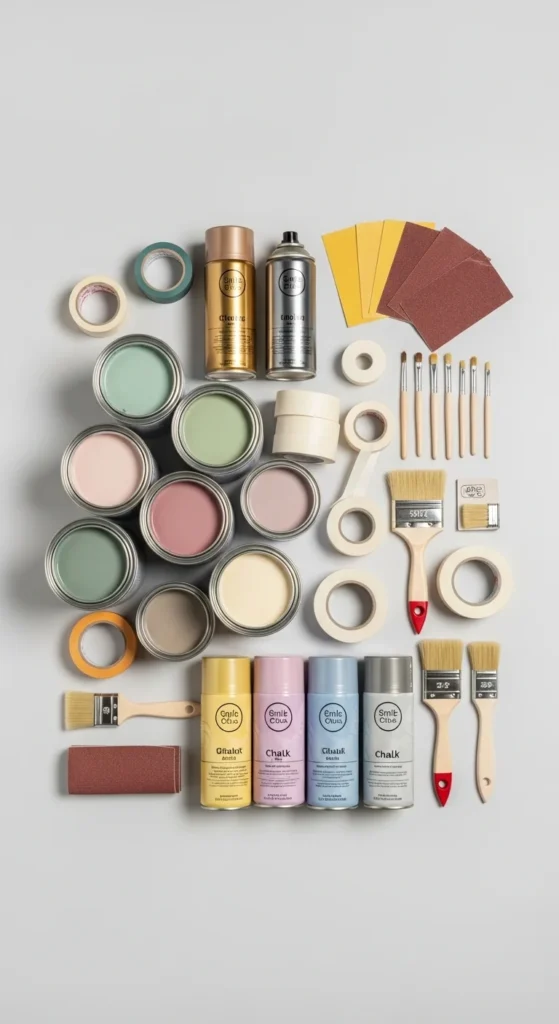
Step 1: Gather Your Painting Supplies
Start with the right tools for smooth results
- Use Chalk paint for easy, no-primer projects
- Try spray paints like Rust-Oleum for quick coverage
- Use Krylon Fusion for glossy or tricky surfaces
- Keep Painter’s tape to protect the mirror
- Sandpaper (120–220 grit) for surface prep
- Foam brushes or soft paintbrushes for detail work
Beginner Tip: Foam brushes help avoid brush marks
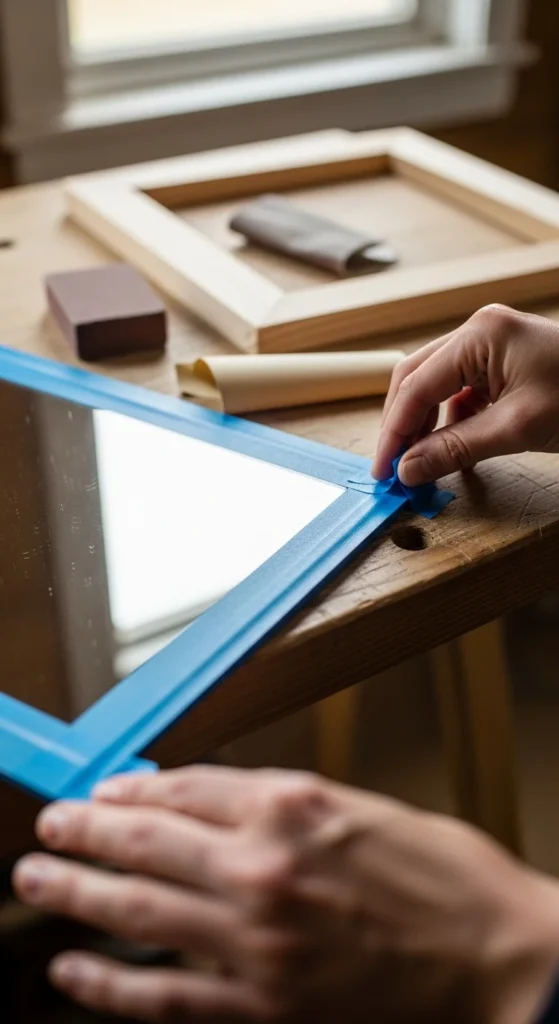
Step 2: Clean and Prep the Frame Properly
Prep is the secret to long-lasting paint
- Clean the frame to remove dust, grease, or residue
- Lightly sand glossy or varnished surfaces
- Wipe clean after sanding
- Tape the mirror edges carefully using Painter’s tape
- Press tape edges firmly to prevent paint bleeding
Alternative: Use Liquid mask to cover the mirror fully
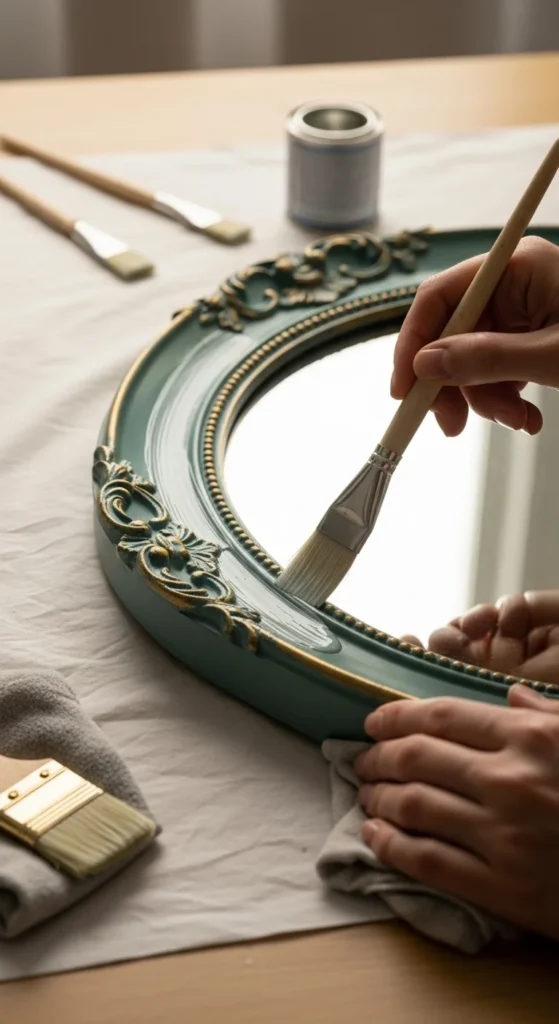
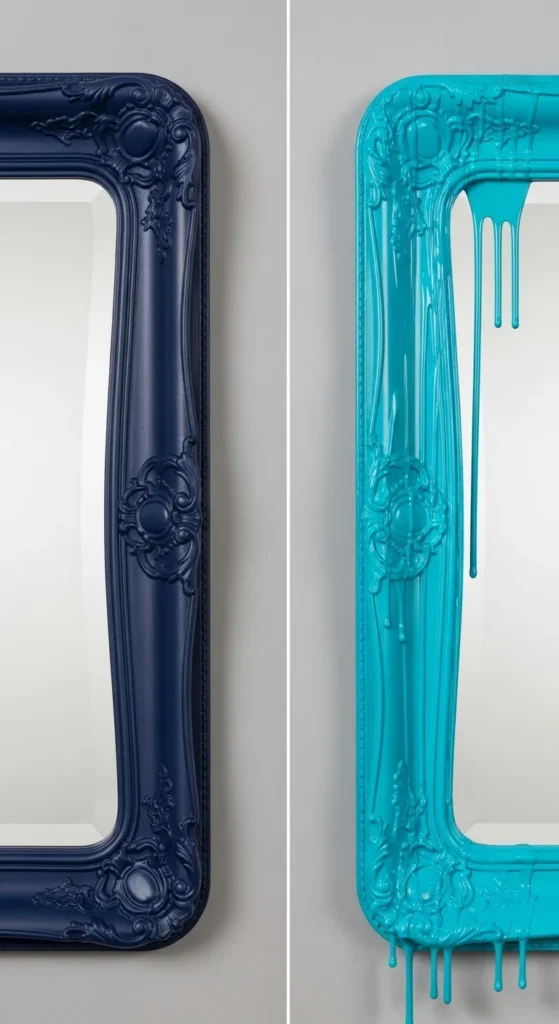
Step 3: Apply the Base Coat (Thin Layers Only)
This step builds your foundation
- Apply 2–3 thin coats instead of one thick layer
- Let each coat dry before adding the next
- Use smooth, even strokes
- Spray from 6–8 inches away if using spray paint
Thin layers prevent drips and peeling most common beginner mistake
Step 4: Choose Your Style & Finish
Customize your mirror to match your decor
Popular styles:
- Farmhouse: distressed Chalk paint finish
- Modern: geometric patterns using tape
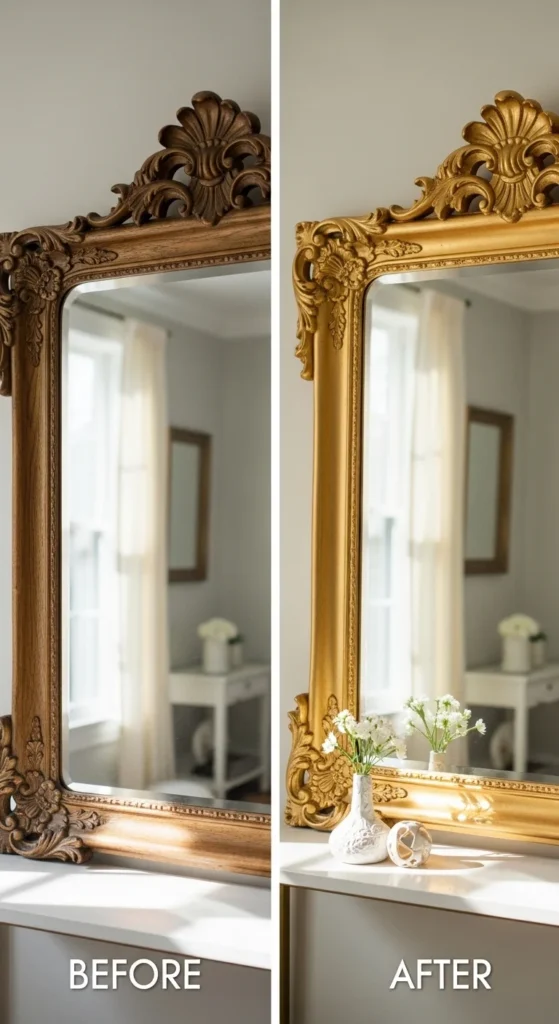
- Luxury: metallic gold or brass spray (like Rust-Oleum)
- Vintage: layered dark base + gold highlights
- Minimal: solid matte black, white, or neutral tones
Metallic gold and geometric designs are trending in 2026
Step 5: Add Creative Details (Optional Upgrade)
Take your project to the next level
- Use stencils for patterns or typography
- Try gold leaf accents for antique look
- Paint floral or botanical designs
- Create ombre gradient using sponge blending
- Combine paint with rope or tiles for texture
Small details make your mirror look designer-level

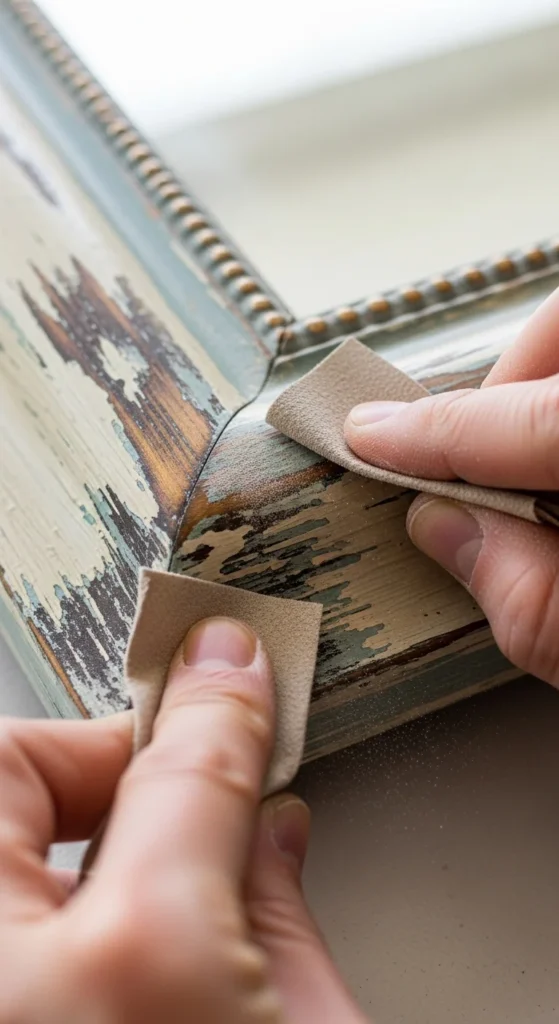
Step 6: Distress for a Vintage Look
Perfect for farmhouse-style decor
- Lightly sand edges after painting
- Focus on corners and raised details
- Let base color show through slightly
- Add wax for soft aged finish
Distressing works best with Chalk paint
Step 7: Seal the Paint for Durability
Protect your hard work
- Apply clear wax for matte finish
- Use polyurethane for high durability
- Let the frame cure fully (24 hours recommended)
- Avoid touching or hanging too early
Sealing prevents chipping and extends life of your project
Step 8: Avoid Common Beginner Mistakes
Get smooth, professional results
- Don’t skip sanding on glossy surfaces
- Avoid thick paint layers (causes drips)
- Always tape edges properly
- Let each coat dry fully
- Don’t rush sealing
Most issues like peeling or uneven finish come from poor prep
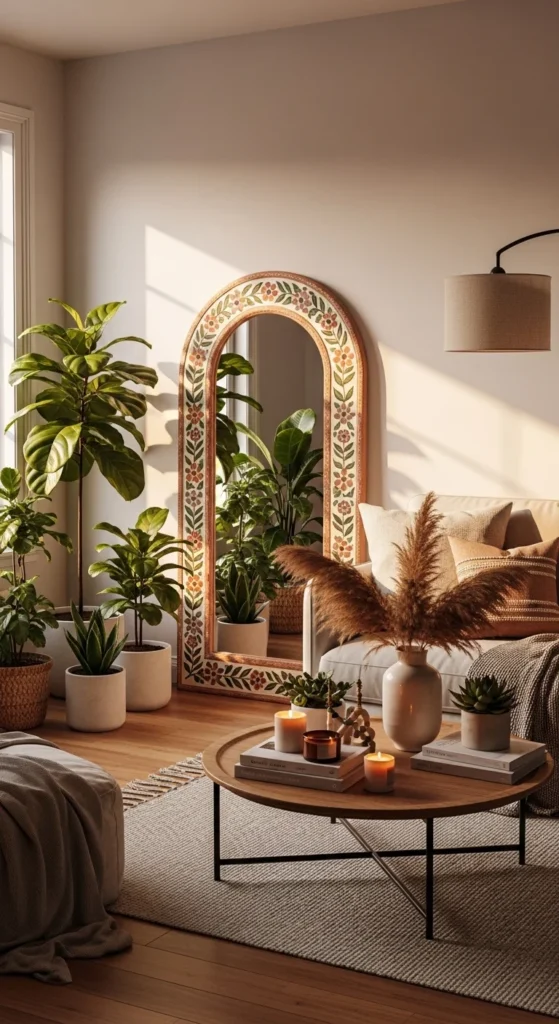
Step 9: Style Your Finished Mirror
Make your piece stand out
- Hang in entryway, bedroom, or living room
- Pair with neutral or rustic decor
- Use in gallery wall (2026 mirror wall trend)
- Add lighting or plants nearby for aesthetic look
Painted mirrors can become a focal point in any room
Final Thoughts
Painting a mirror frame is one of the easiest DIY upgrades
Focus on prep, thin layers, and simple techniques
Start with basic styles before trying advanced designs
Use budget materials to create high-end decor
Enjoy the process small changes can completely transform your space
With just paint and creativity, you can turn any mirror into a statement piece